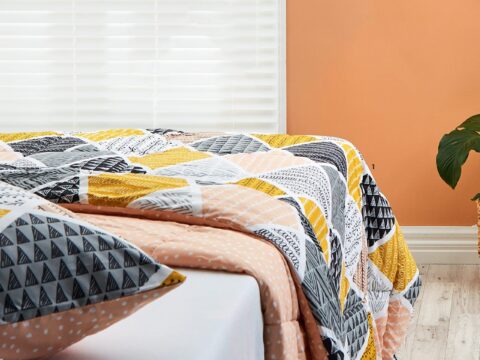
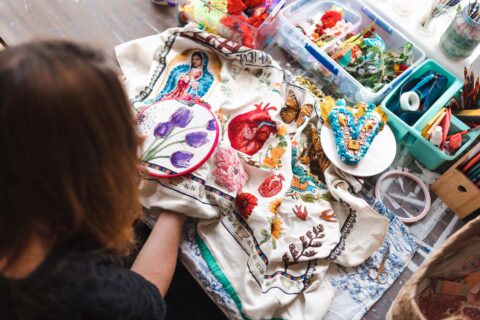
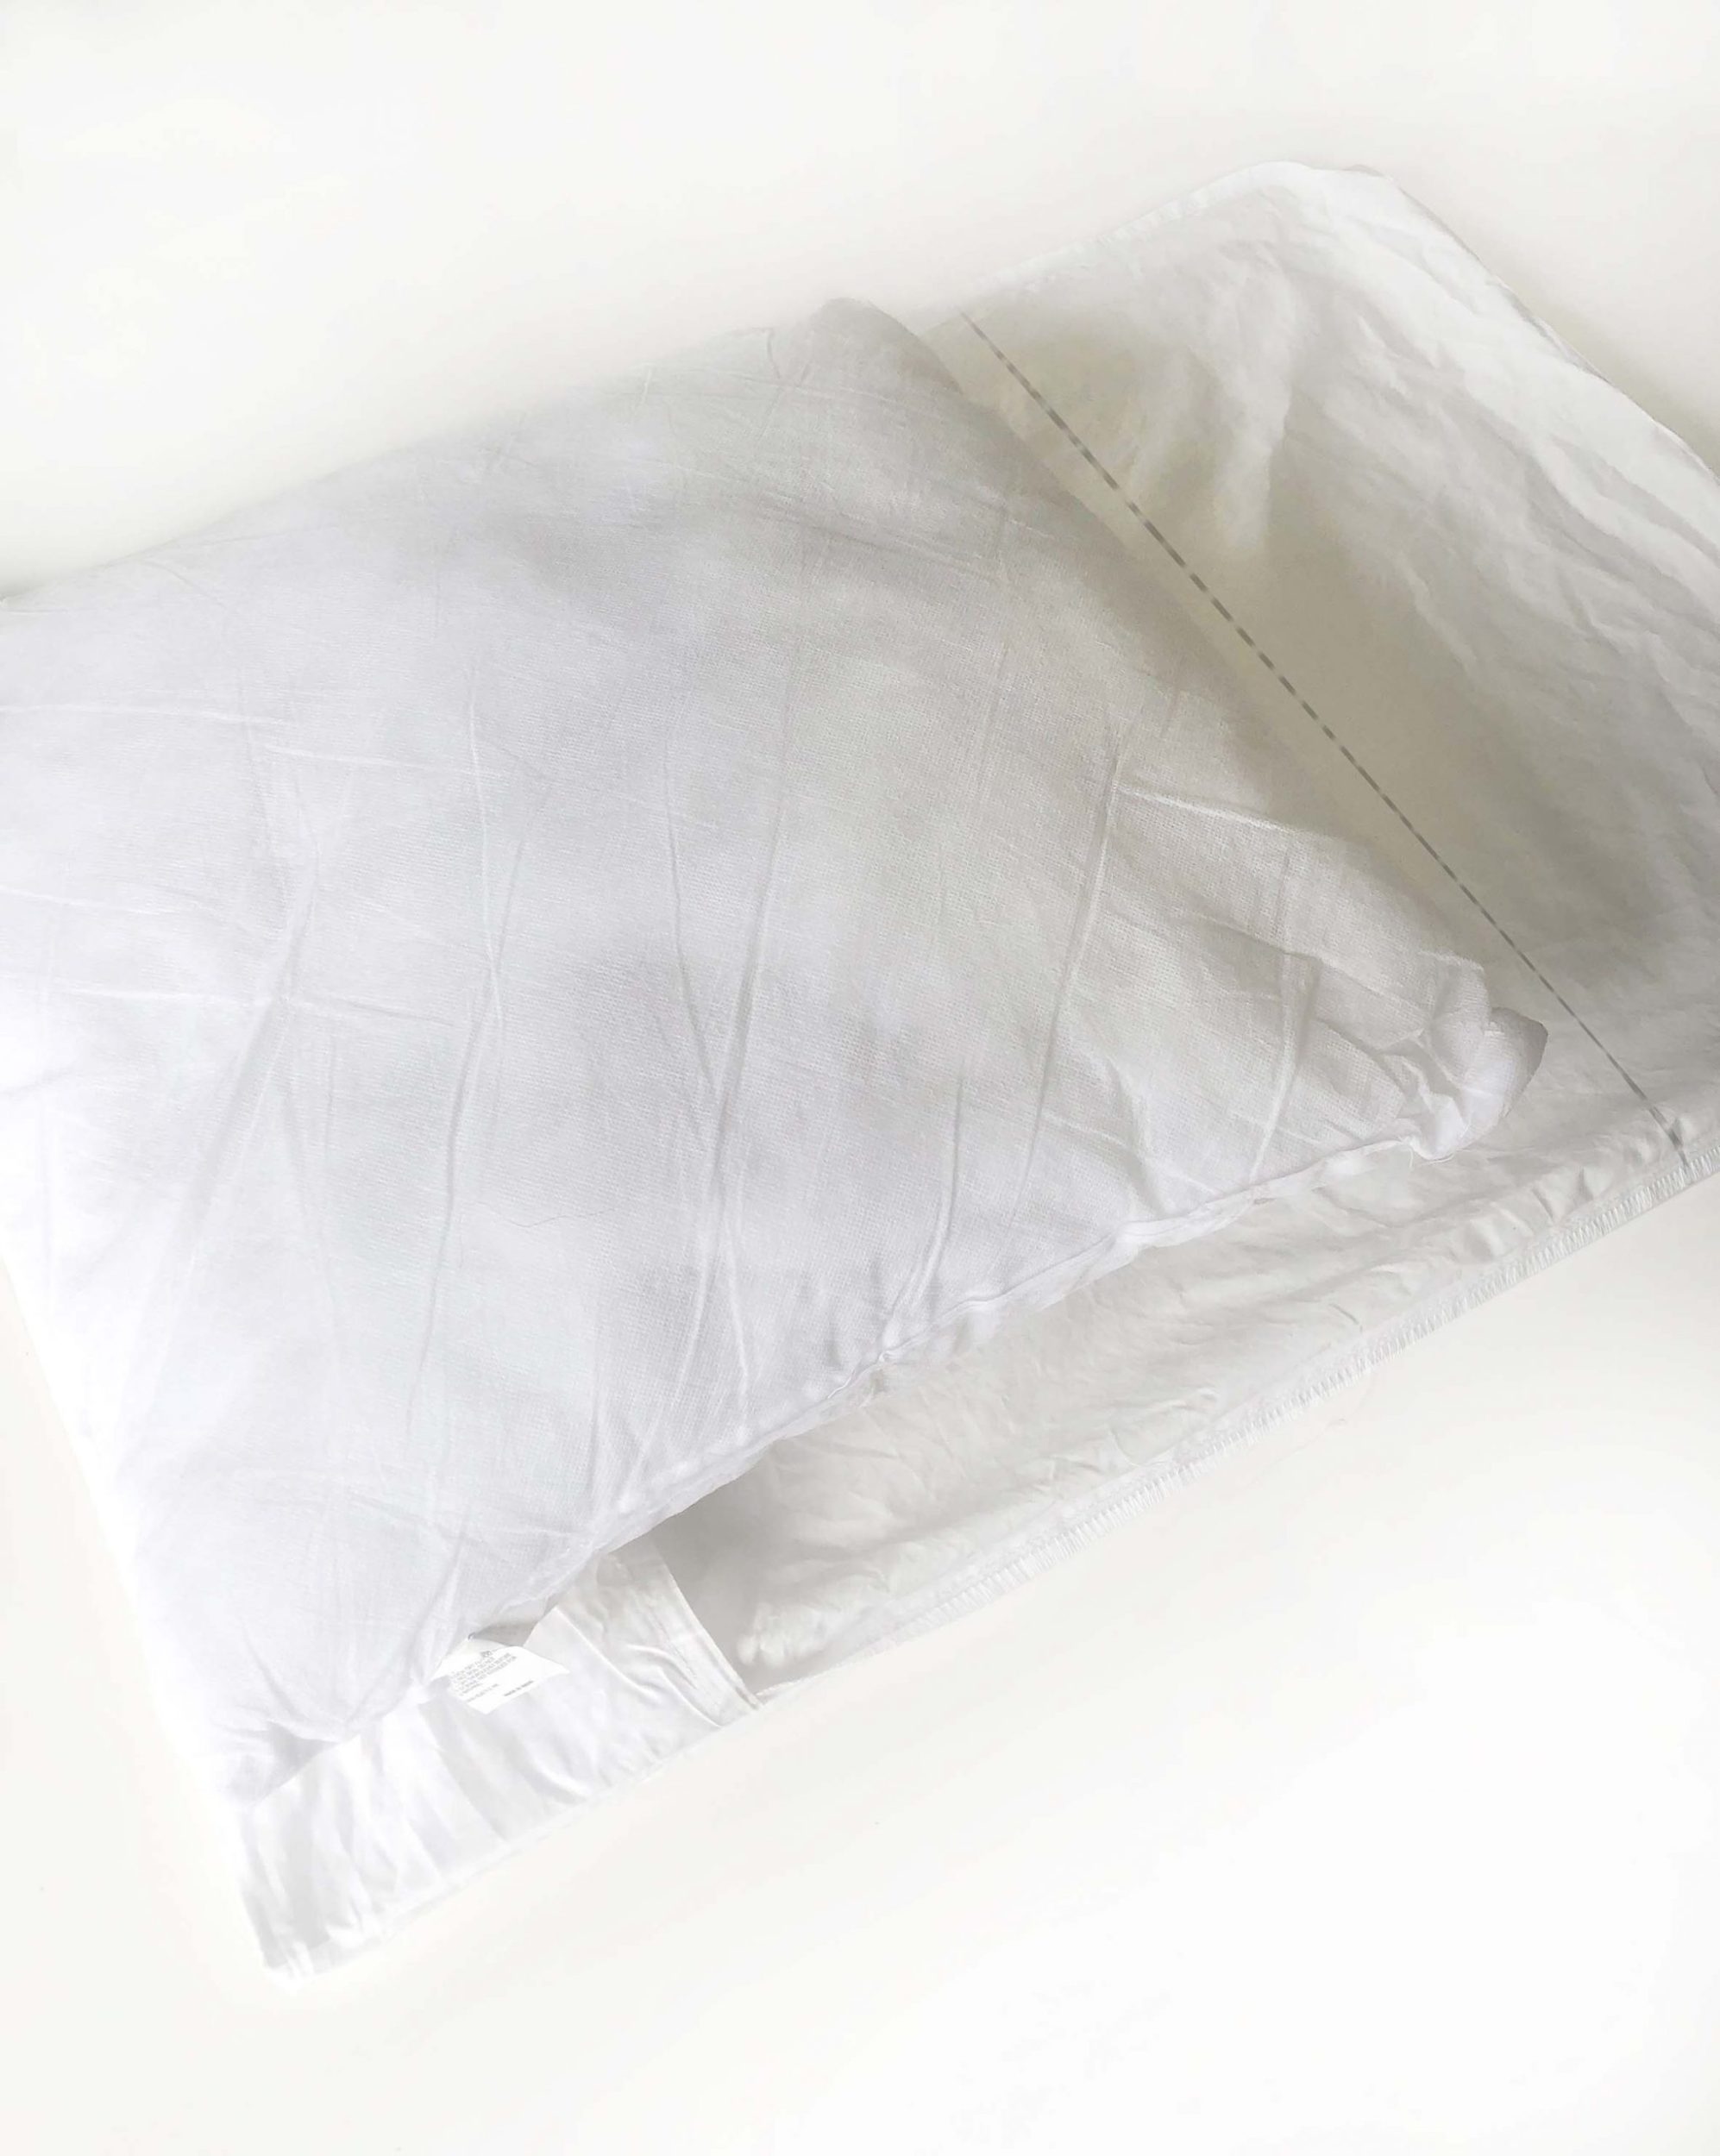
Marsha Smith upcycles old pillowcases to create a set of colourful on-trend cushion covers.
What you need
- Old pillowcase
- Cushion inner
- Paper and pencil
- Scissors
- Sewing machine
- Resene A3 test card
- Iron
- Removable tape
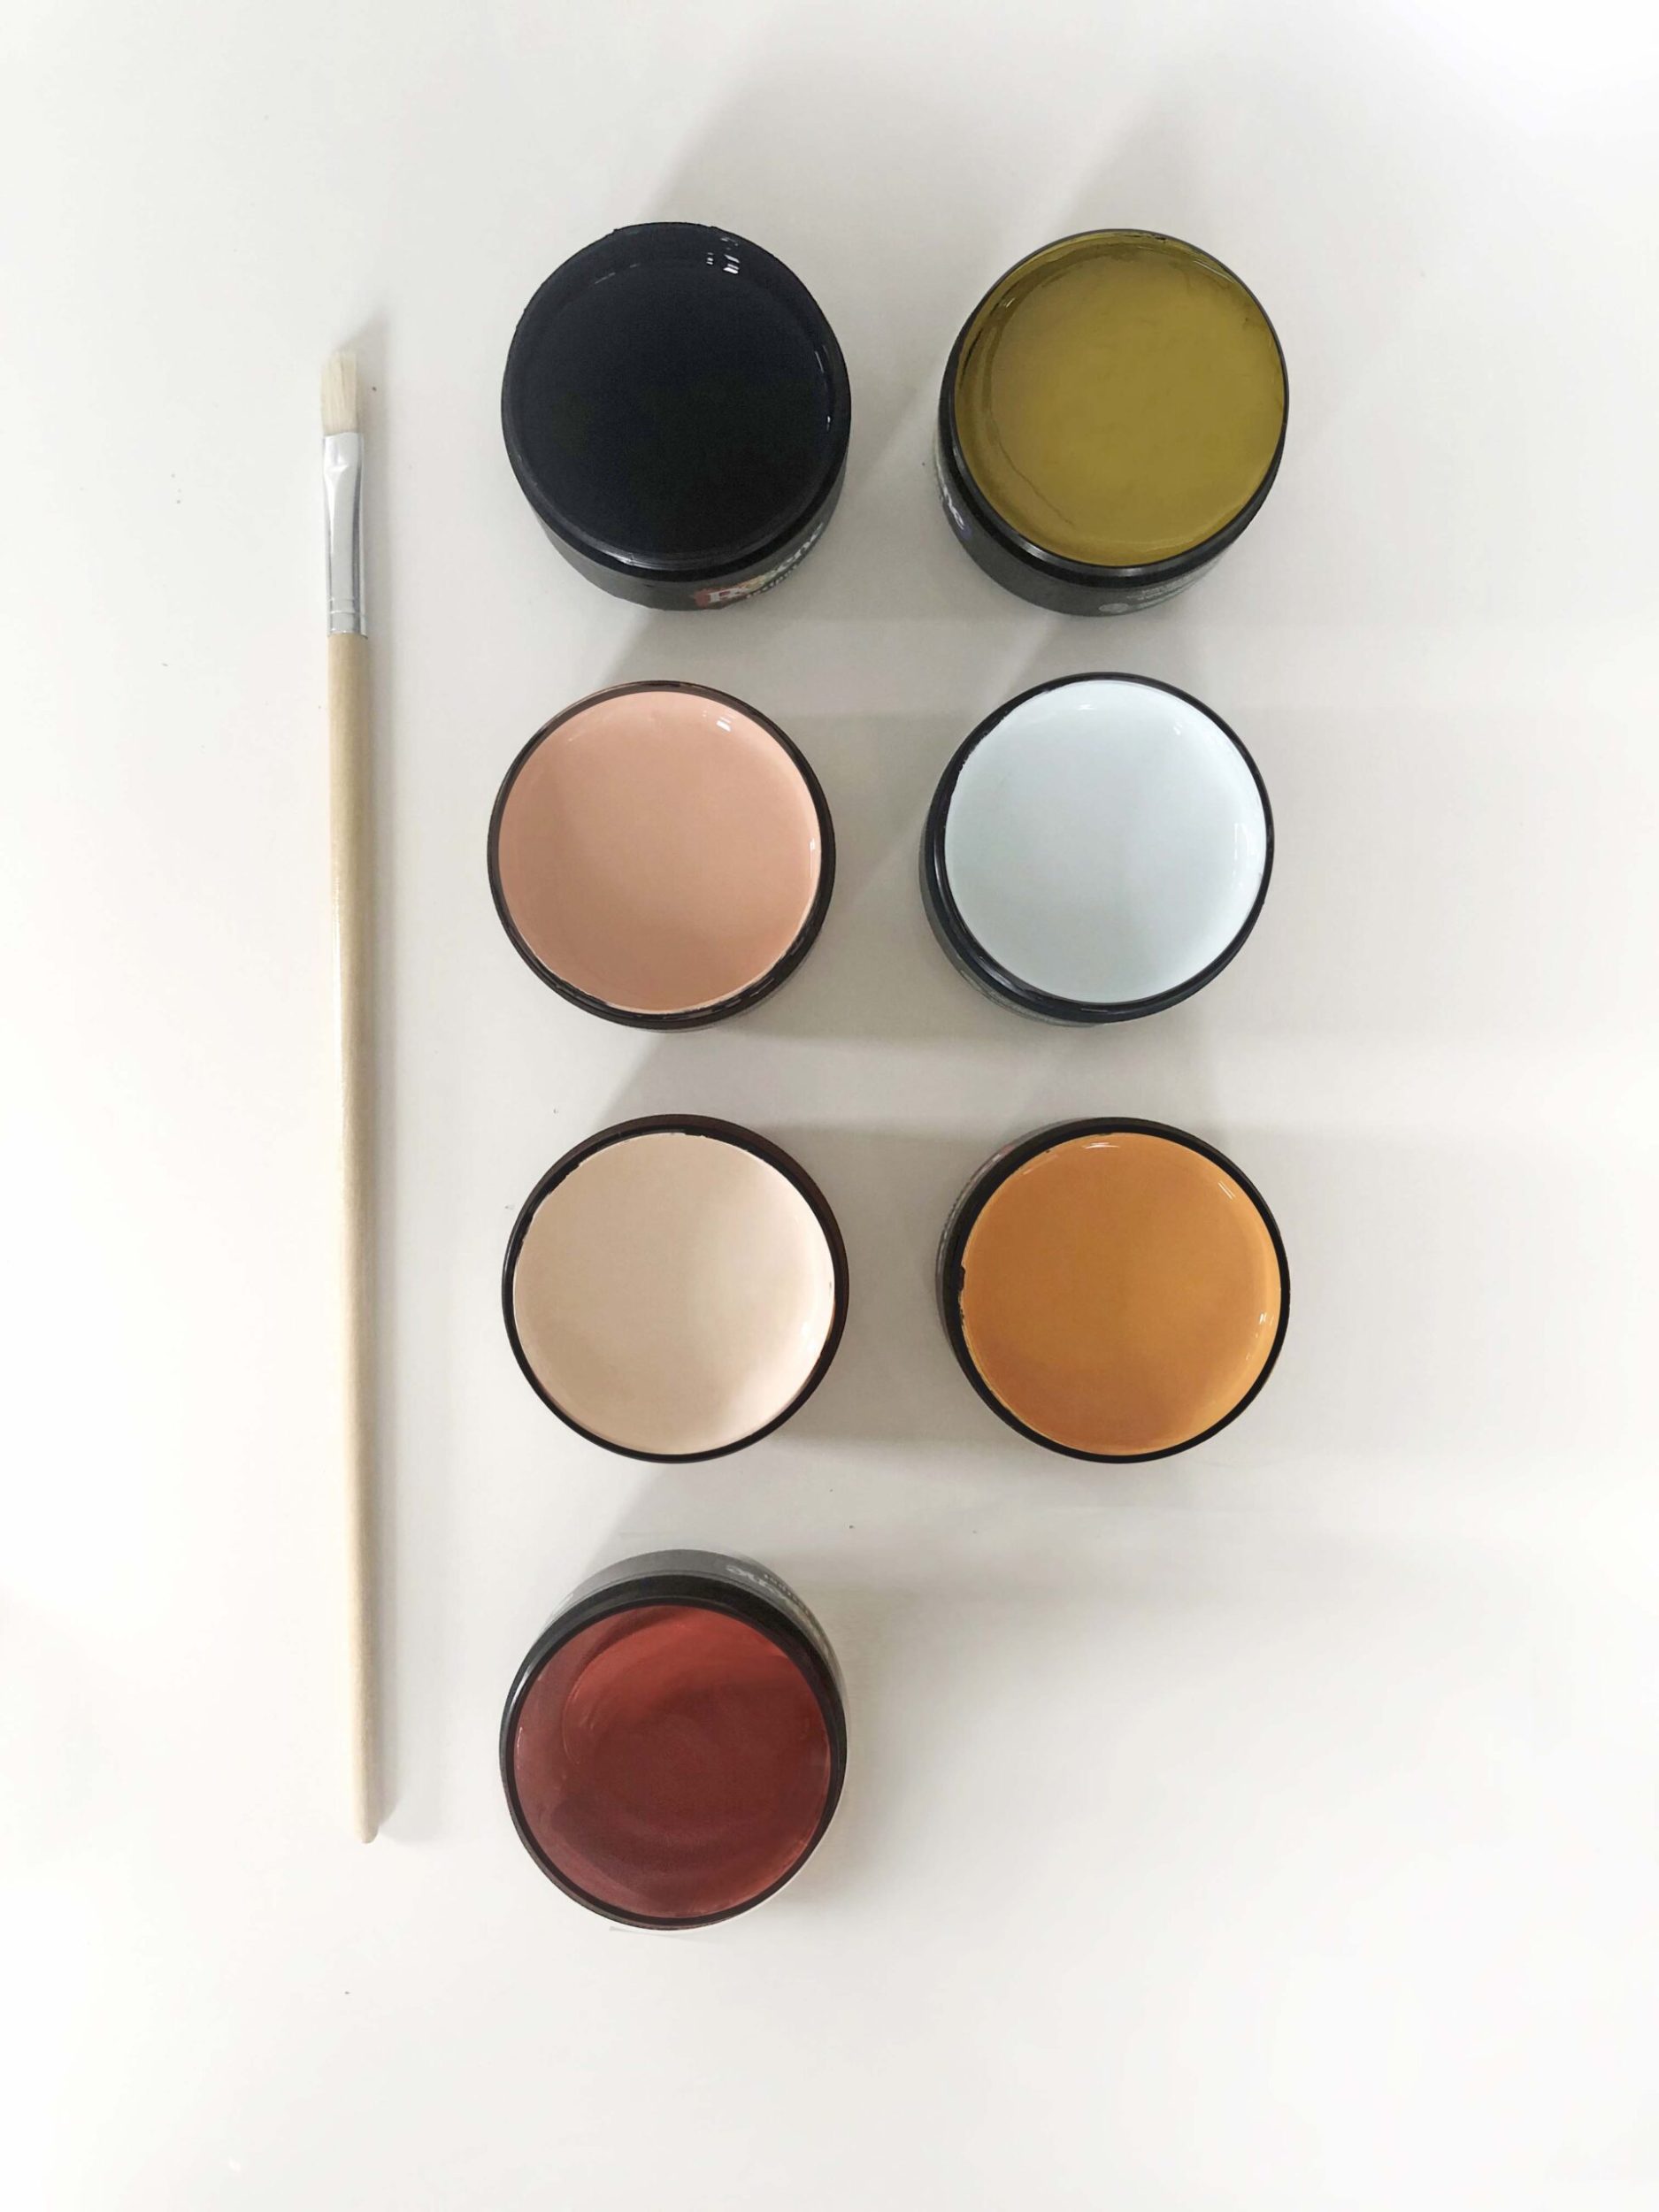
- Resene art brushes
- Resene All Black
- Resene Stinger
- Resene Mystery
- Resene Jailbreak
- Resene Raging Bull
- Resene Soulful
- Resene Just Dance
Method
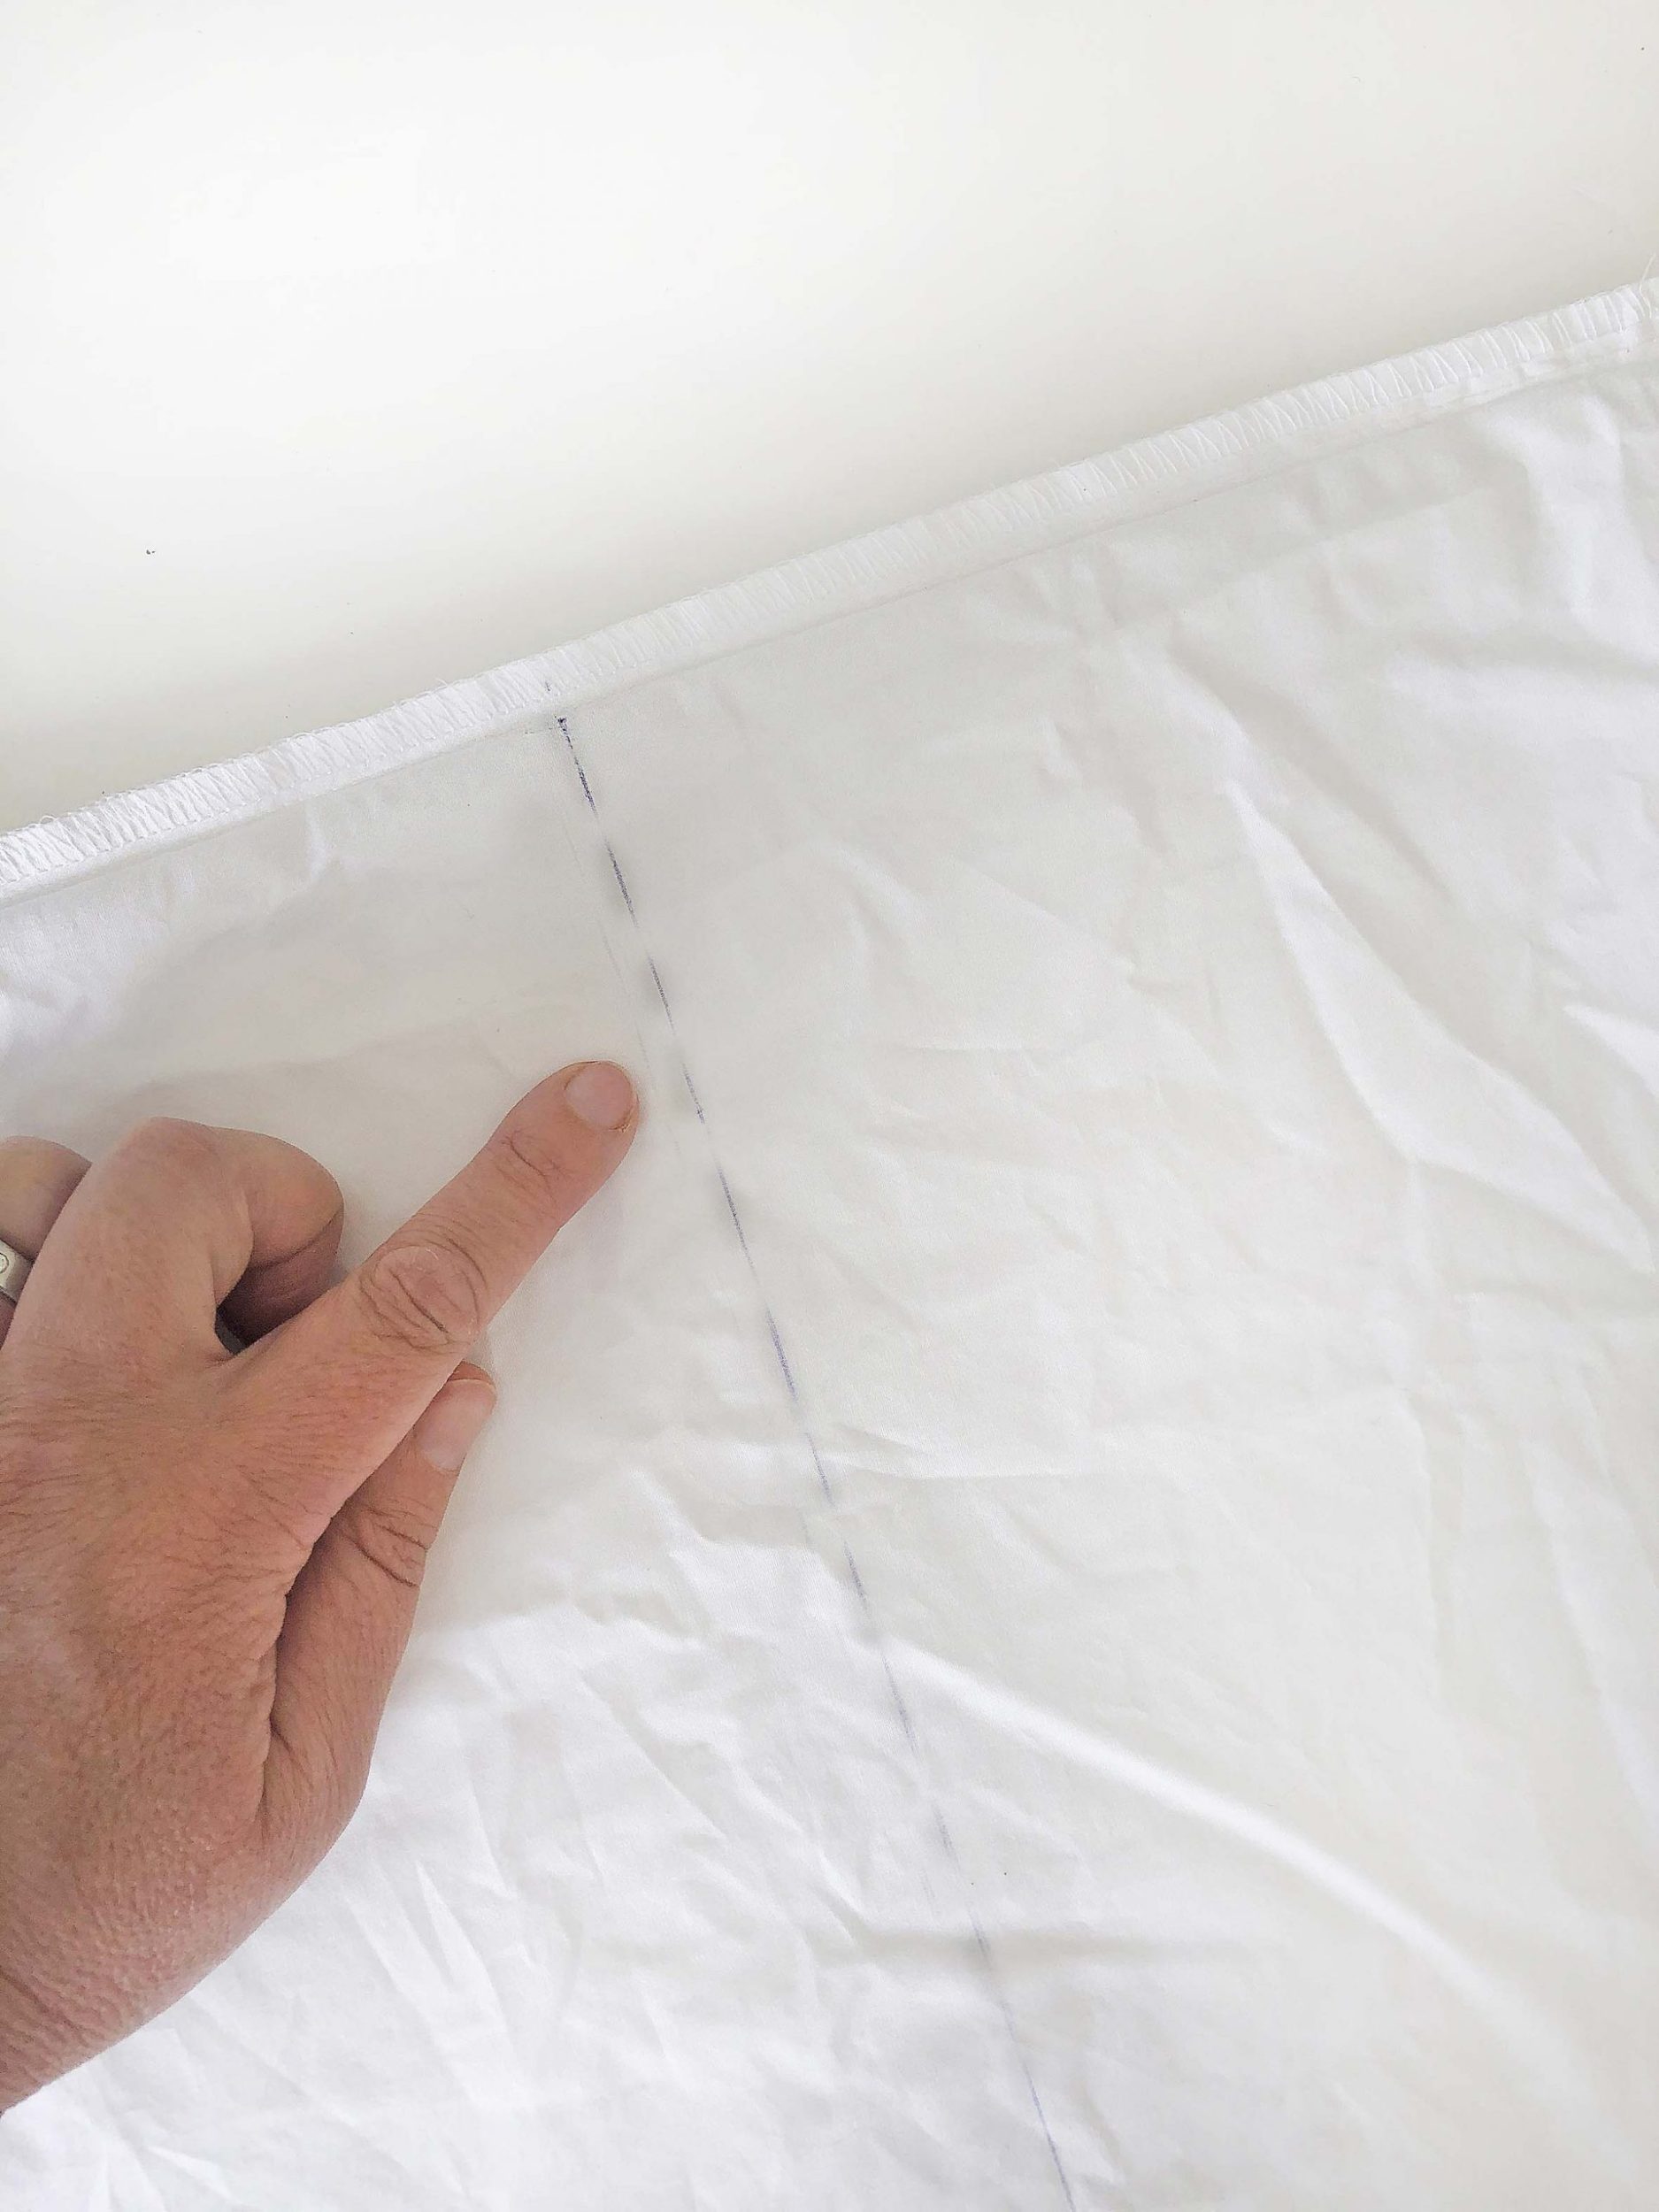
Turn the pillowcase inside out and place the cushion inner on top, with one edge of the cushion at the opening end. (A)
Draw a line on the pillowcase to make it the correct size for the cushion, while retaining the pillowcase opening. (B)
Sew along this line and then cut the excess fabric off. Turn the pillowcase in the right way and iron before starting.
Leaf design
NOTE: For each pillowcase, place a piece of Resene card inside before starting, to stop the paint from going through to the back of the pillowcase.
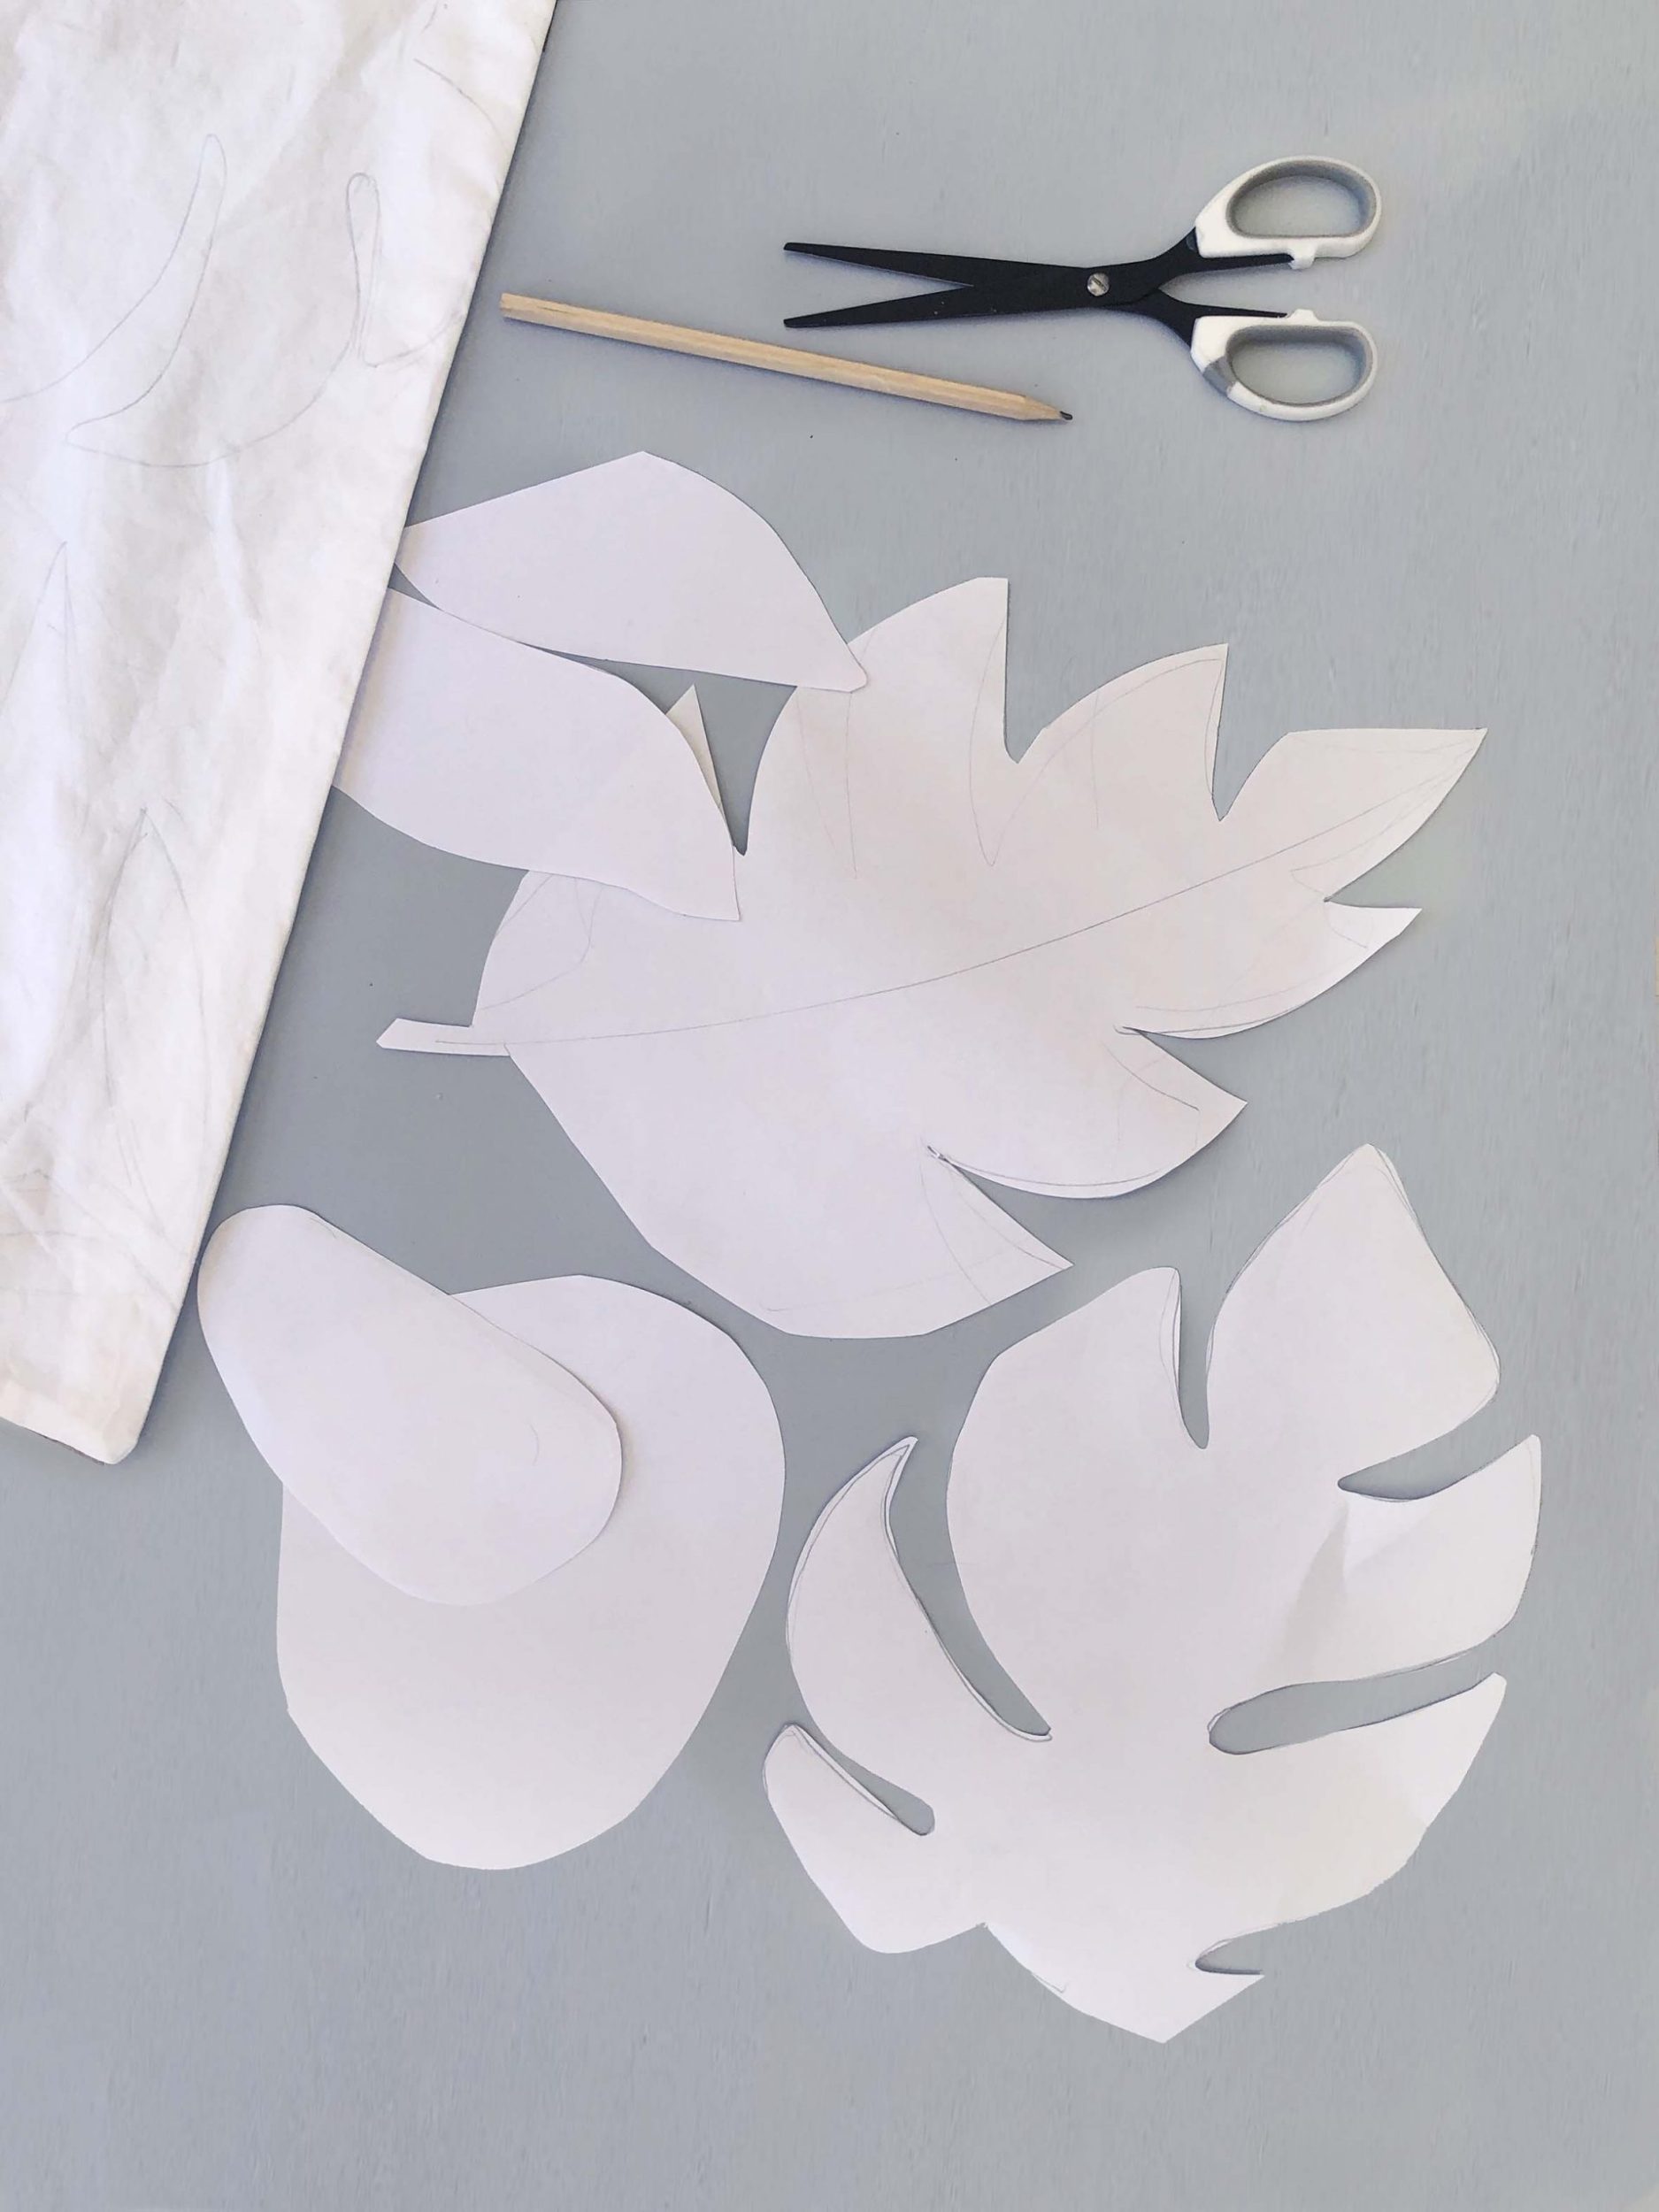
1. Draw and cut out some tropical leaf shapes. (C)
Lay them on top of the cushion cover so you have a nice composition, with some overlapping. (D)
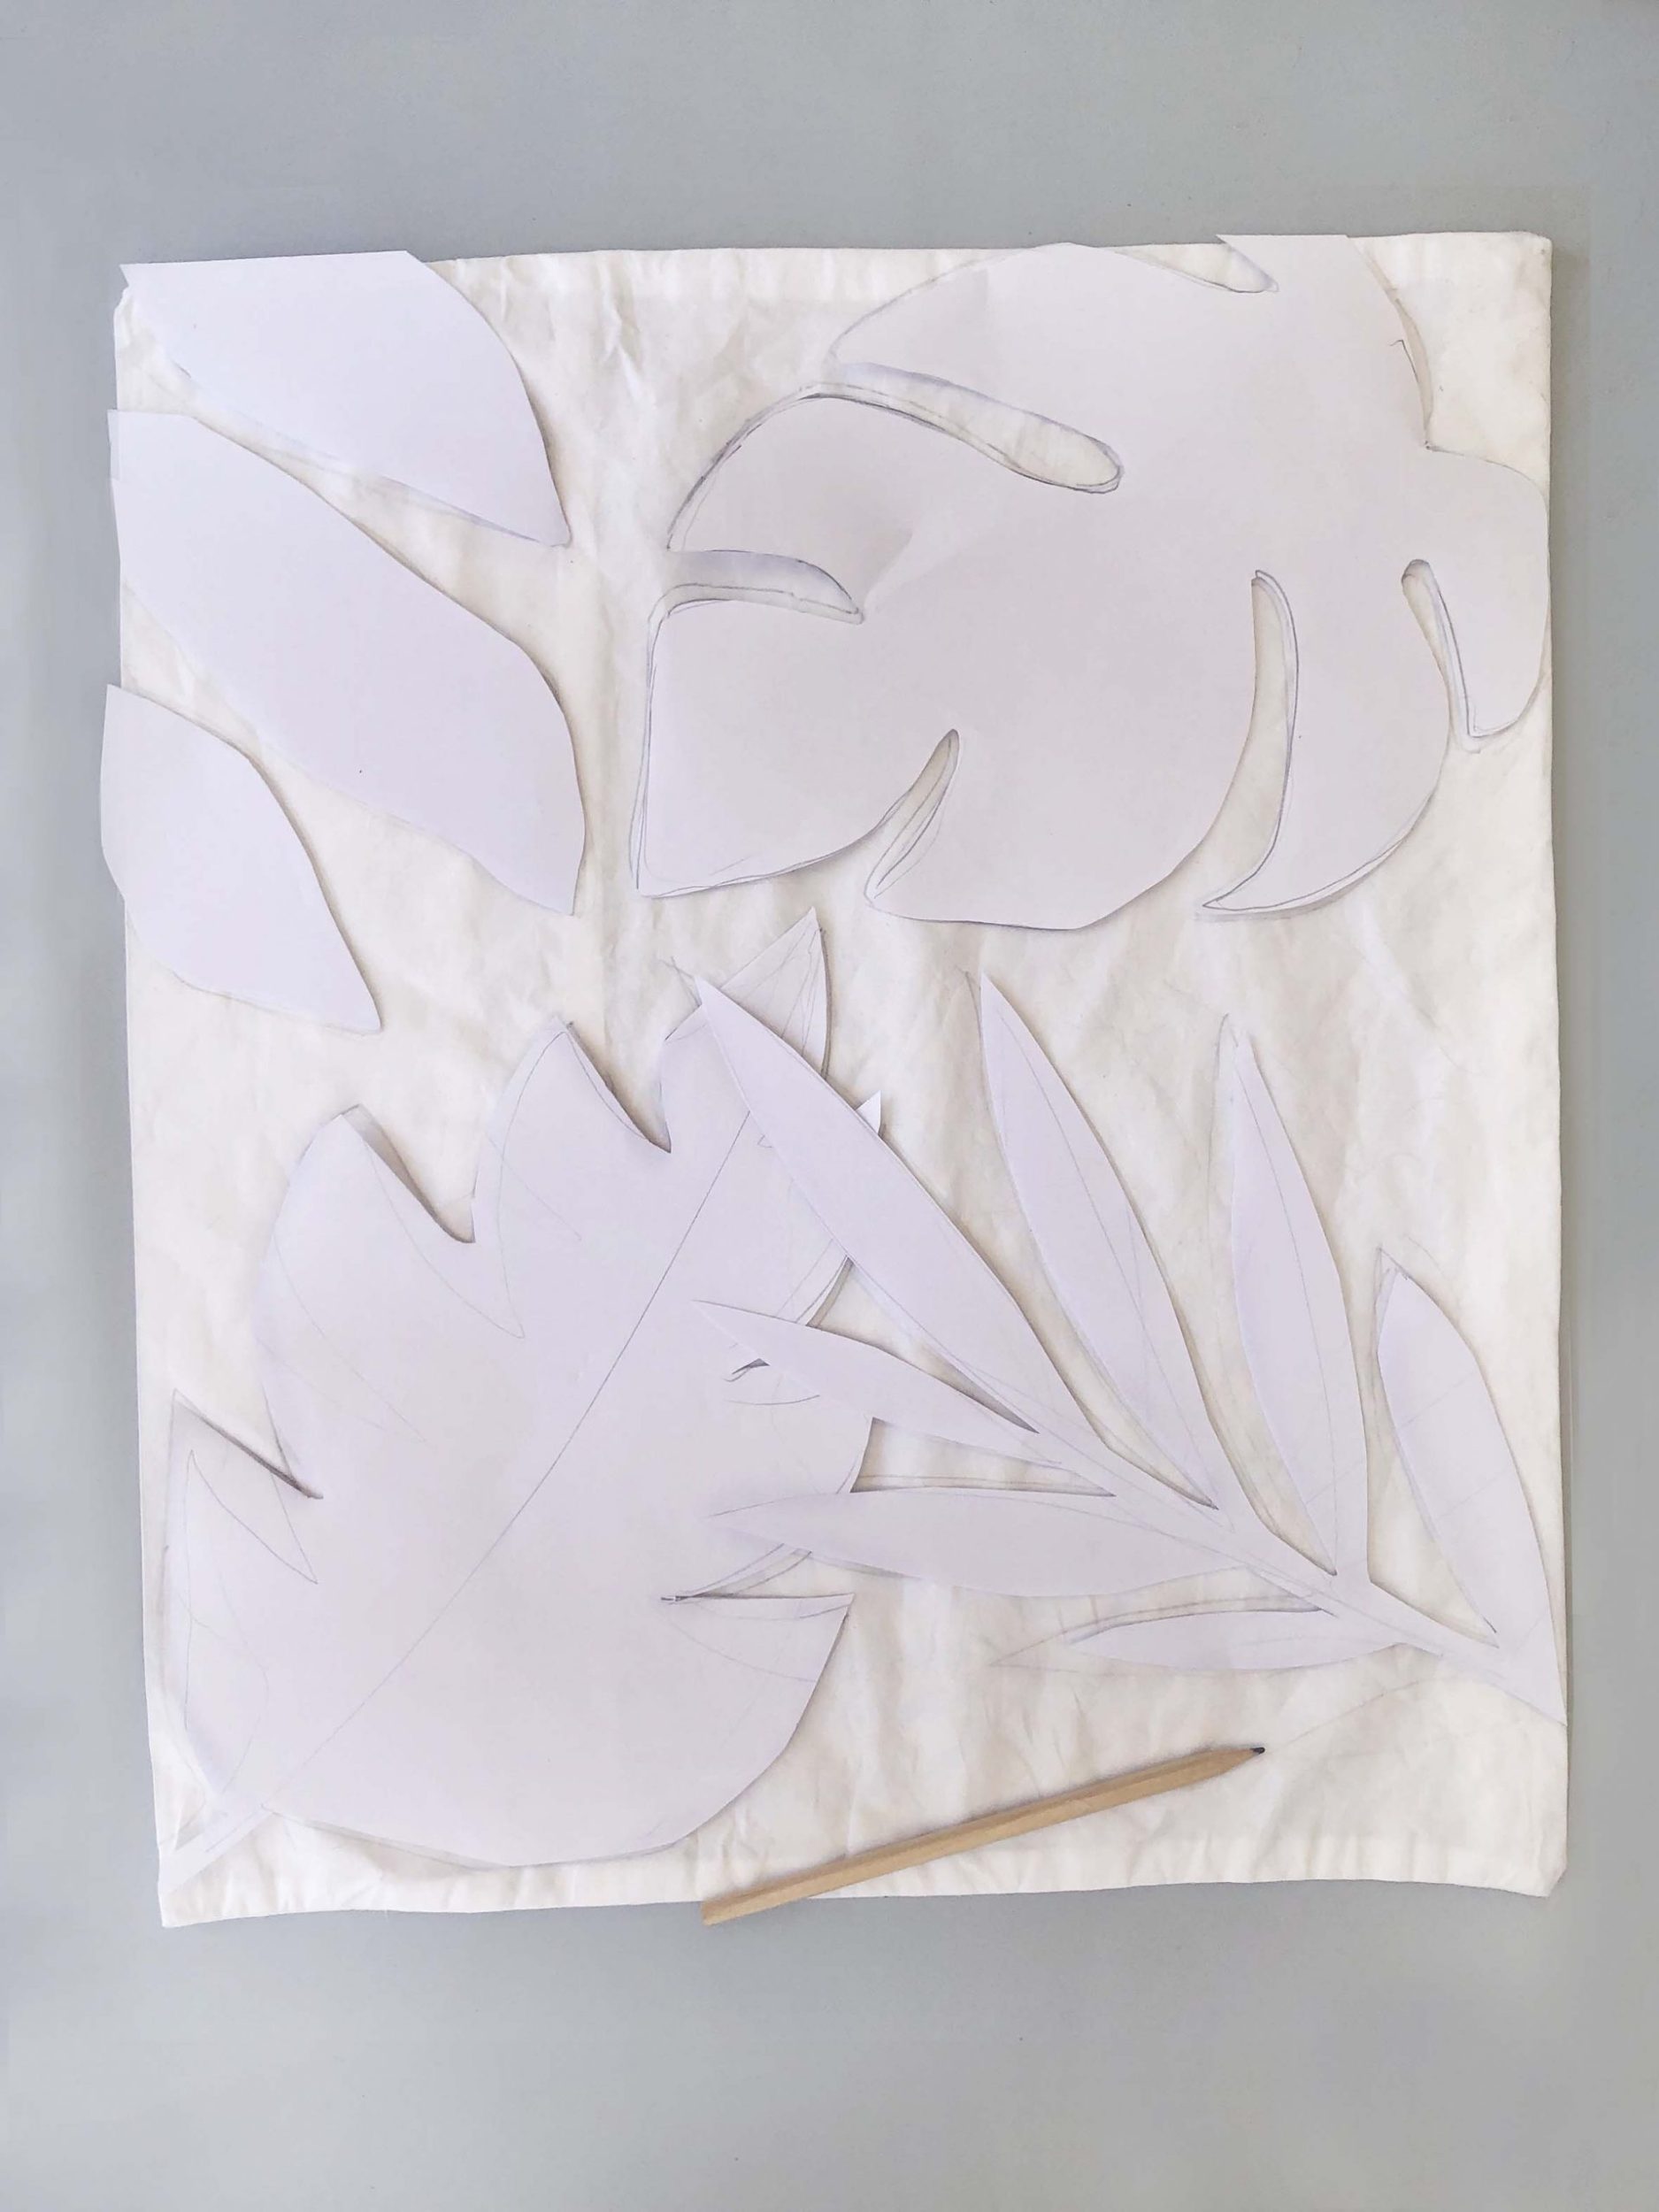
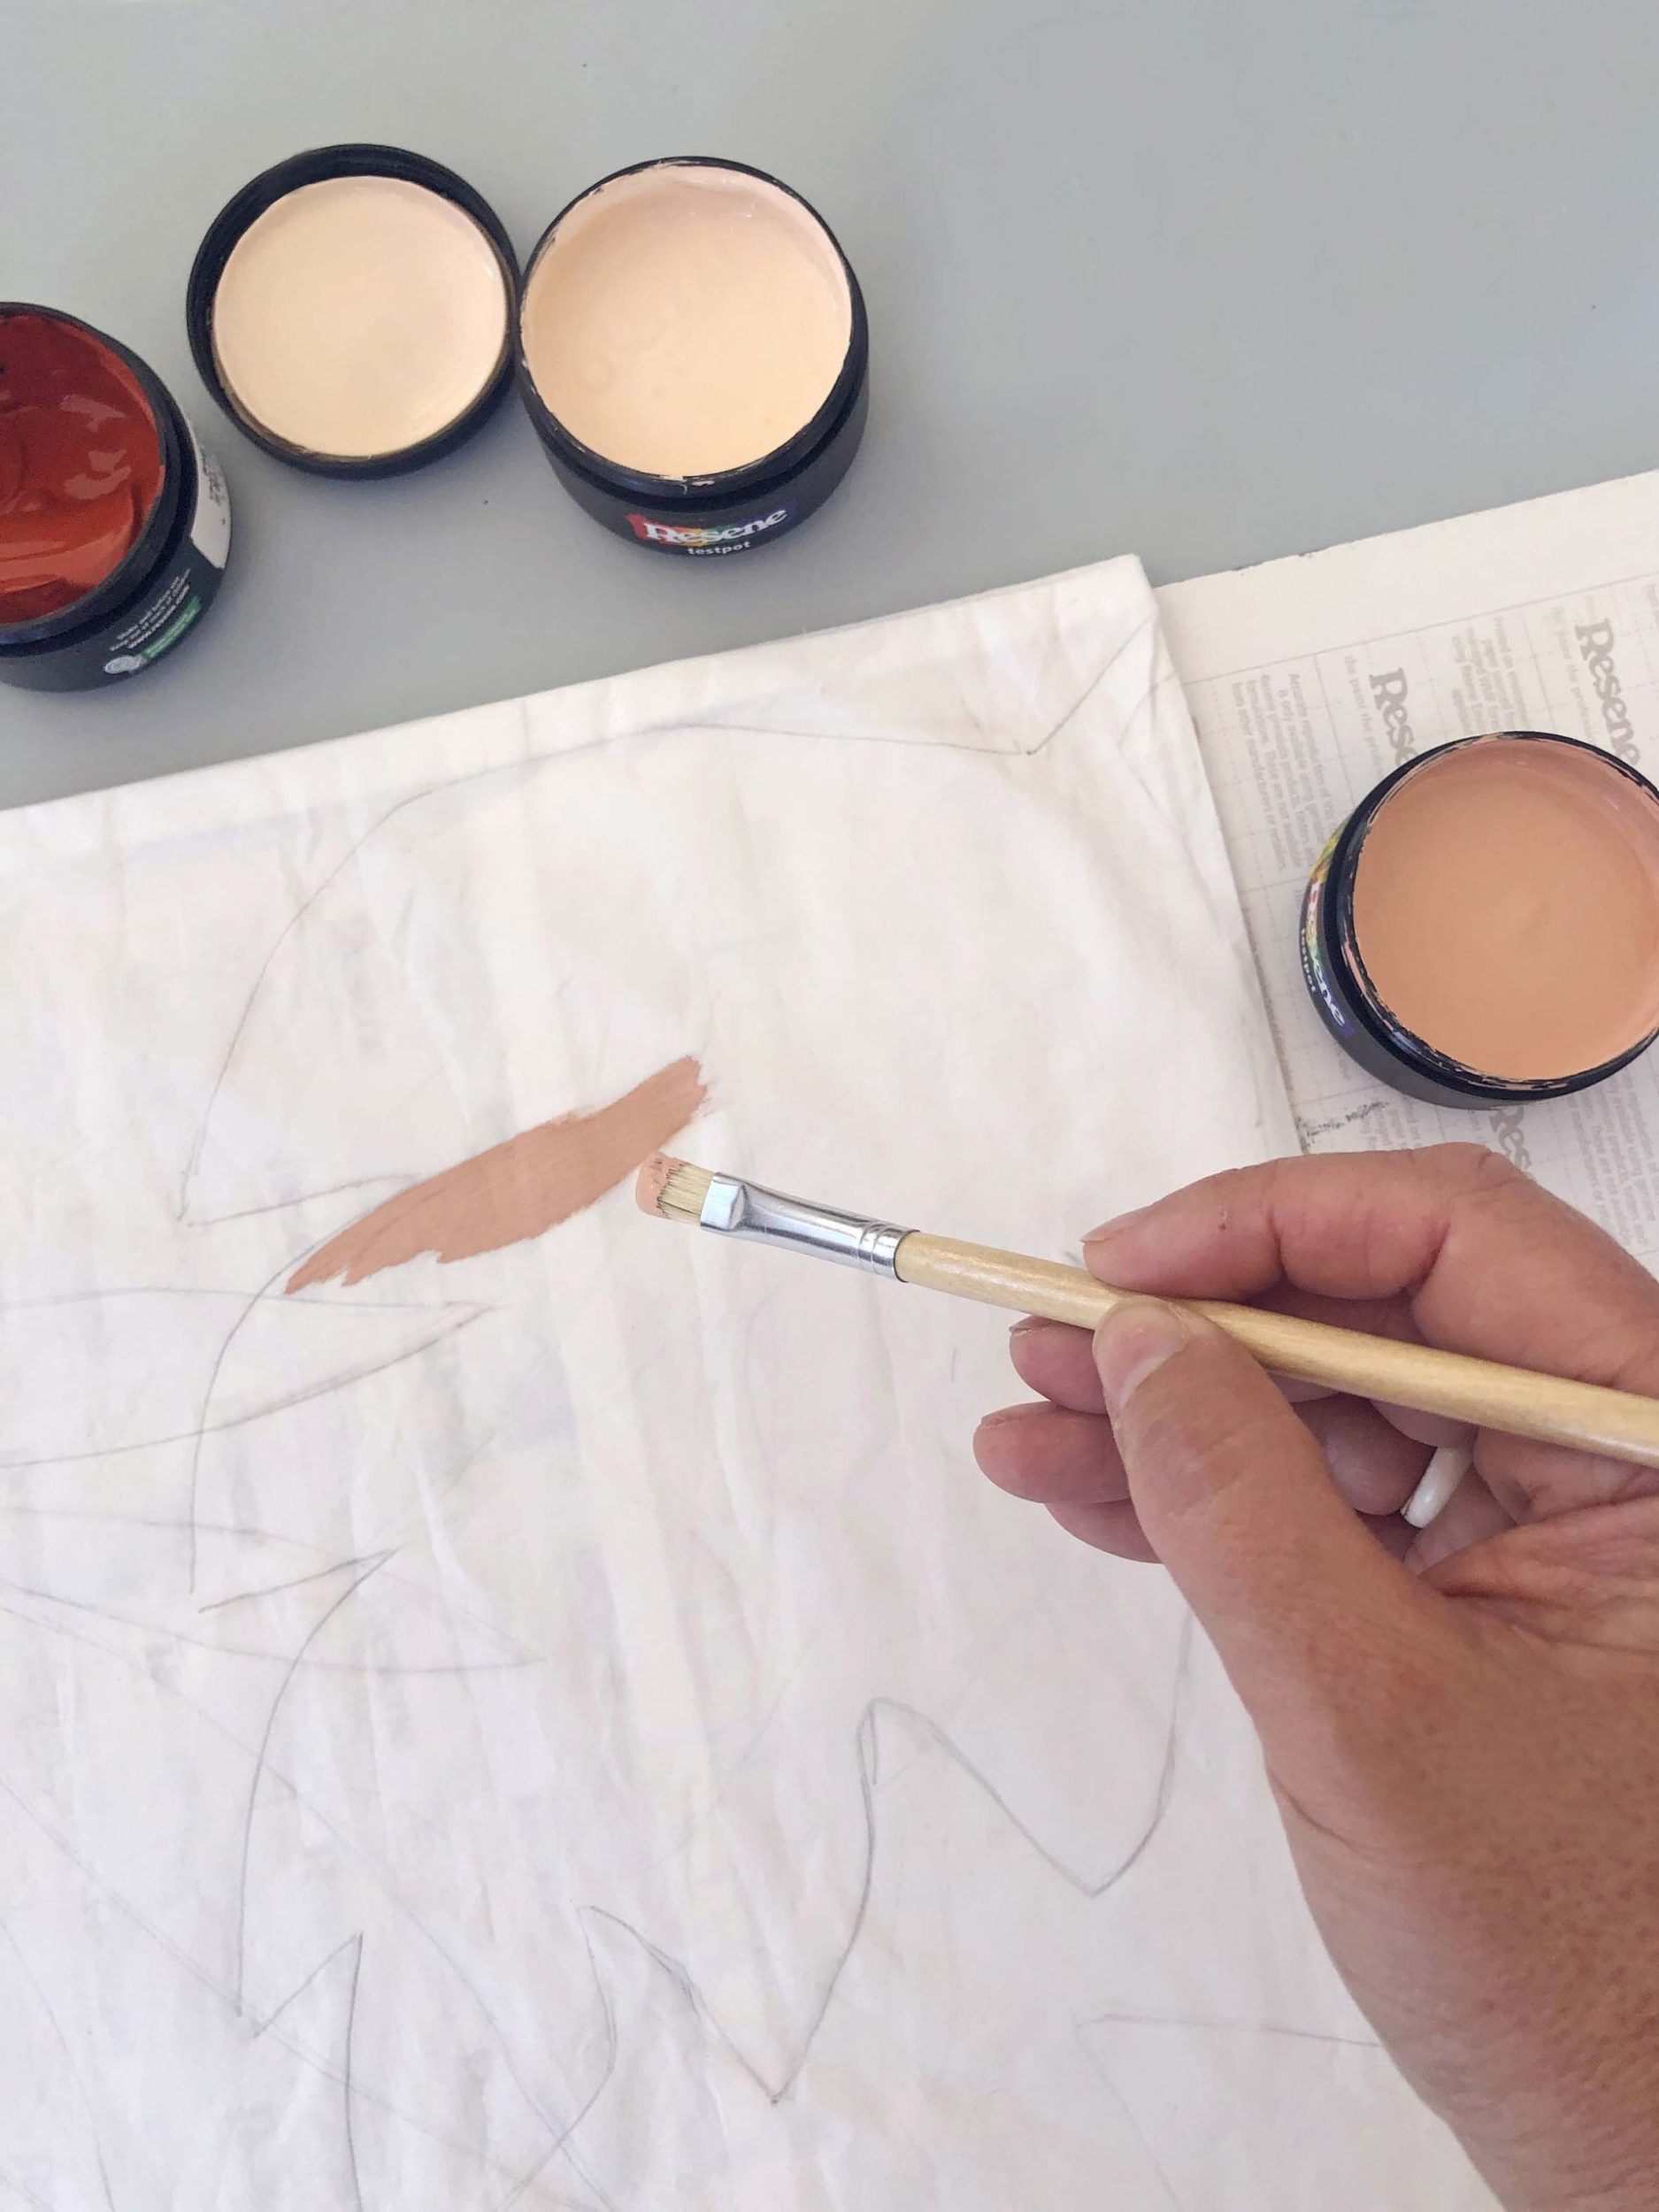
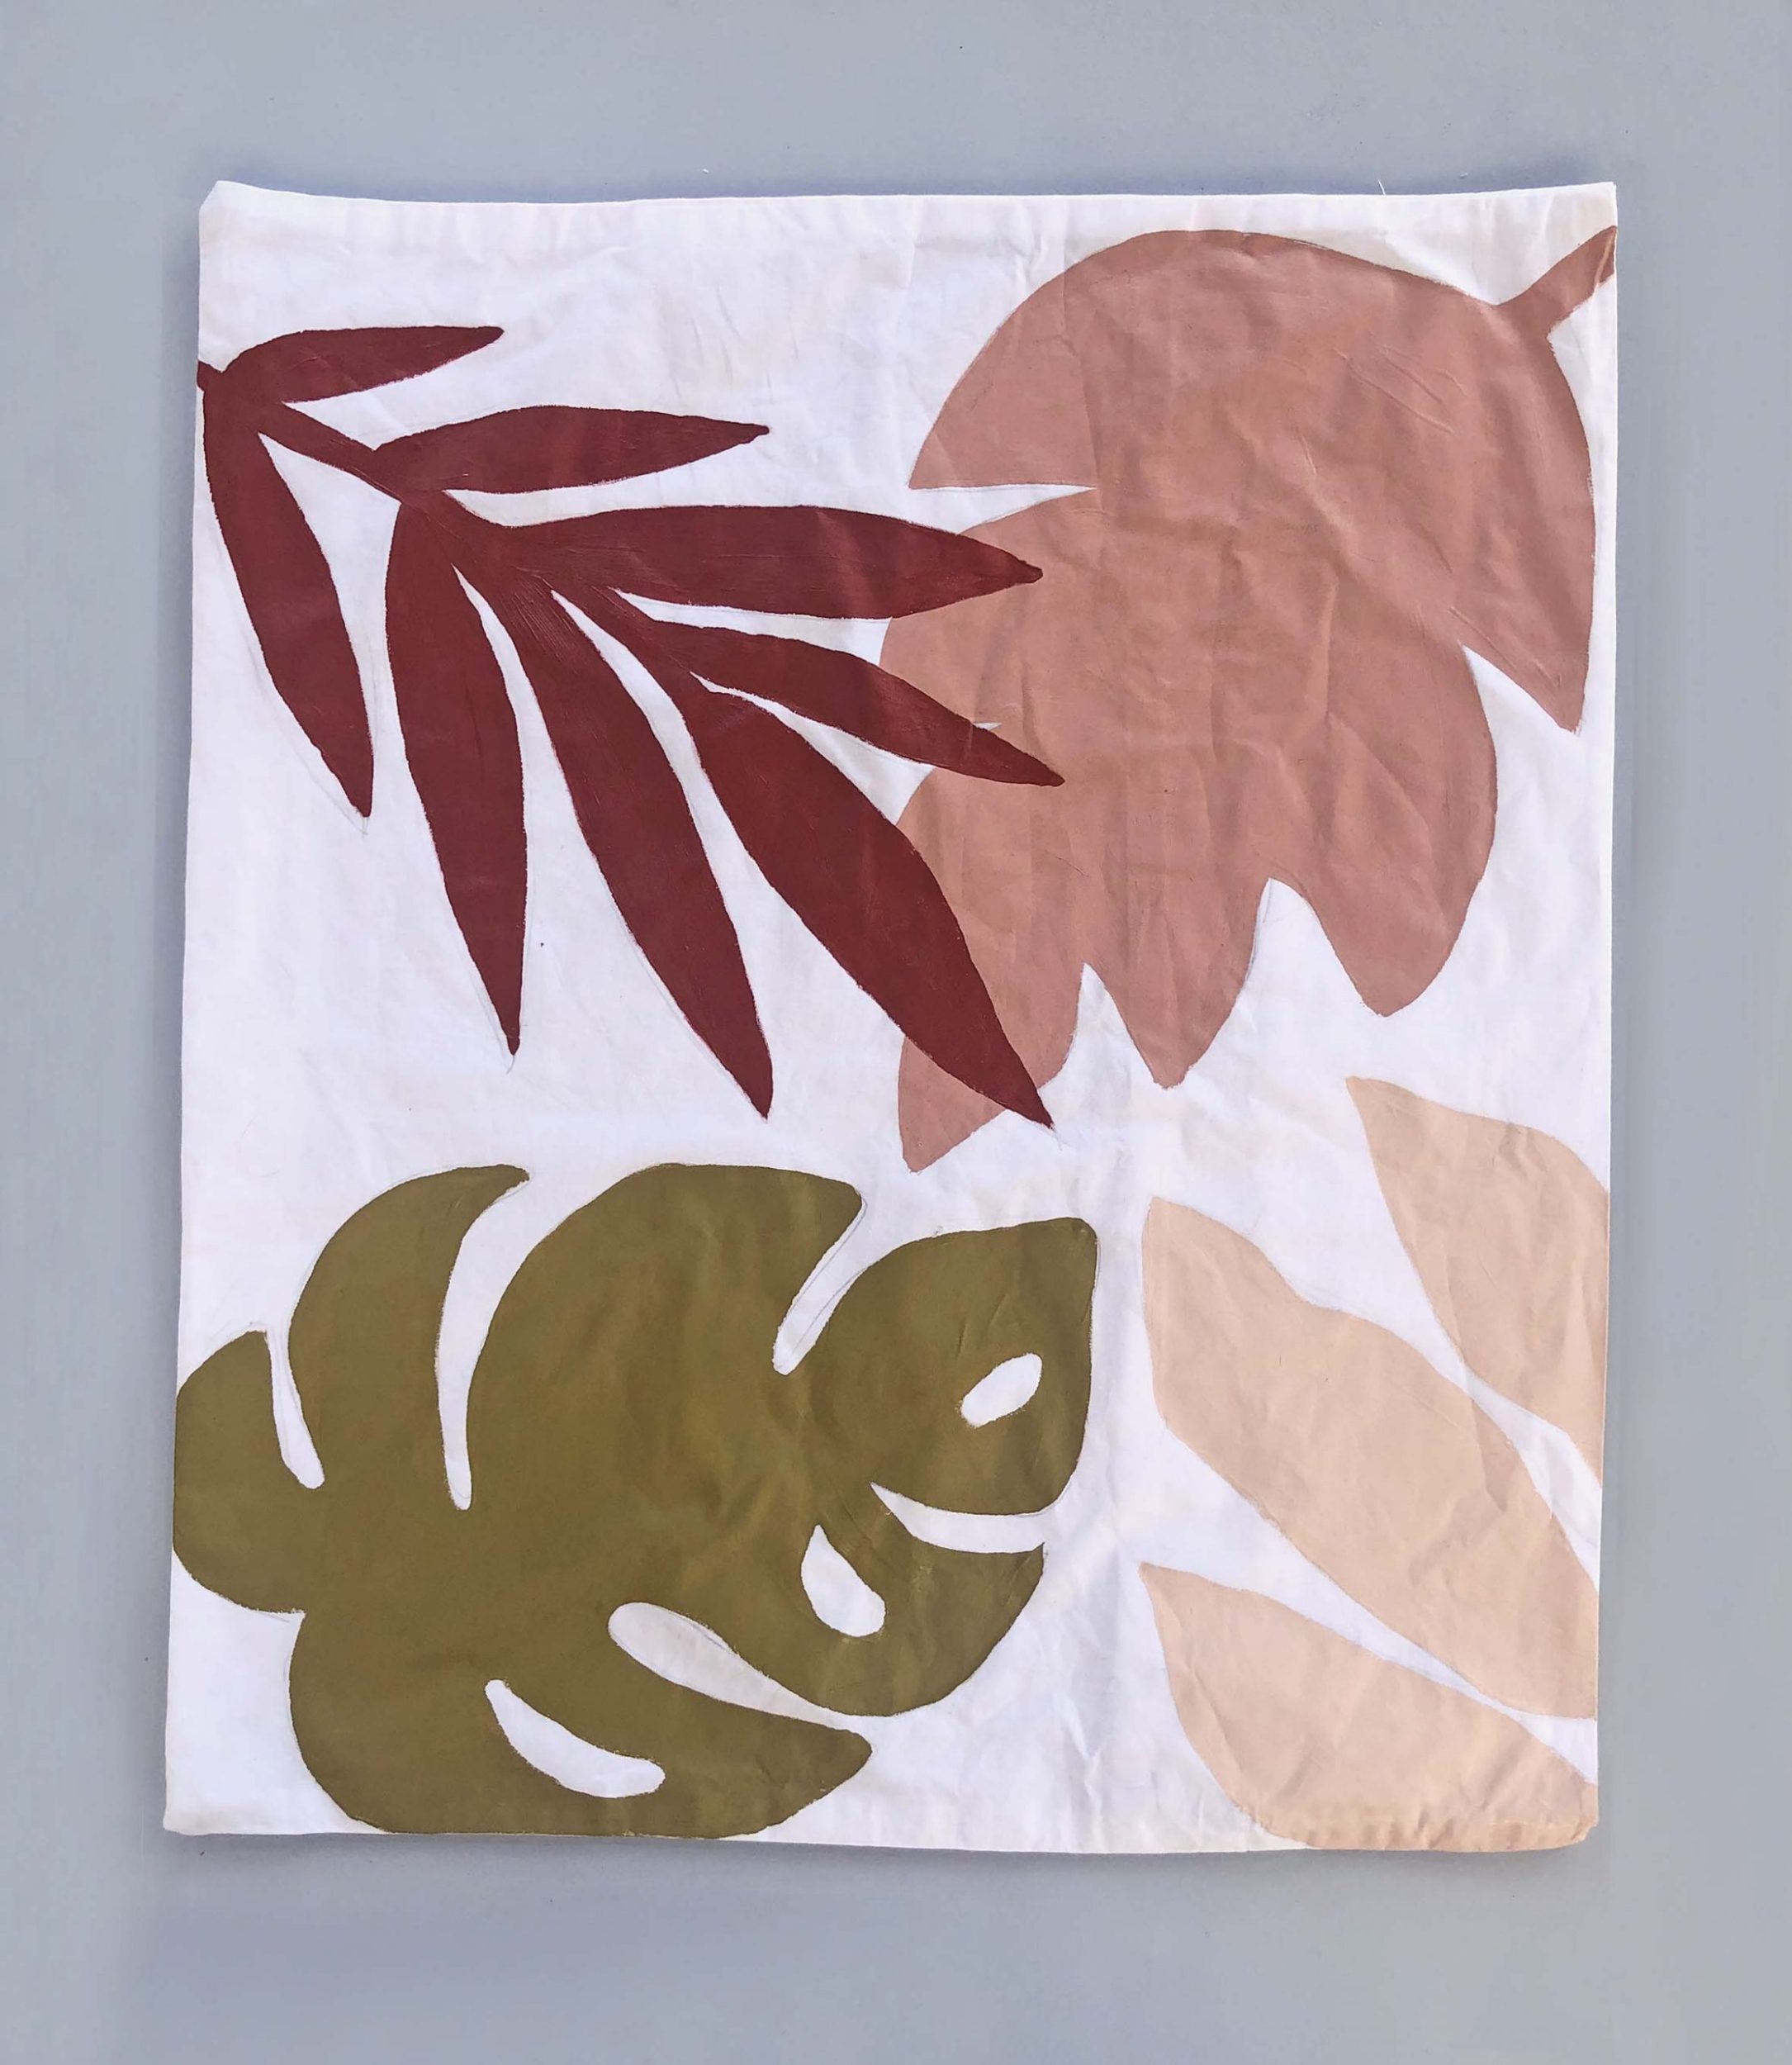
Trace with a pencil and then begin to fill in each leaf with Resene paints. We used Resene Soulful, Resene Just Dance (E), Resene Stinger and Resene Raging Bull for the leaves.
Make sure each leaf is dried completely before painting the next one. Use Resene Raging Bull, the darkest shade, as the overlapping layer. (F)
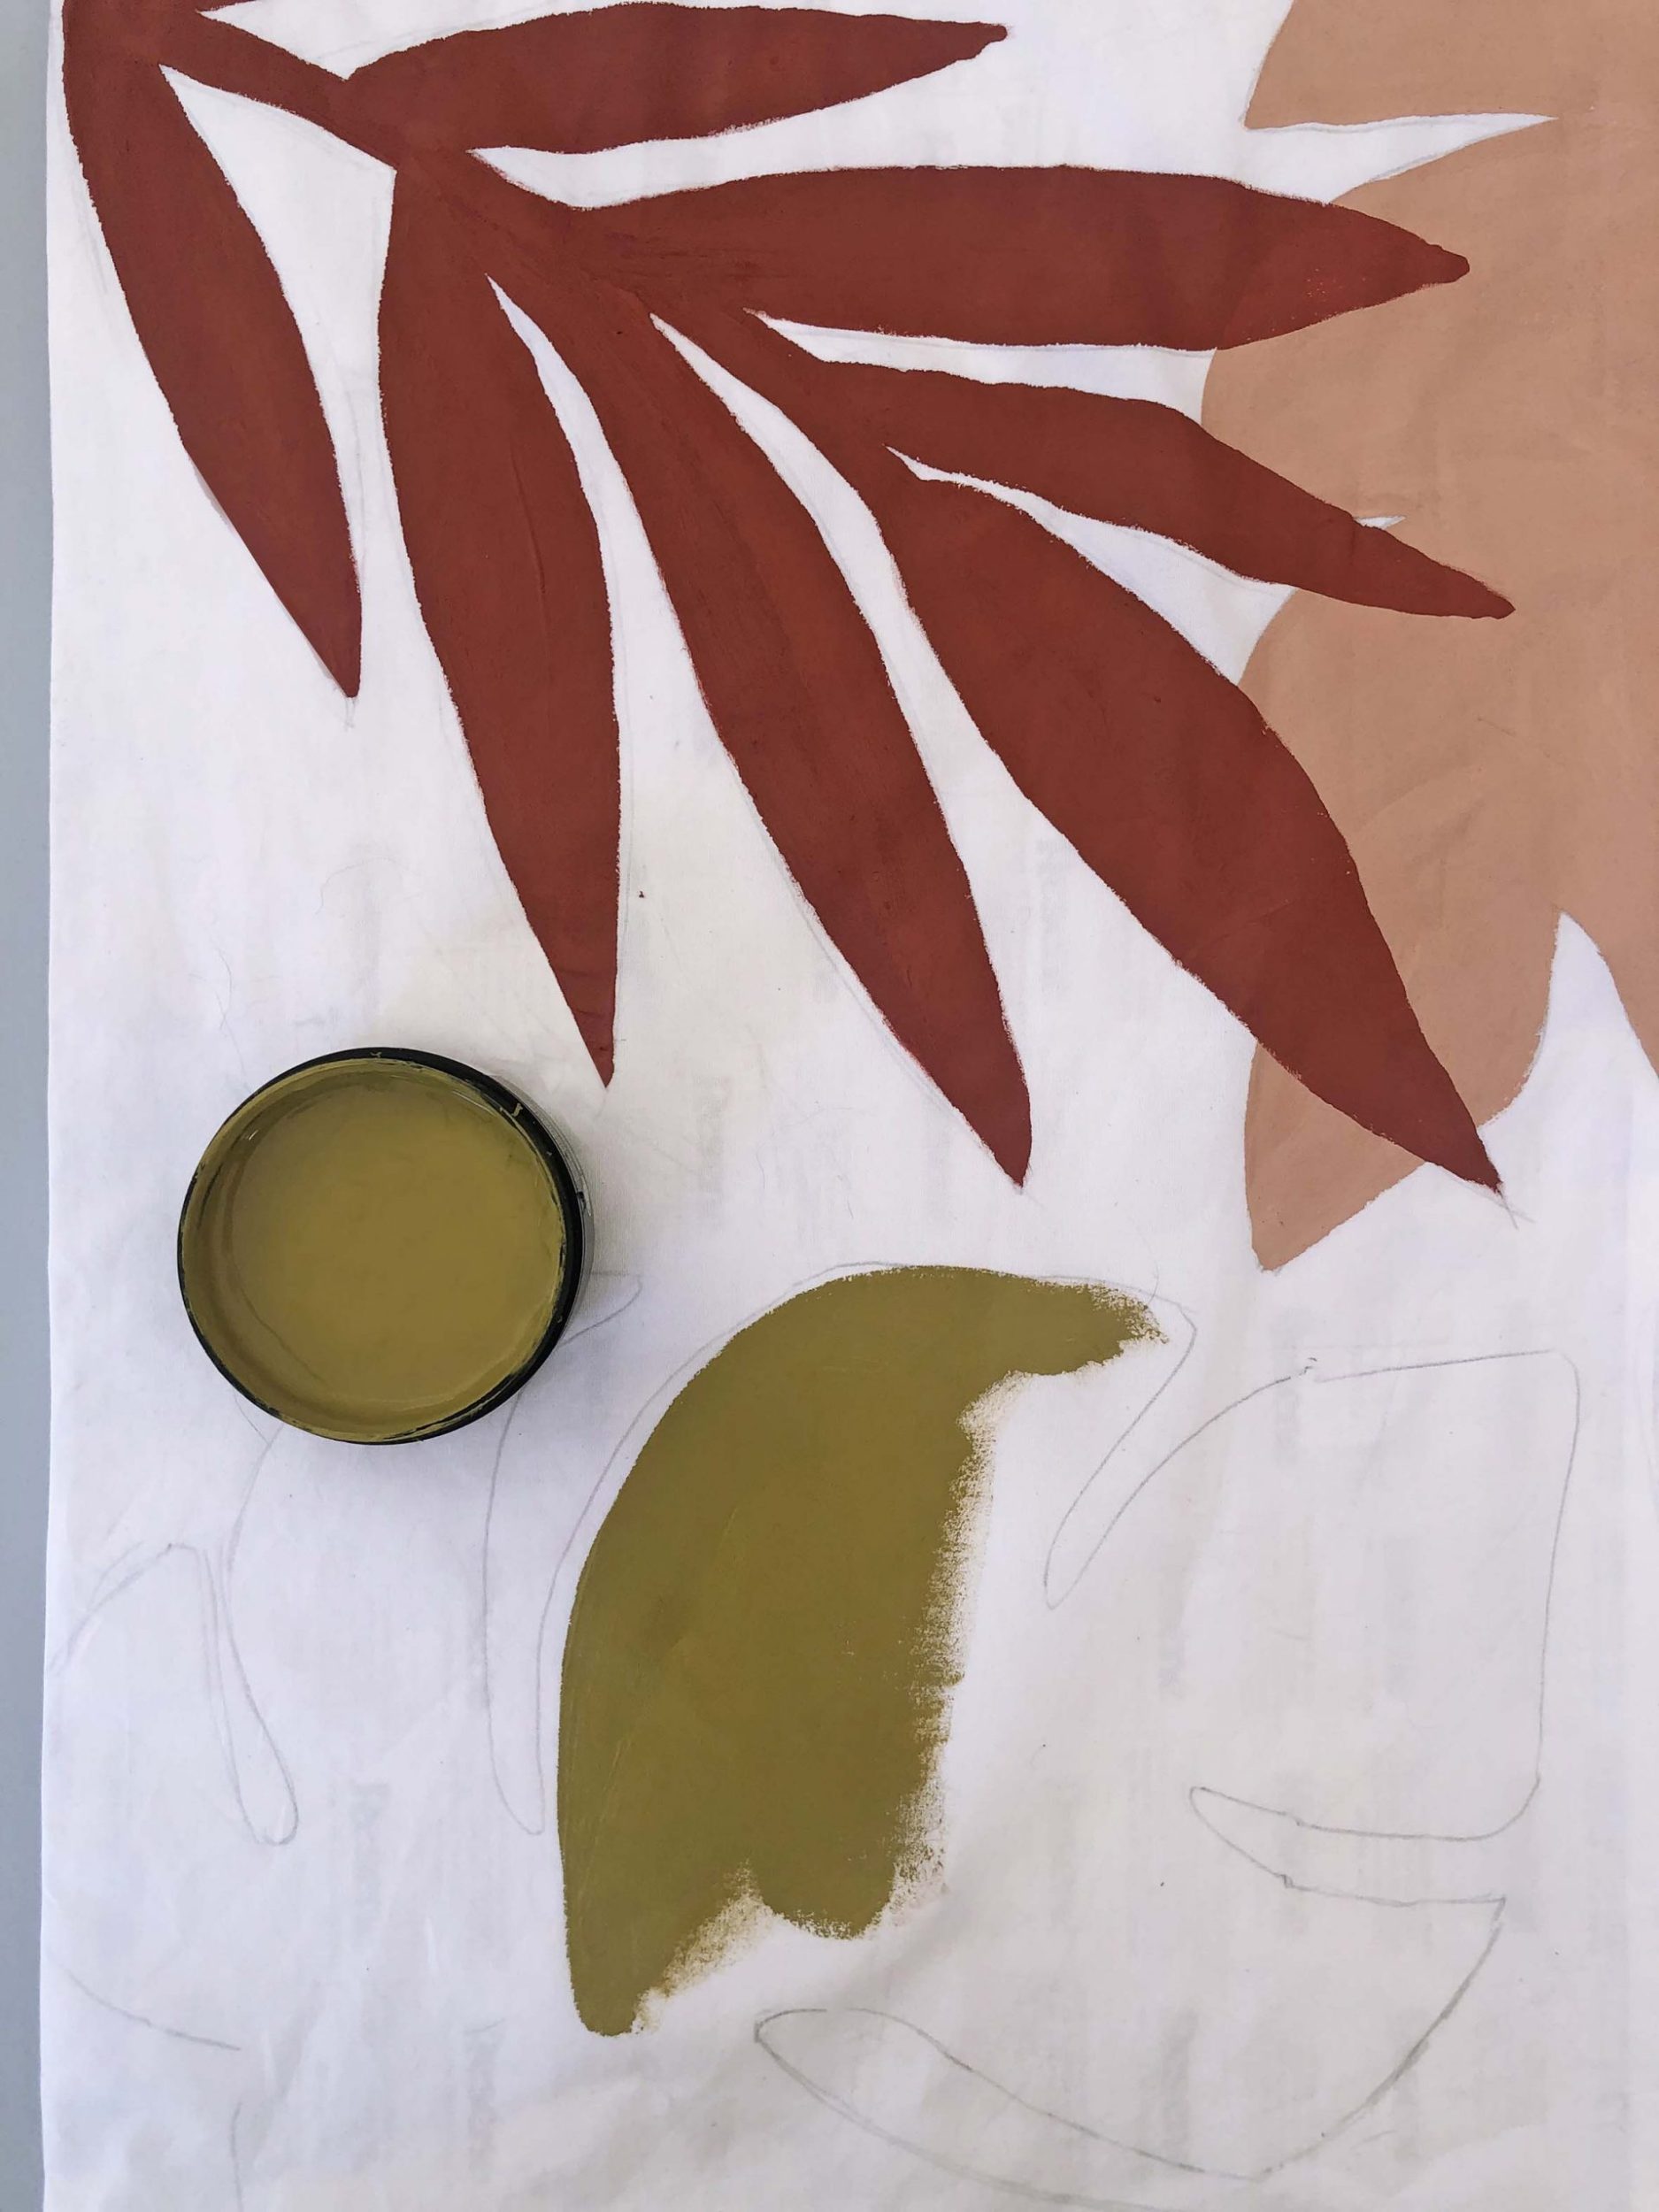
2. Wait until all the leaves are painted and dry (G).
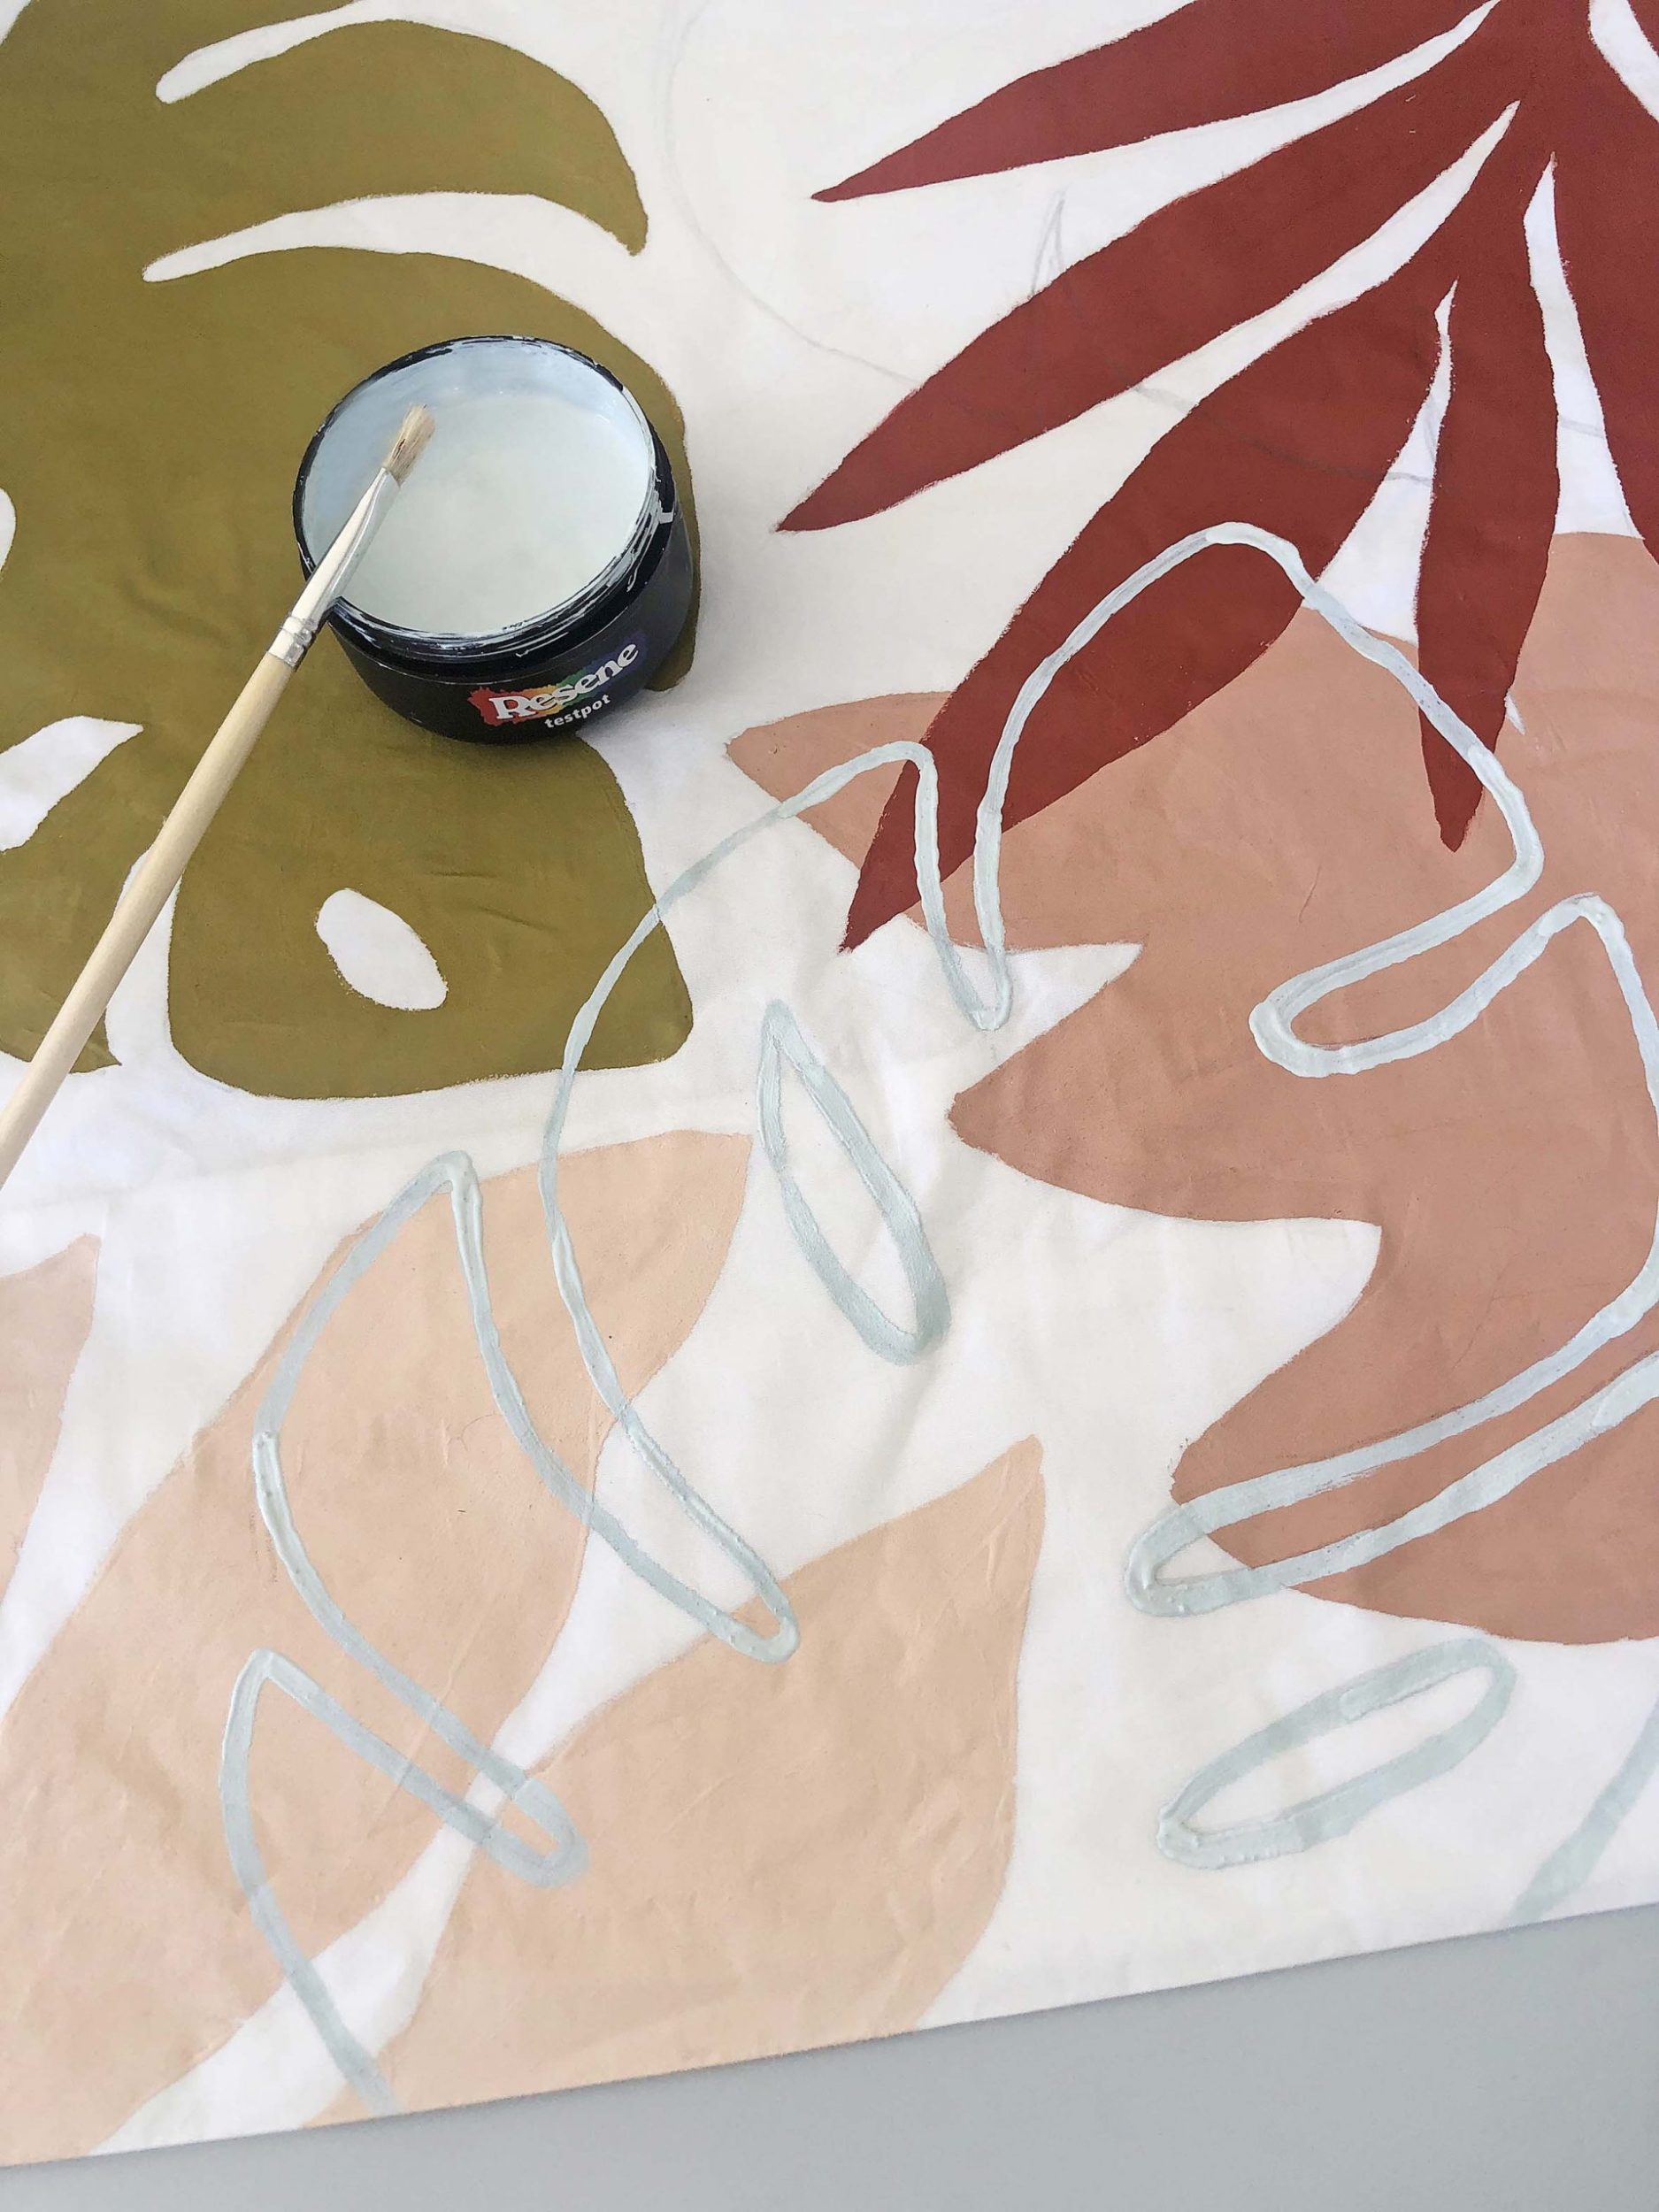
Then trace around one of the larger leaves and paint just the outline with Resene Mystery to give the cushion a more interesting layered design. (H)
Terrazzo design
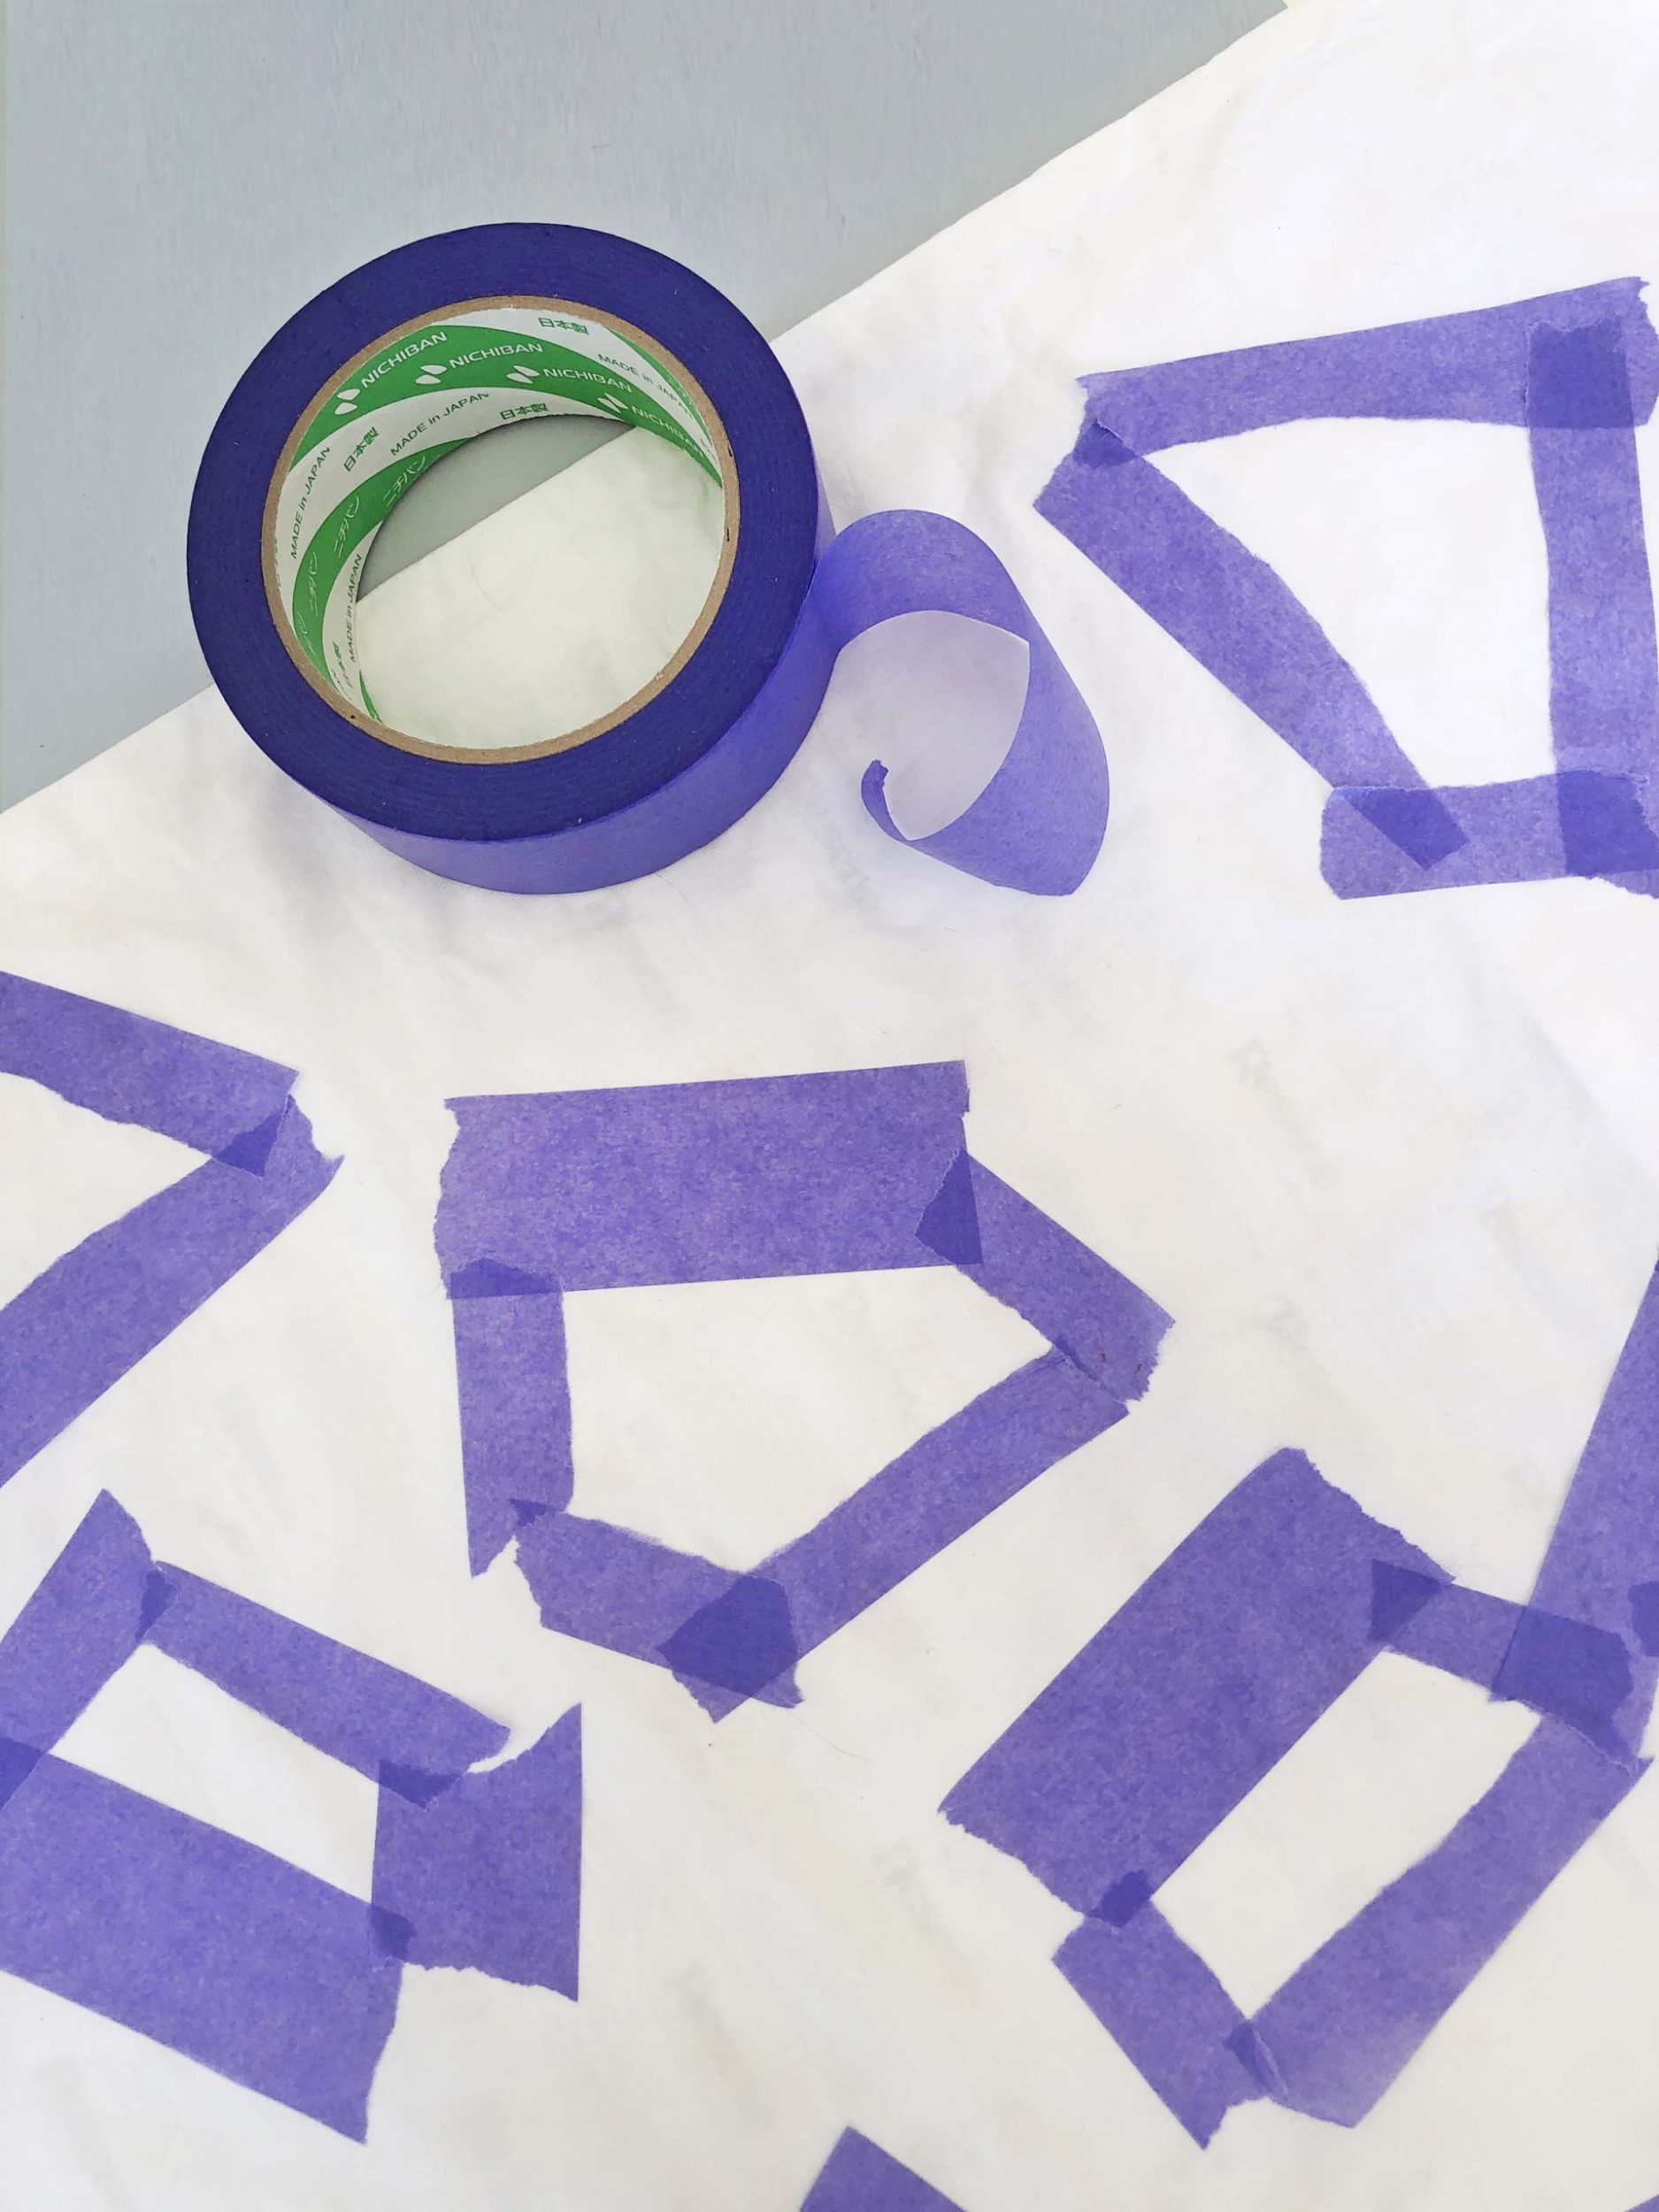
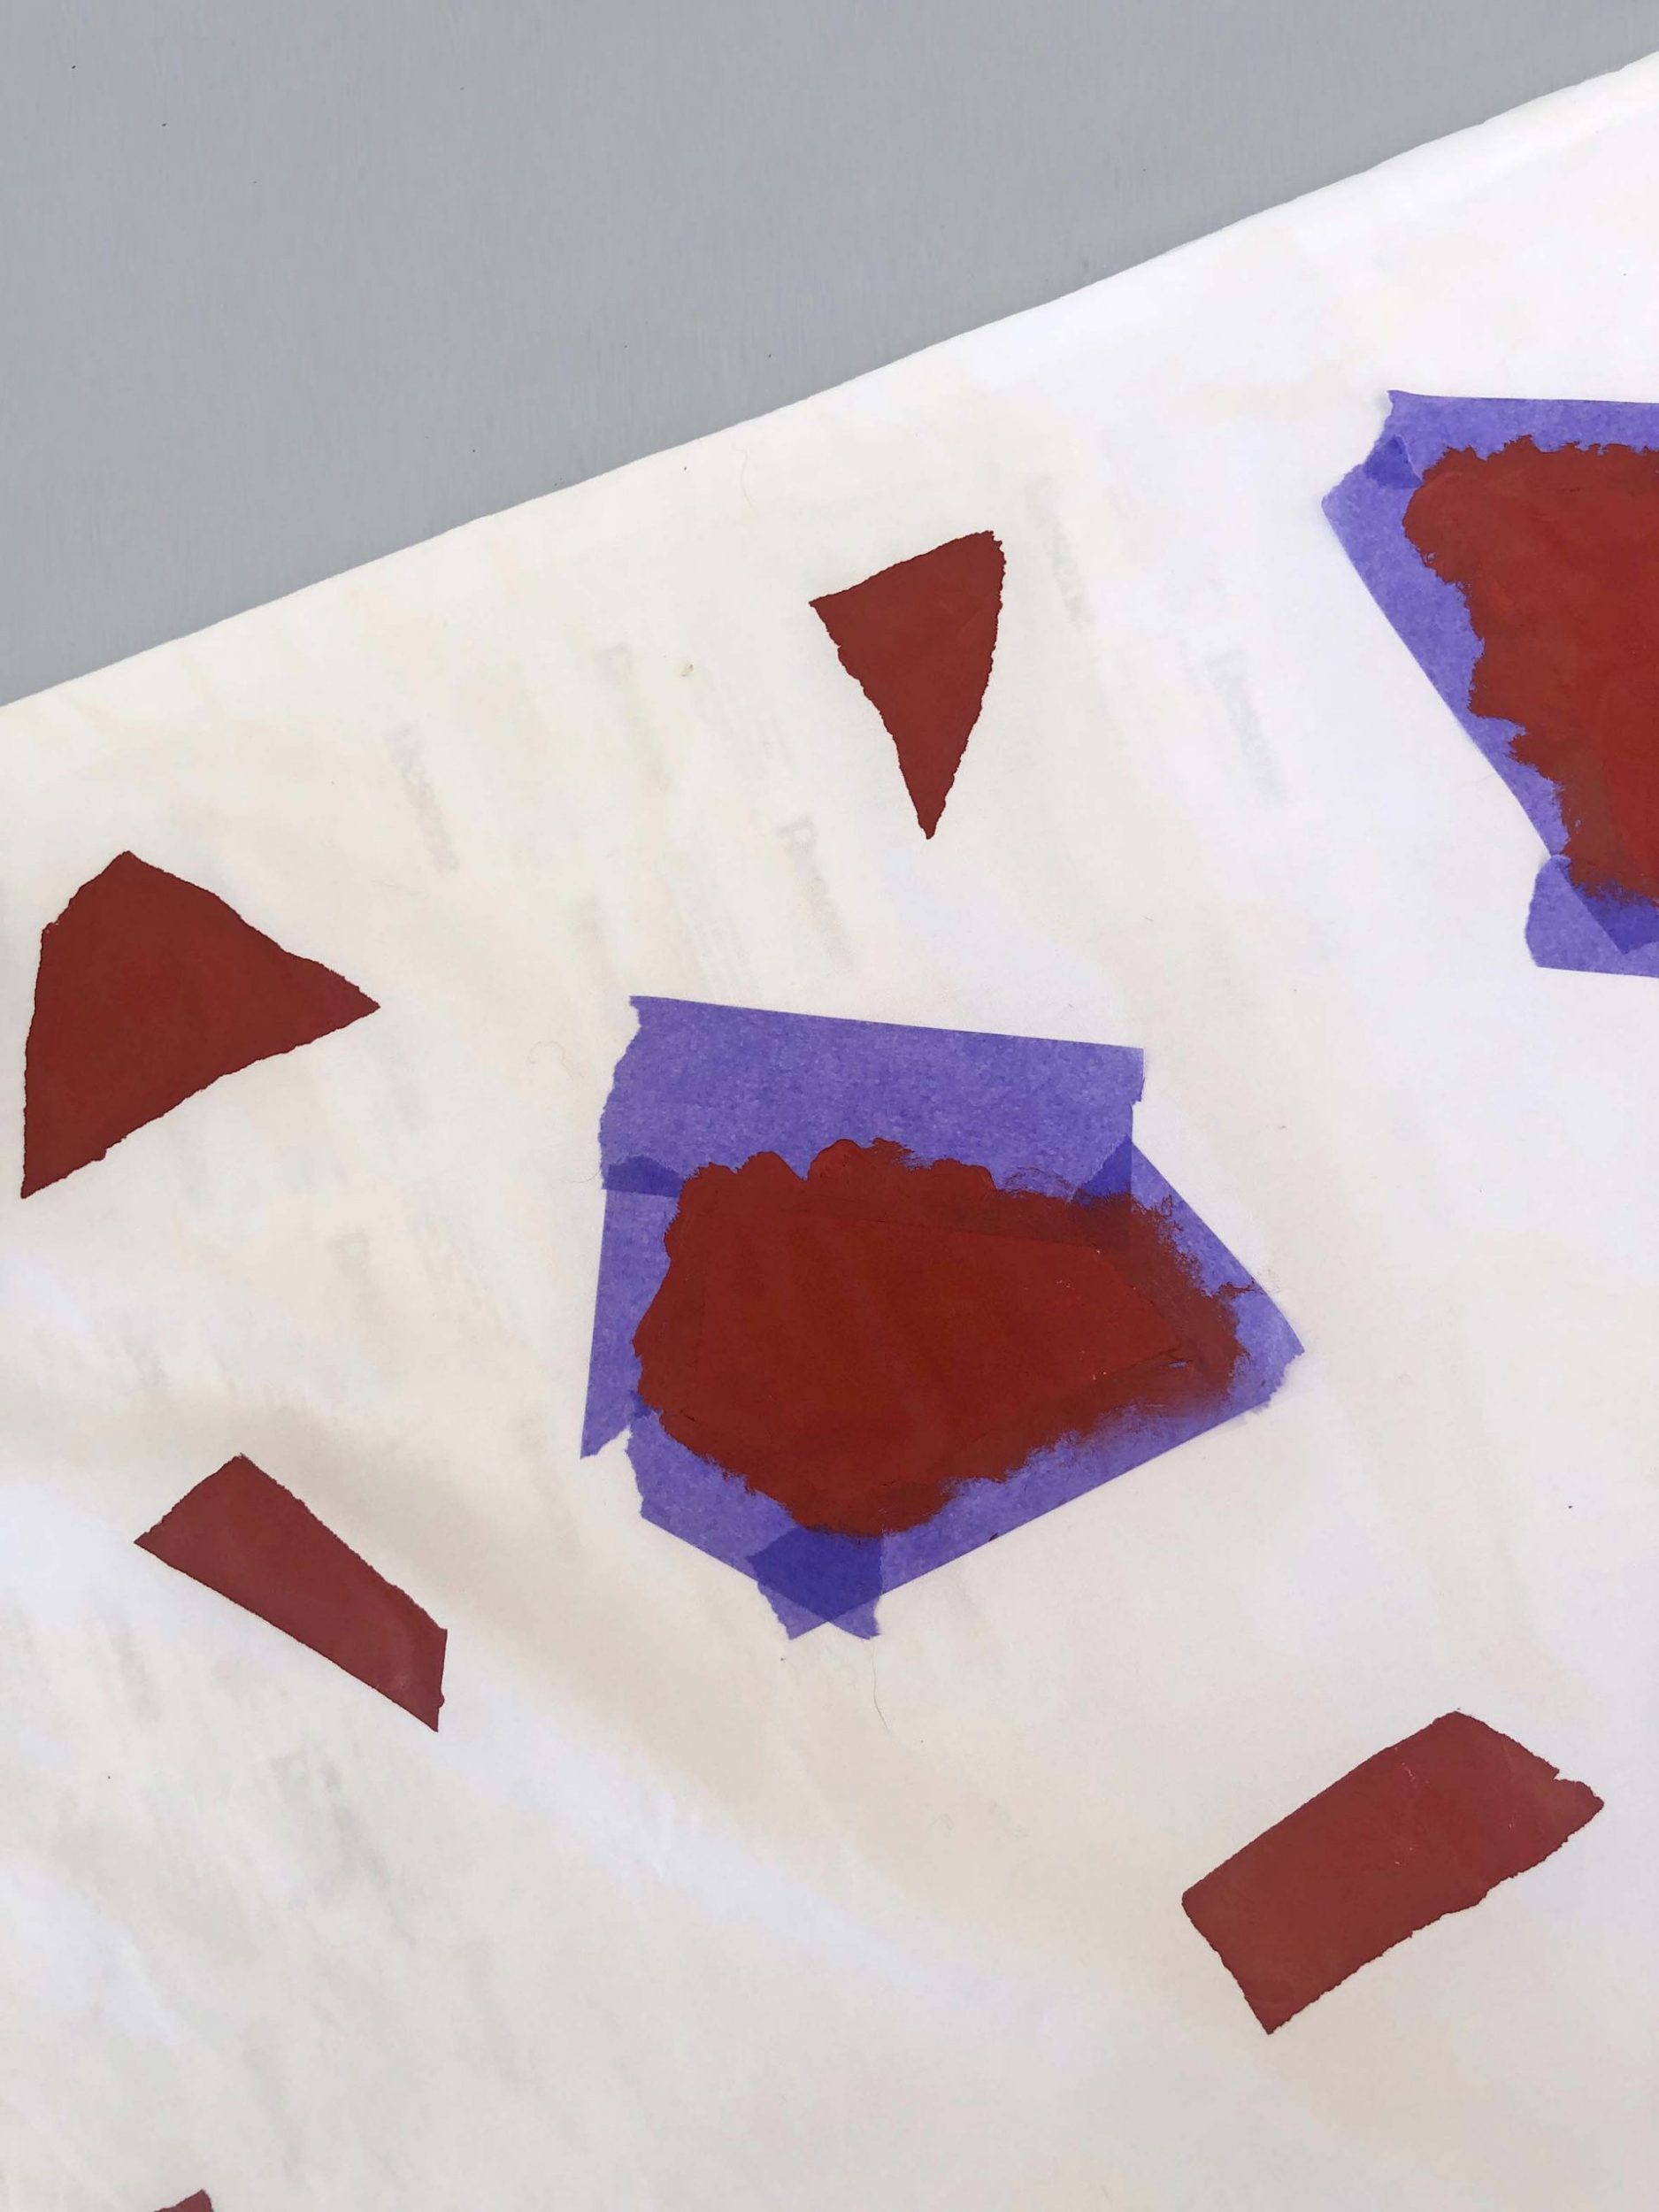
1. Use removable tape to create random triangular and polygon shapes. (I)
NOTE: Tear the tape so you have interesting edges, rather than straight ones. It will make your design look more authentic.
2. Using Resene art brushes, paint inside the taped area. (J)
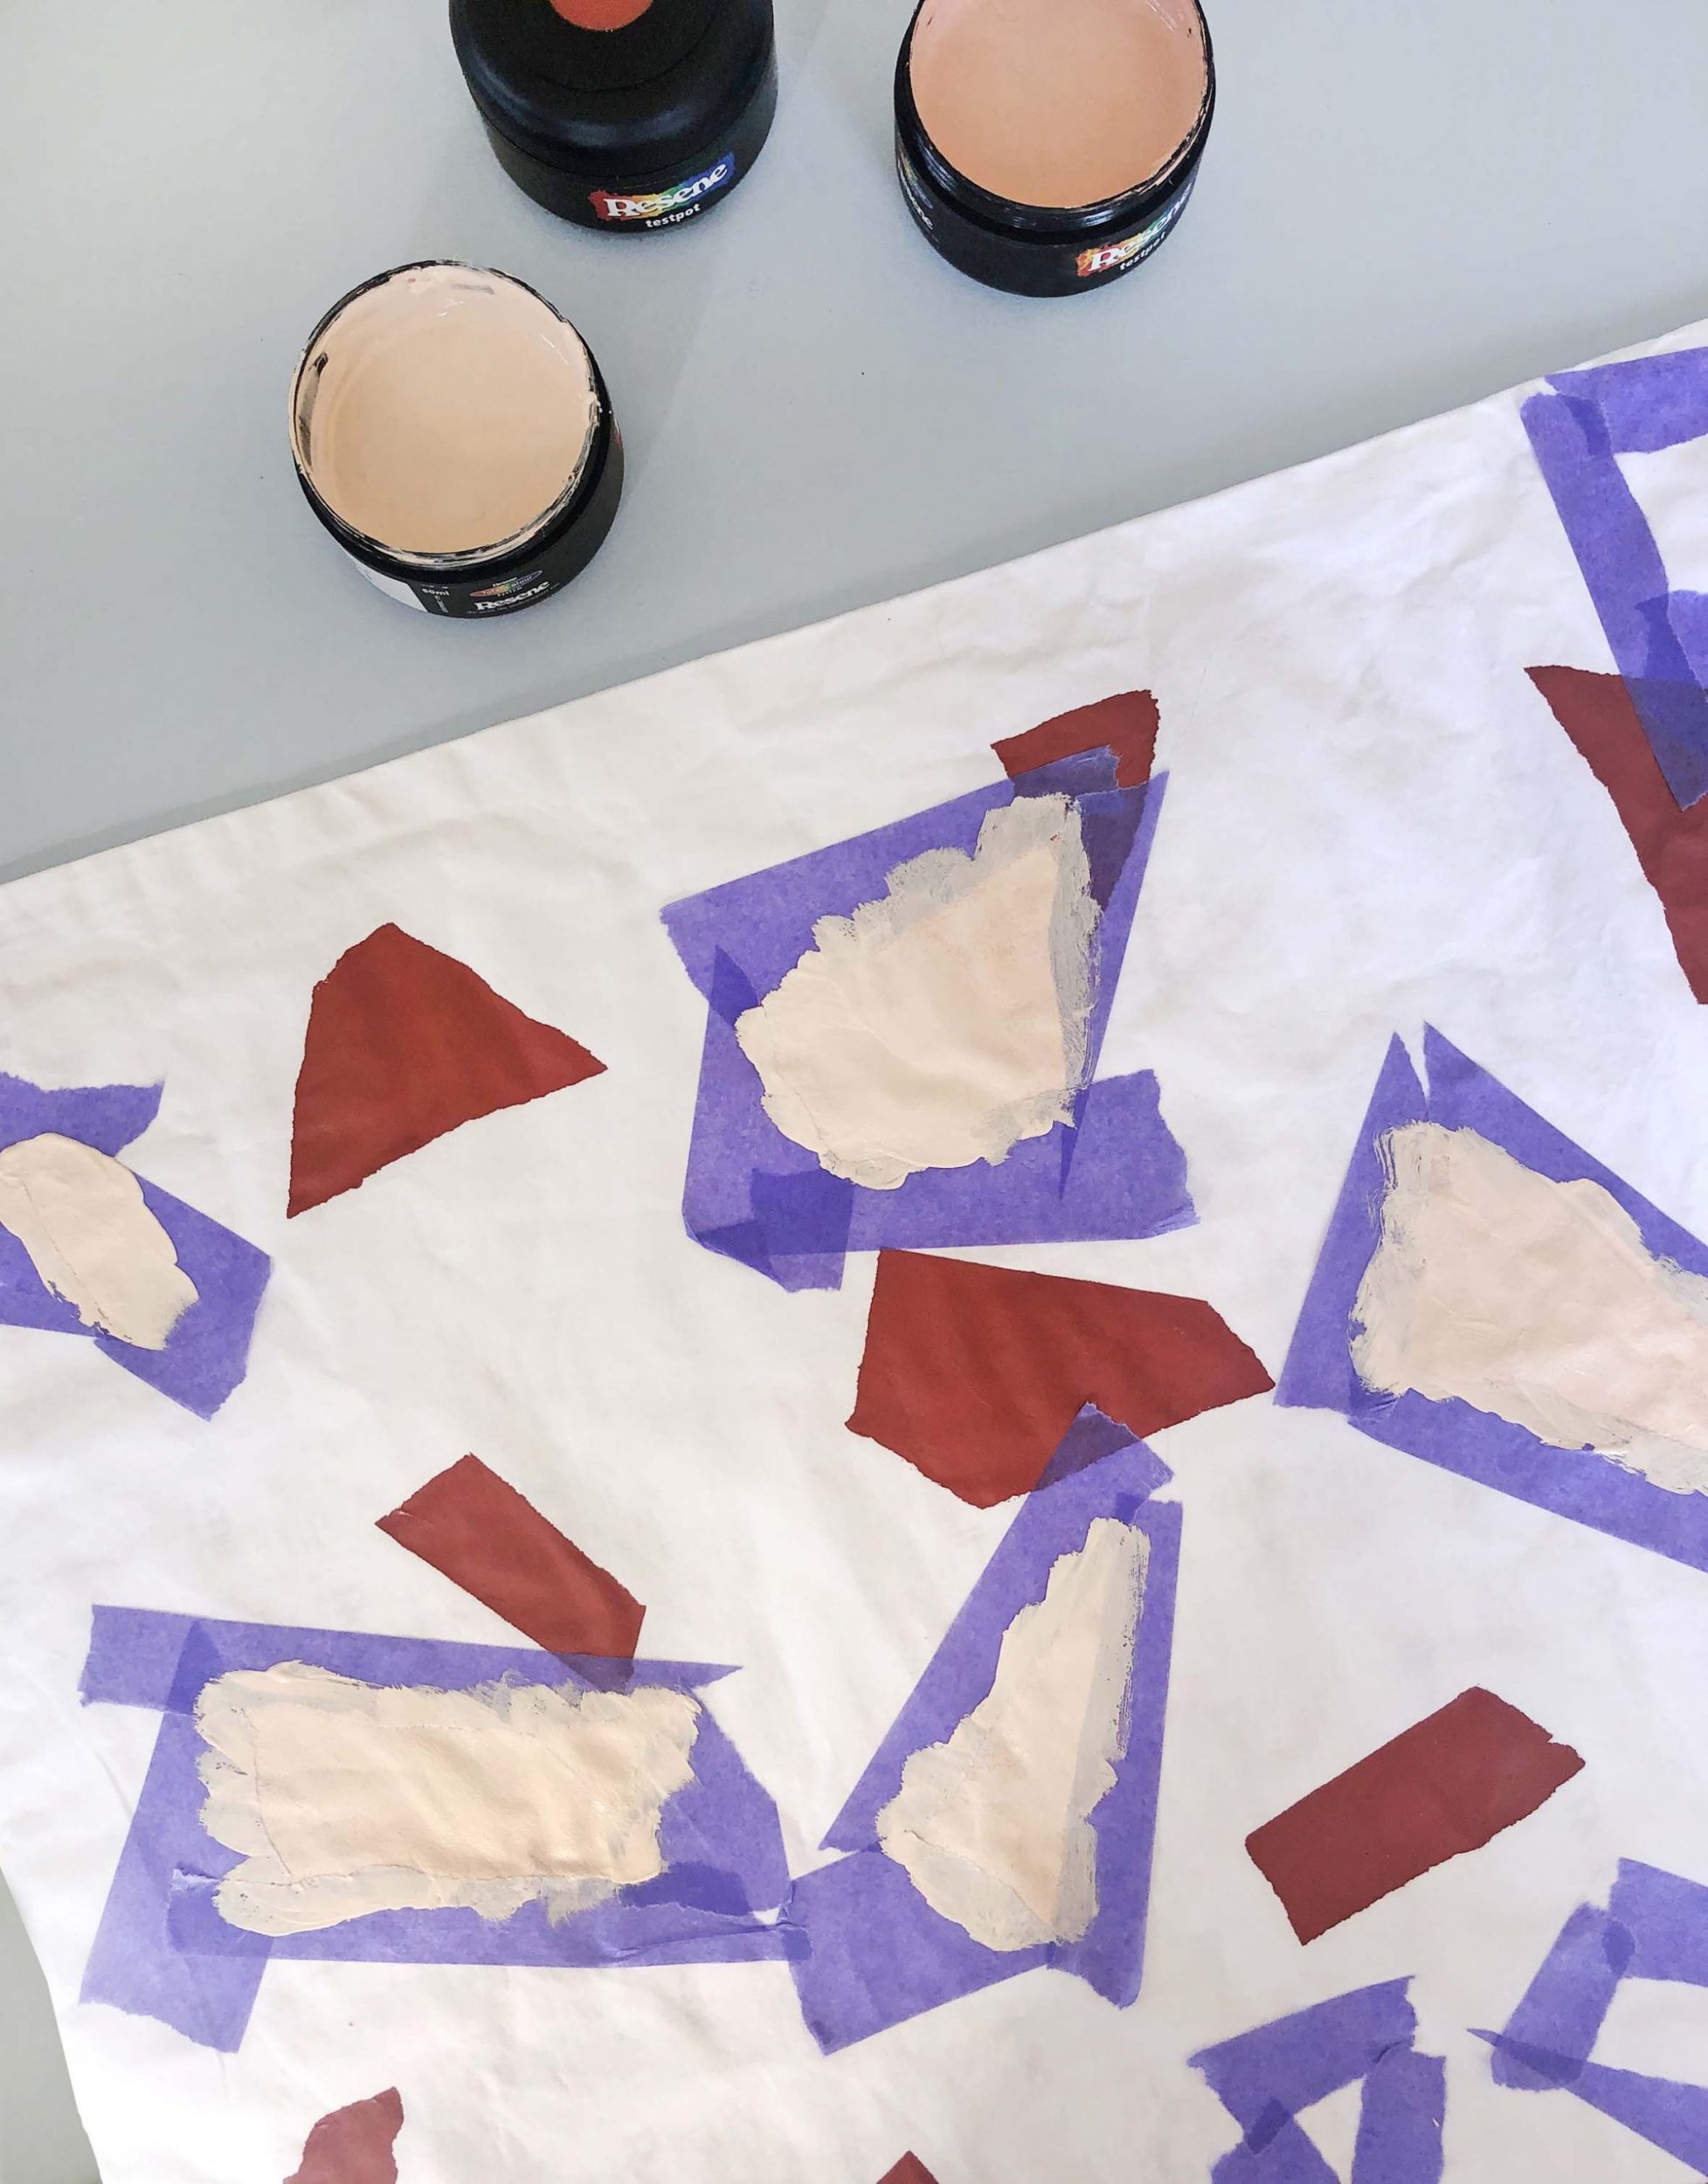
Make sure this colour dries completely before removing the tape. Then start taping and painting the next lot of shapes in Resene colours. Continue this process, making sure you leave spaces where the fabric is showing. (K)
This is the time to cover any marks on the pillowcase!
3. The goal is to scatter the Resene colours so there is a good mix of shapes, sizes and colours. We used all the Resene colours listed above. (L)
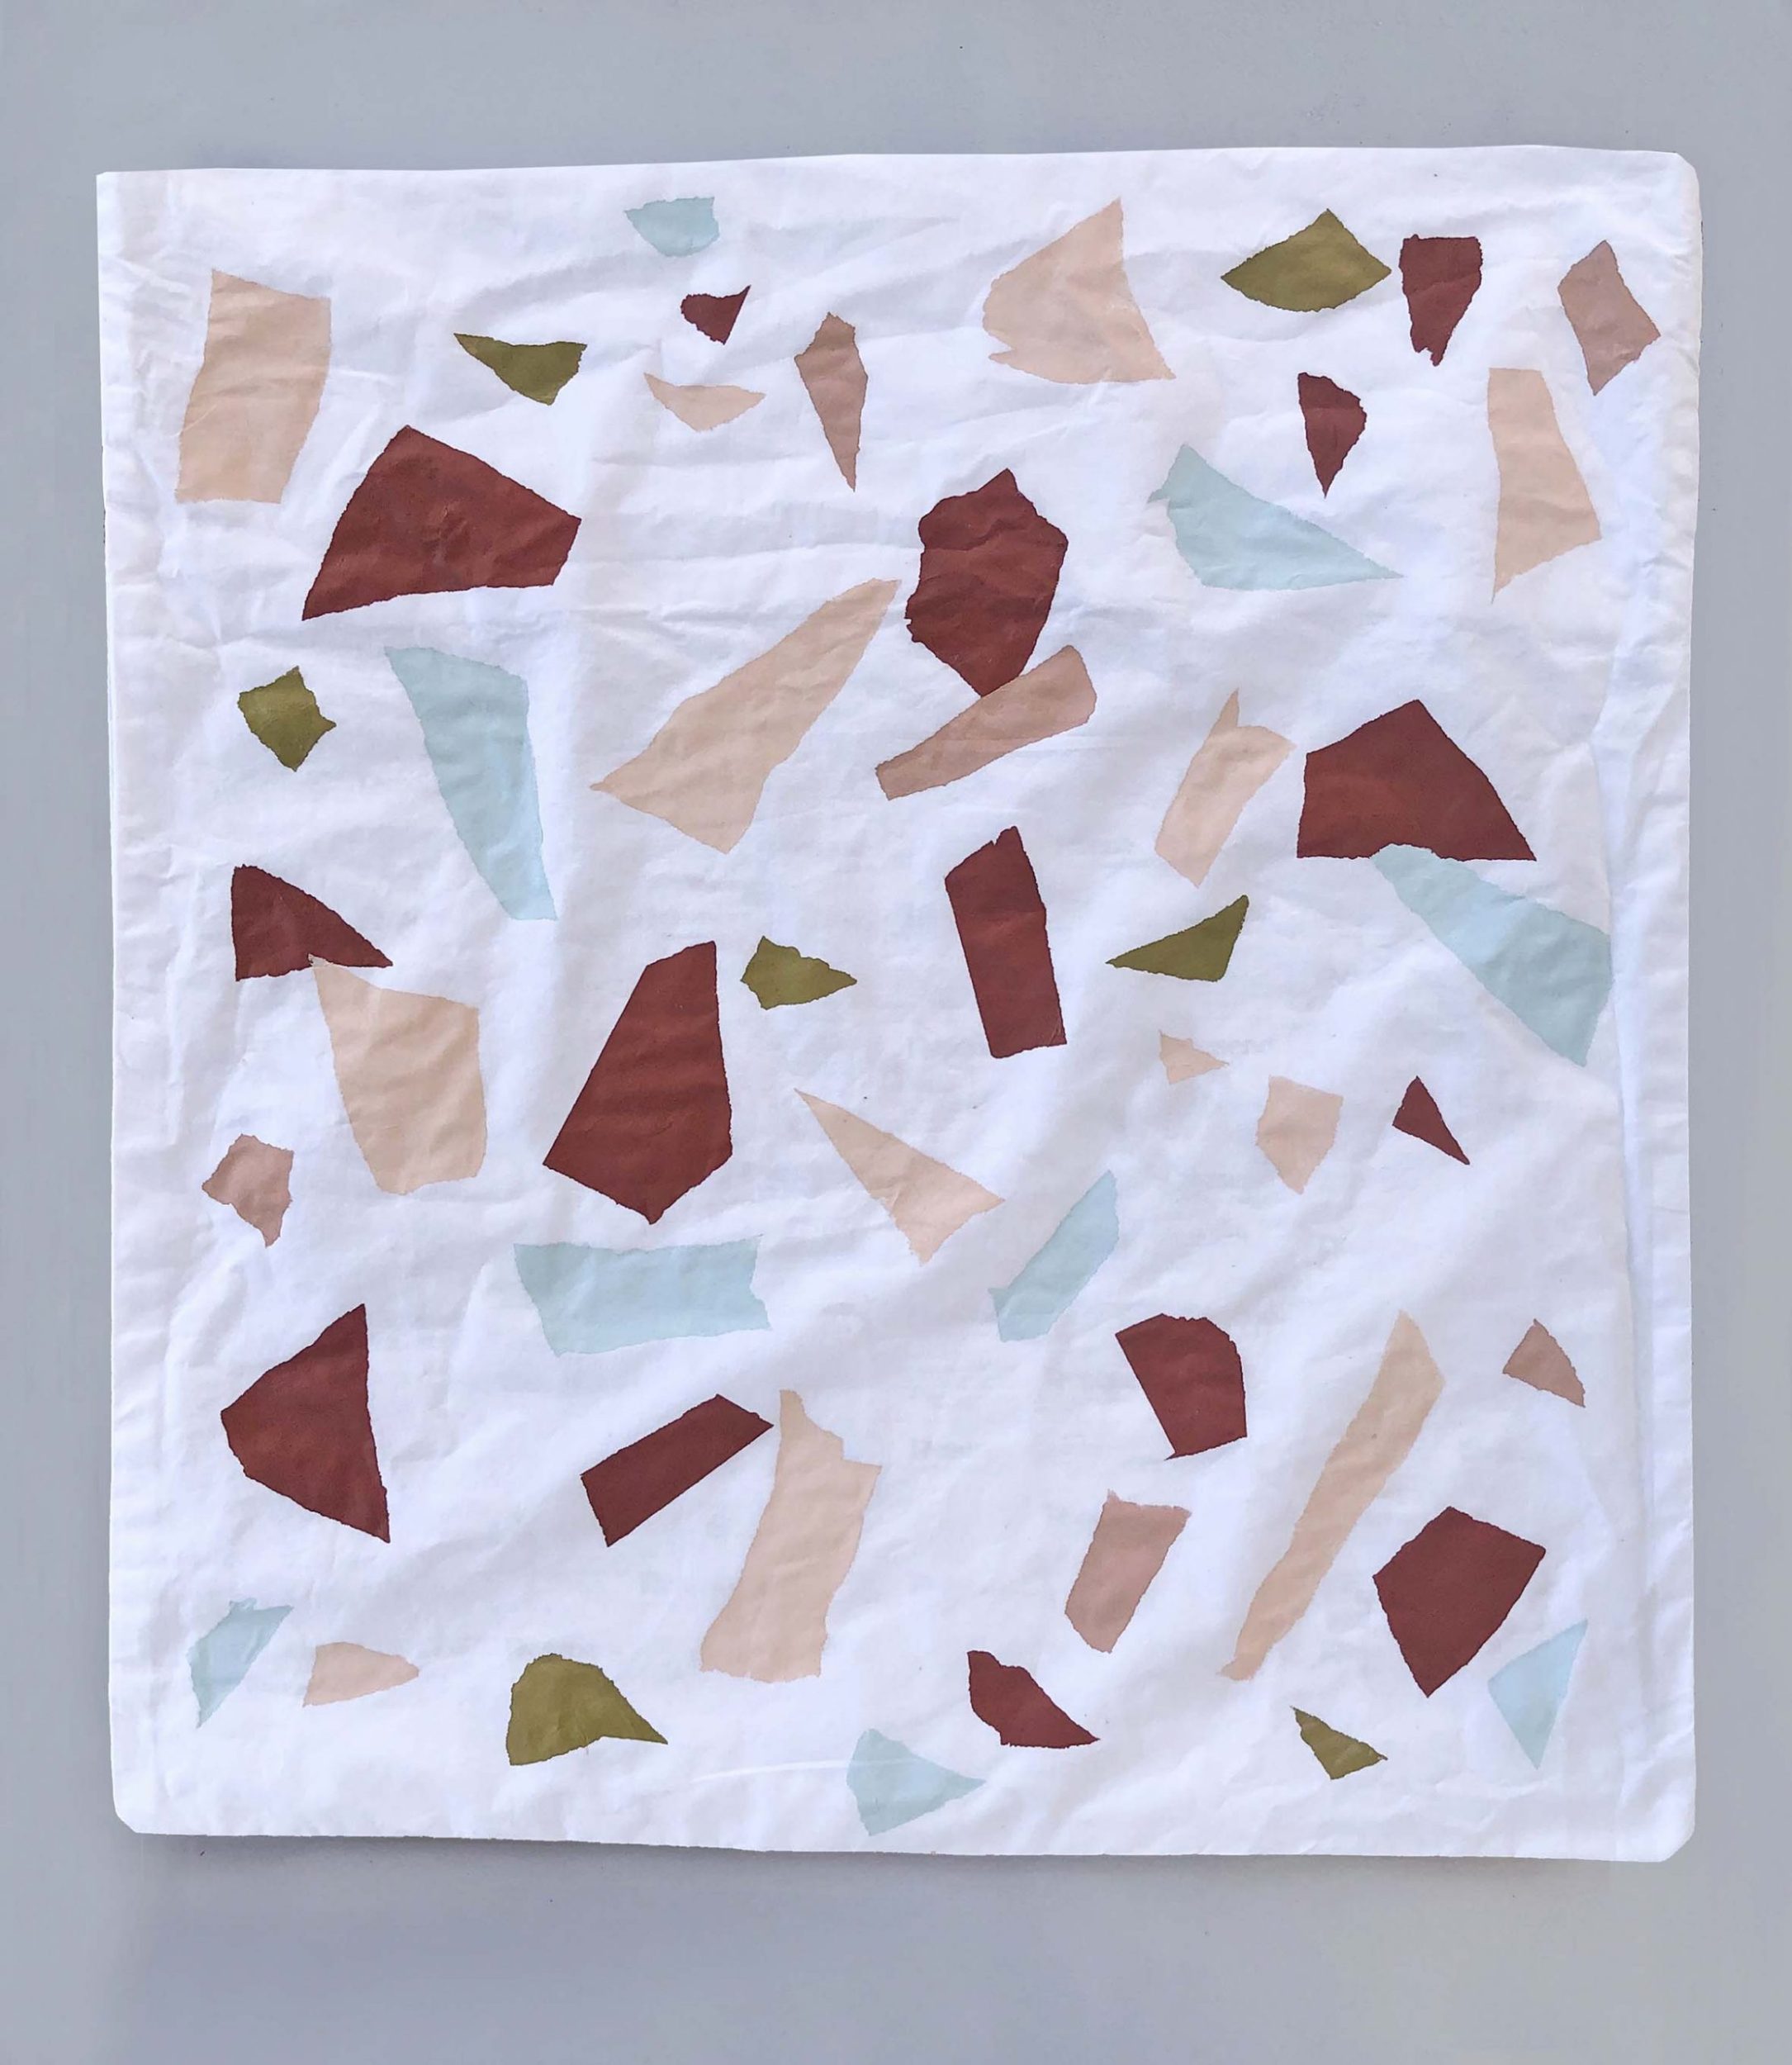
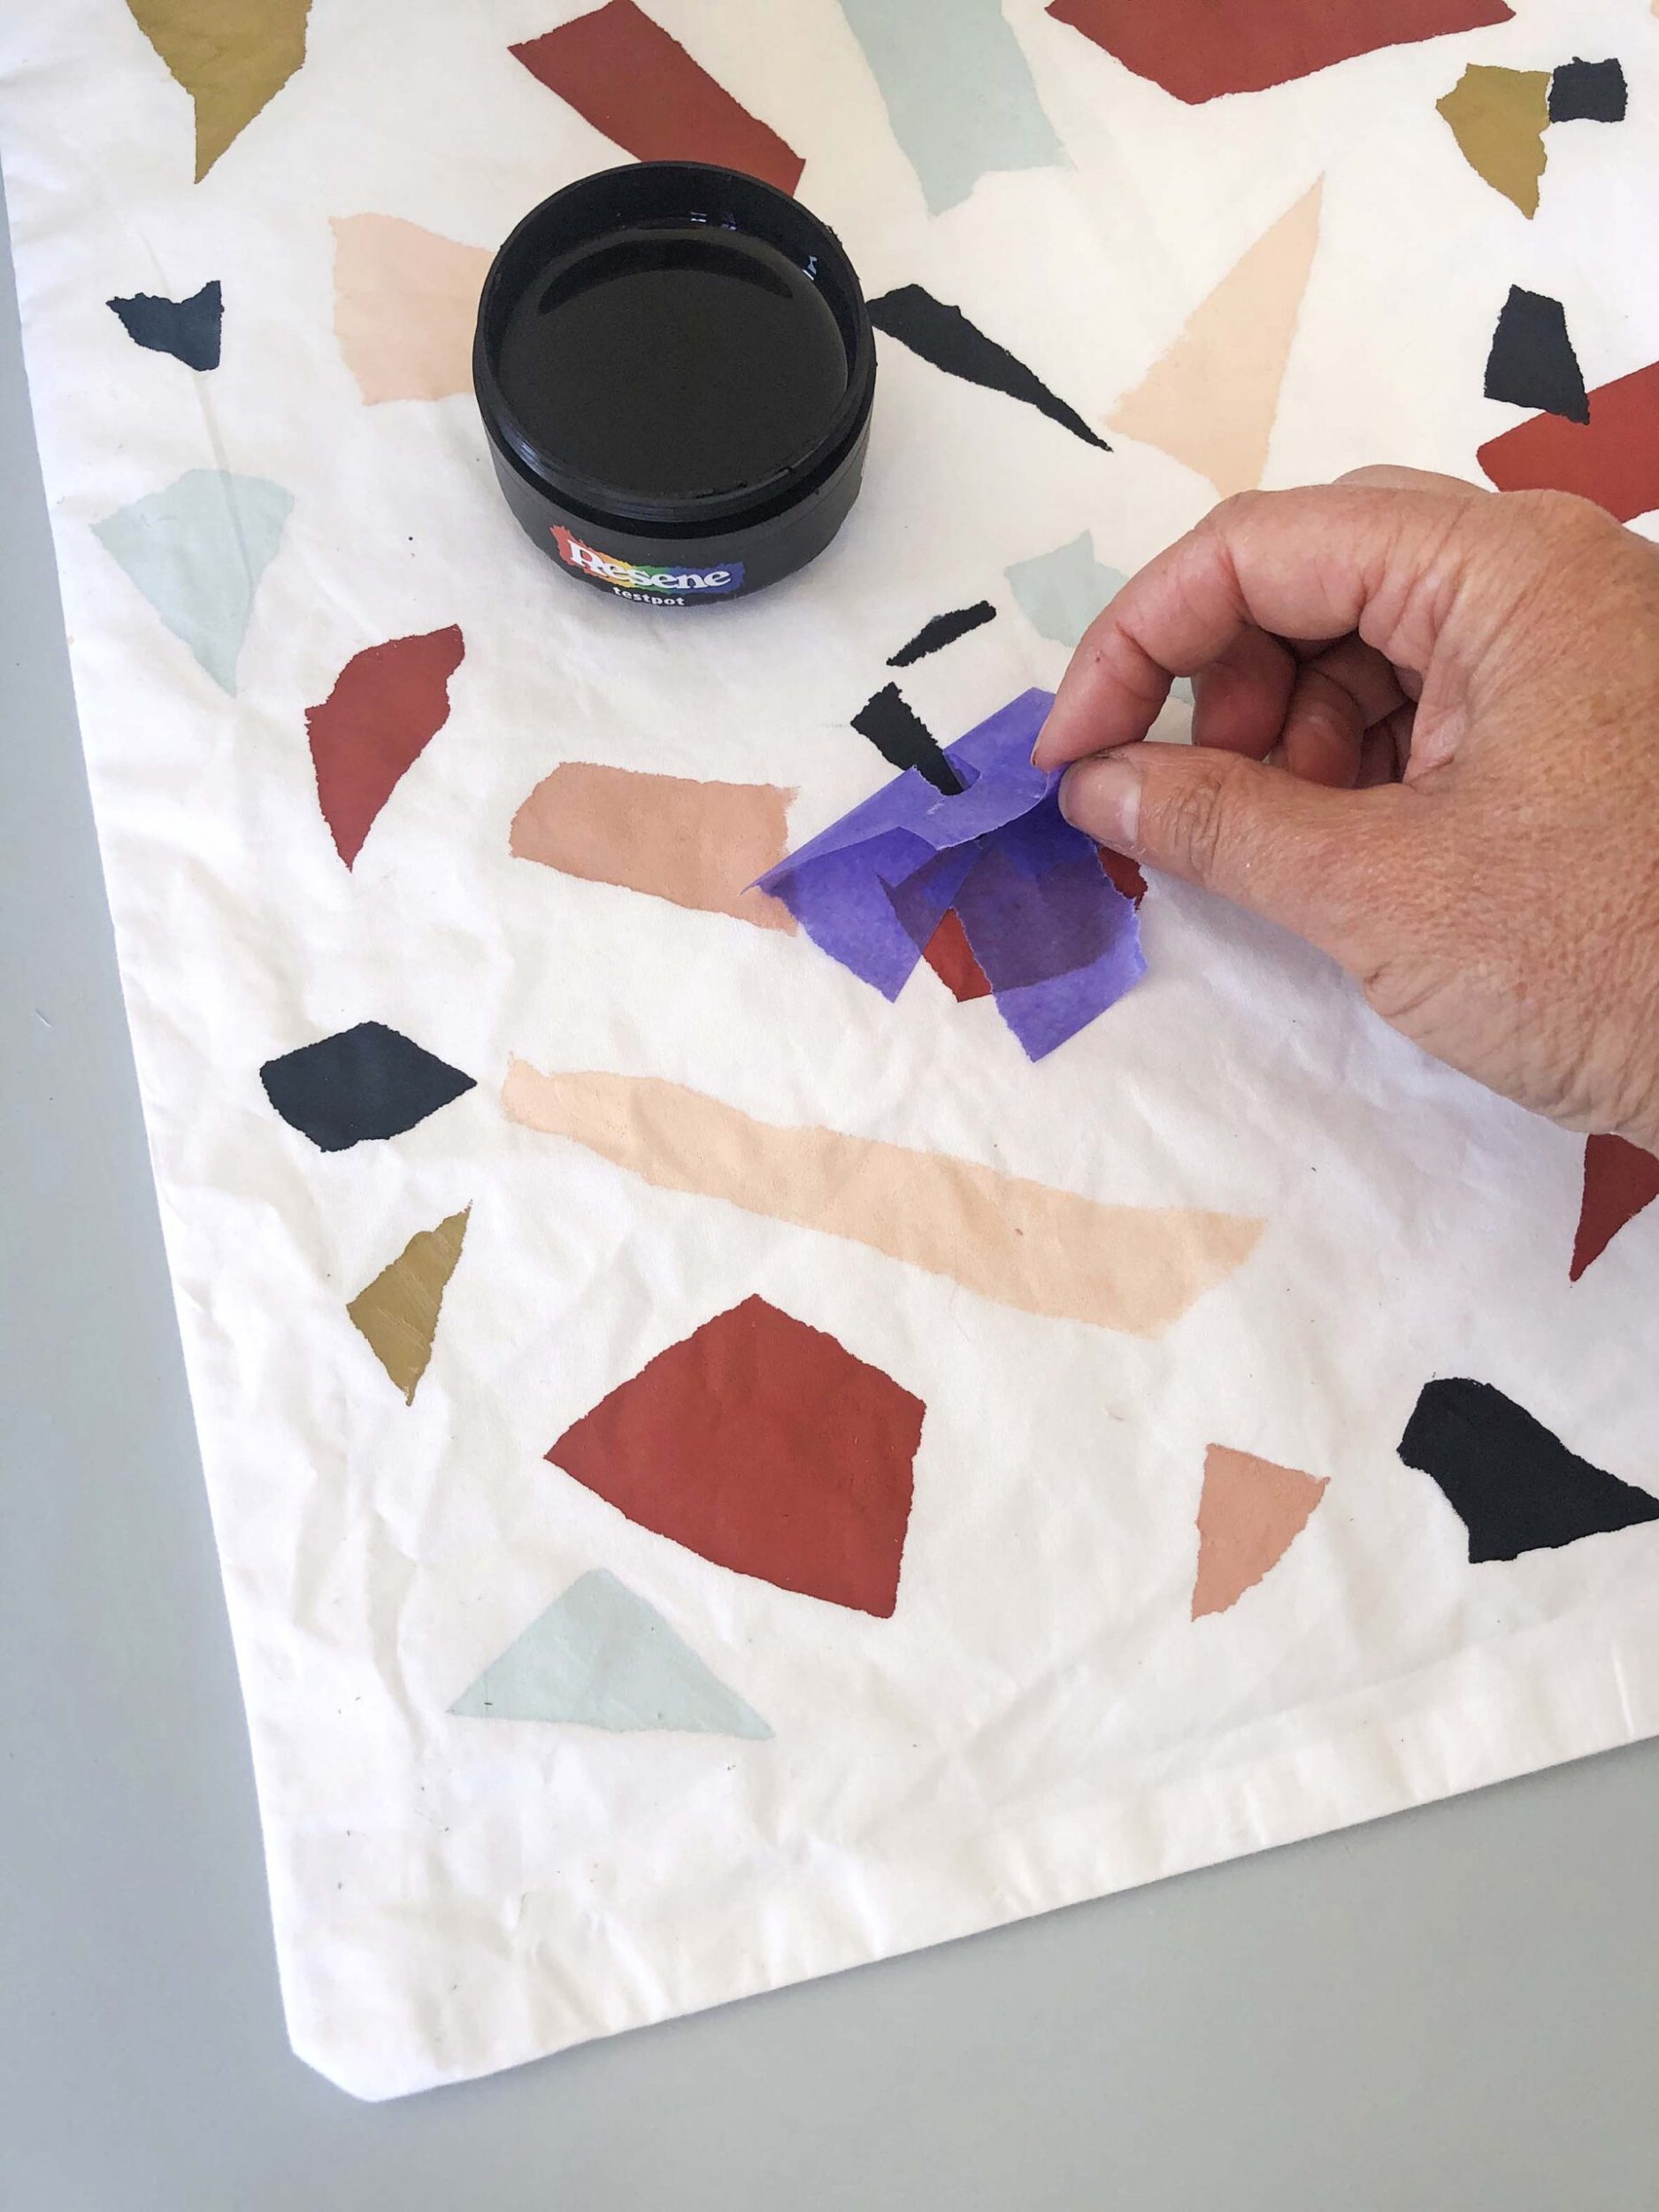
4. Finish with Resene All Black. It will overlap the other colours successfully. (M)
Face design
1. Paint a group of organic-looking circular shapes. We used Resene Soulful, Resene Just Dance, Resene Jailbreak and Resene Raging Bull. (N)

When completely dry, use pencil to draw a continual line drawing of a woman’s face. Search online for “minimal line art” to find images to help you with your design. Use the finest of the Resene art brushes to paint over the pencil line with Resene All Black.