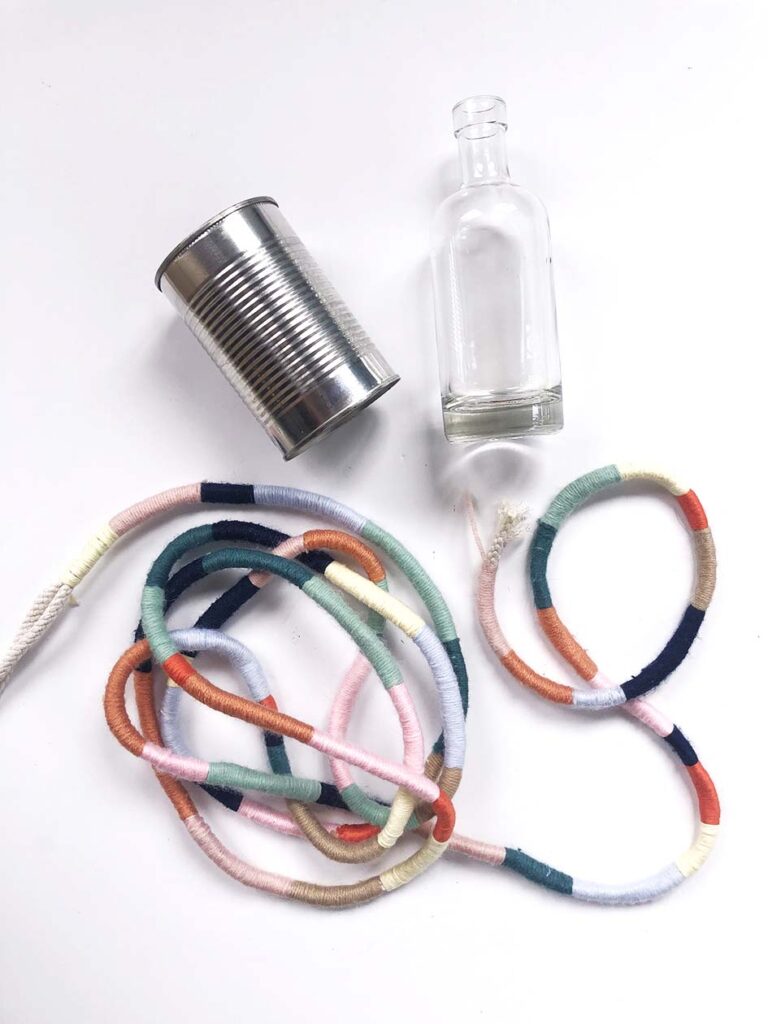
Marsha Smith transforms ordinary glass bottles or cans into unique works of art with coils of carefully wrapped cord.
What you need
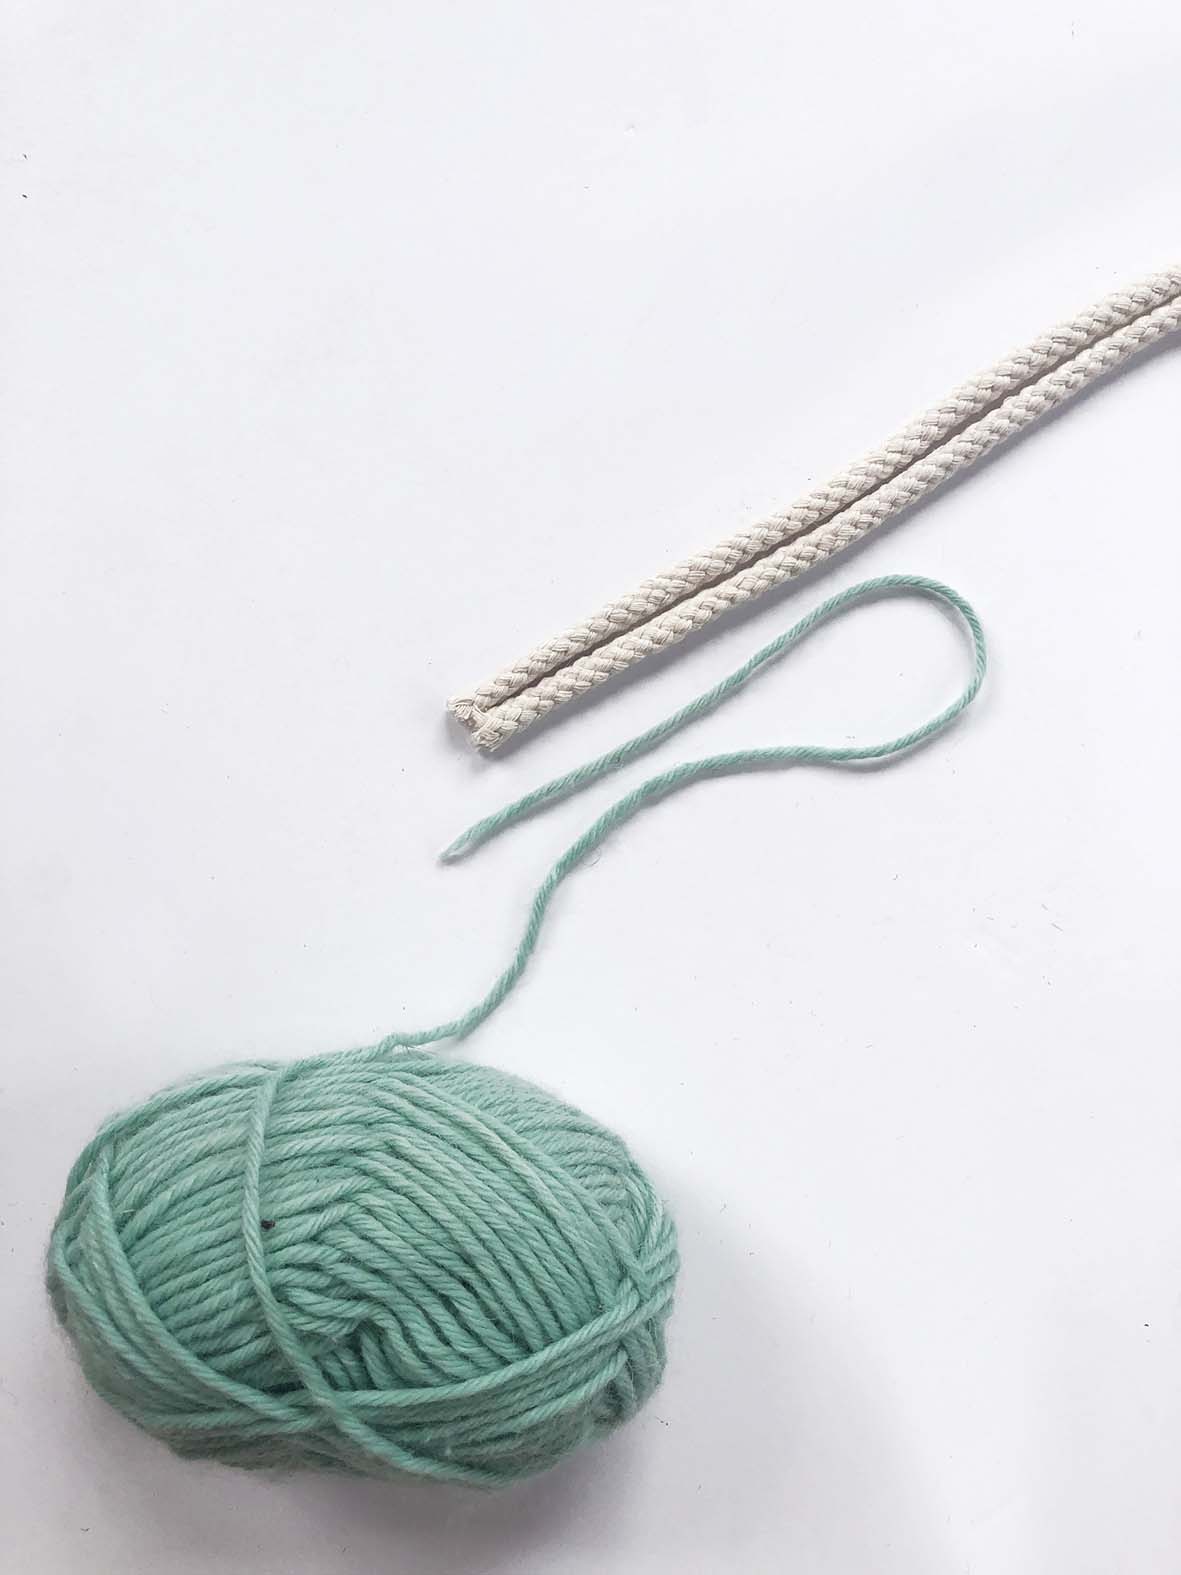
- Cotton cord/rope
- An empty tin or glass vessel
- A variety of different coloured wool and/or cotton
- Dressmaking pins and scissors
- Quick-set craft adhesive (eg, Helmar 450 Quick Dry Adhesive from Spotlight)
Method
For this project, I doubled the cotton cord as it wasn’t very thick. This definitely saves time but also makes the coloured bands look much more effective.
1. To start, double the cord and then measure how much you need to completely cover the vessel you are wrapping. This will vary depending on the vessel you use as well as the thickness of cord. Make sure you leave an extra 50cm or more just in case. The aim is to complete the project using only one very long, colourful, wrapped cord.
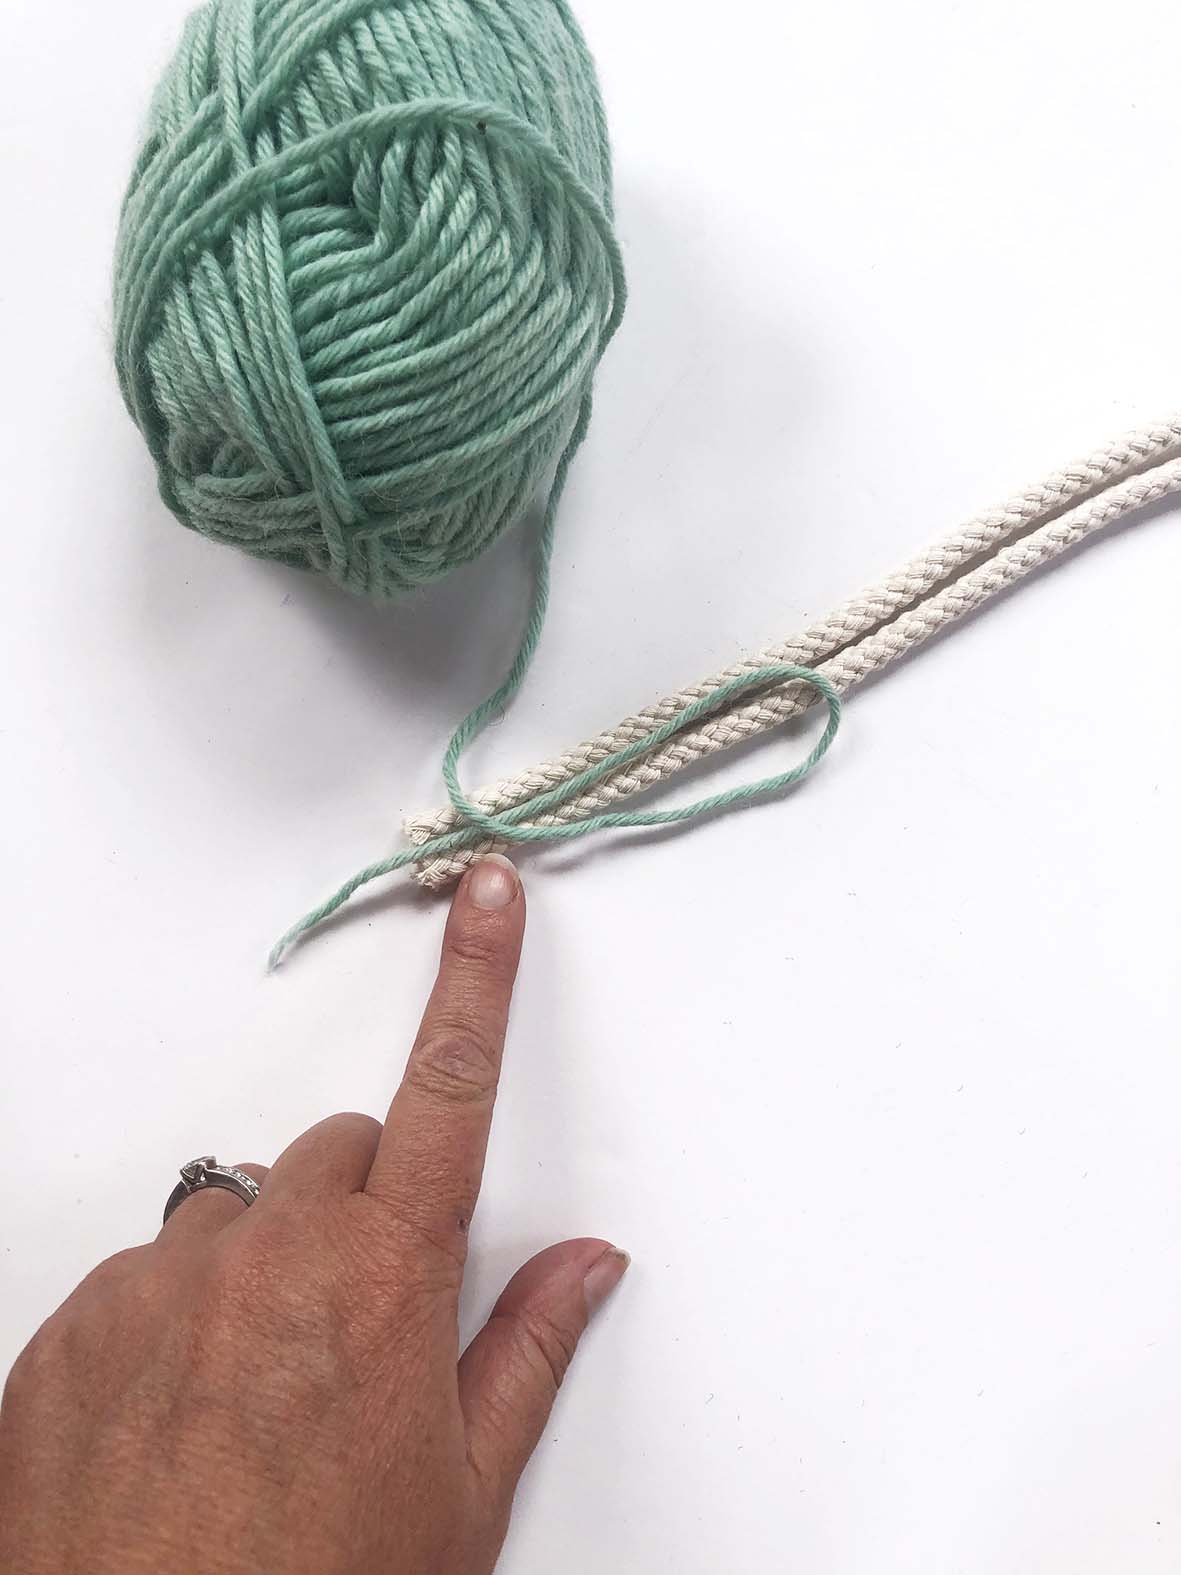
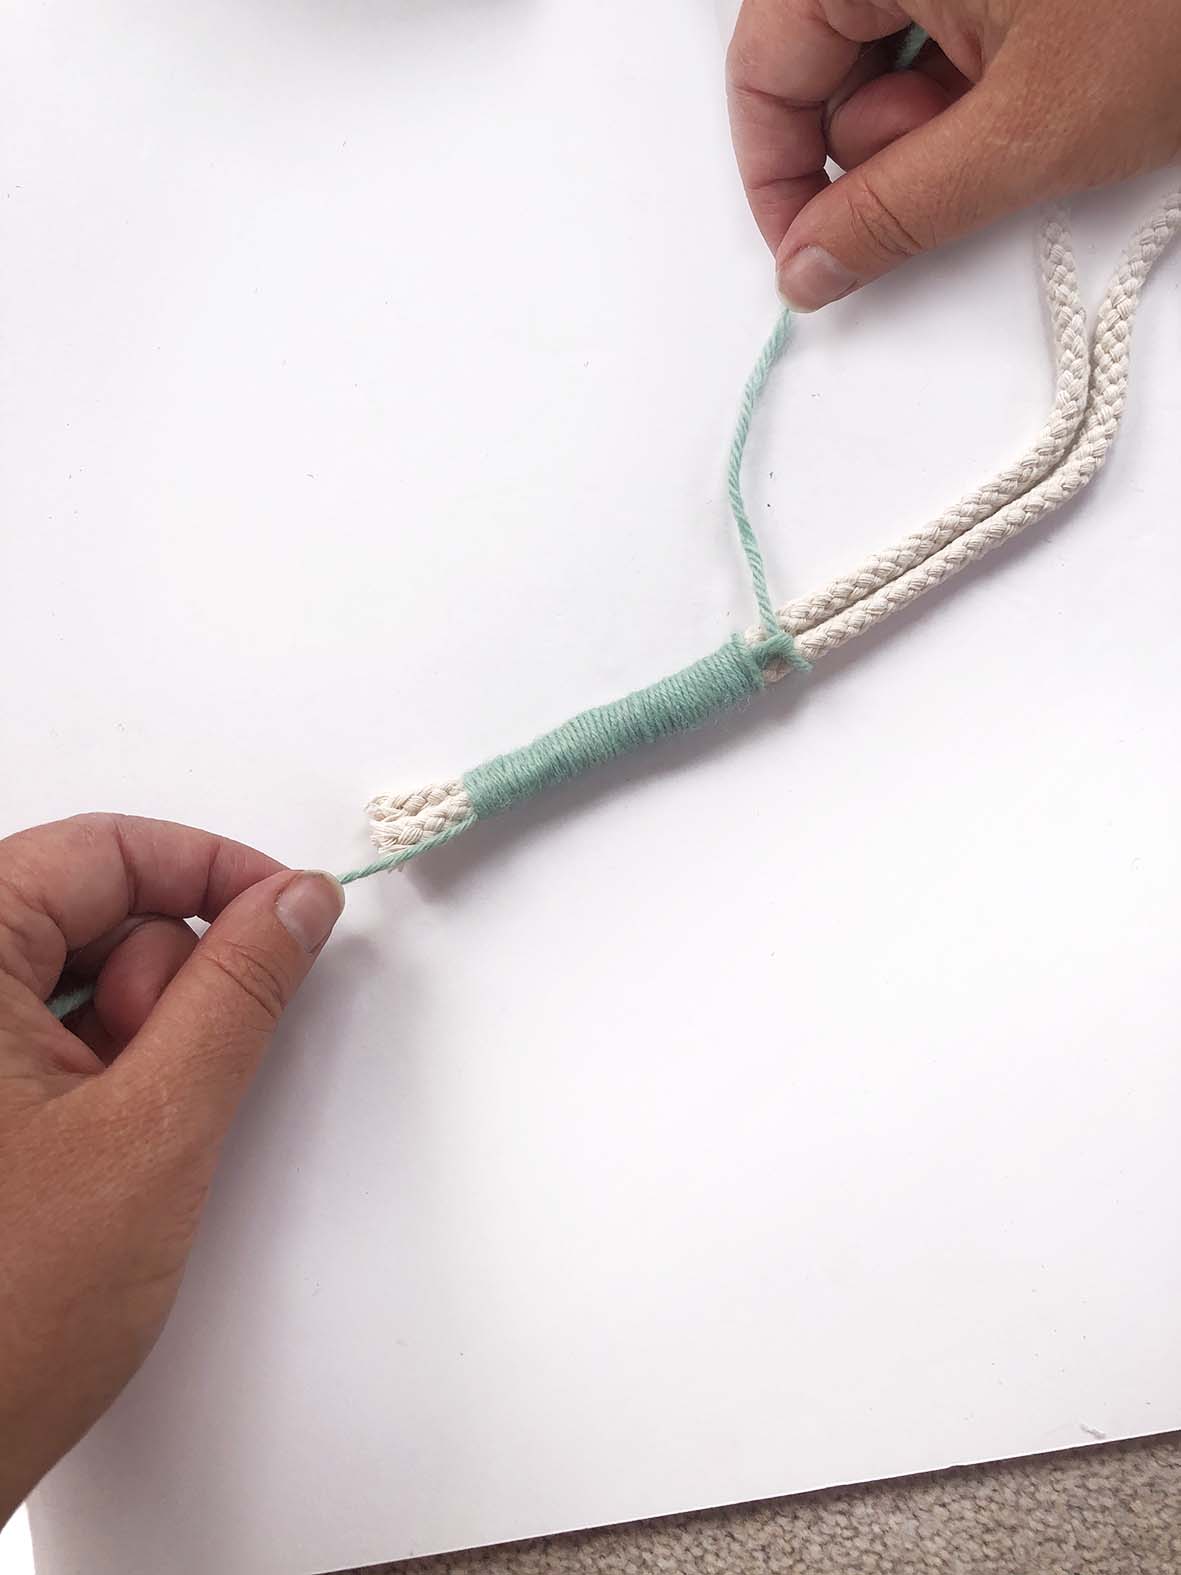
2. Start at one end of the doubled cord with the first colour. A technique called a “gathering knot” is used to make each coloured band.
3. Using the ball of coloured wool, make a U-shaped loop (A), leaving the short end sticking out. Place on top of the cord.
4. Now take the longest length of wool, cross it over the top (B) and begin to wrap it around both the cord and the shorter piece of wool.
Keep wrapping up towards the top of the U loop (C).
Make sure the wool is nice and tight, and that it covers all the cord so it doesn’t show through.
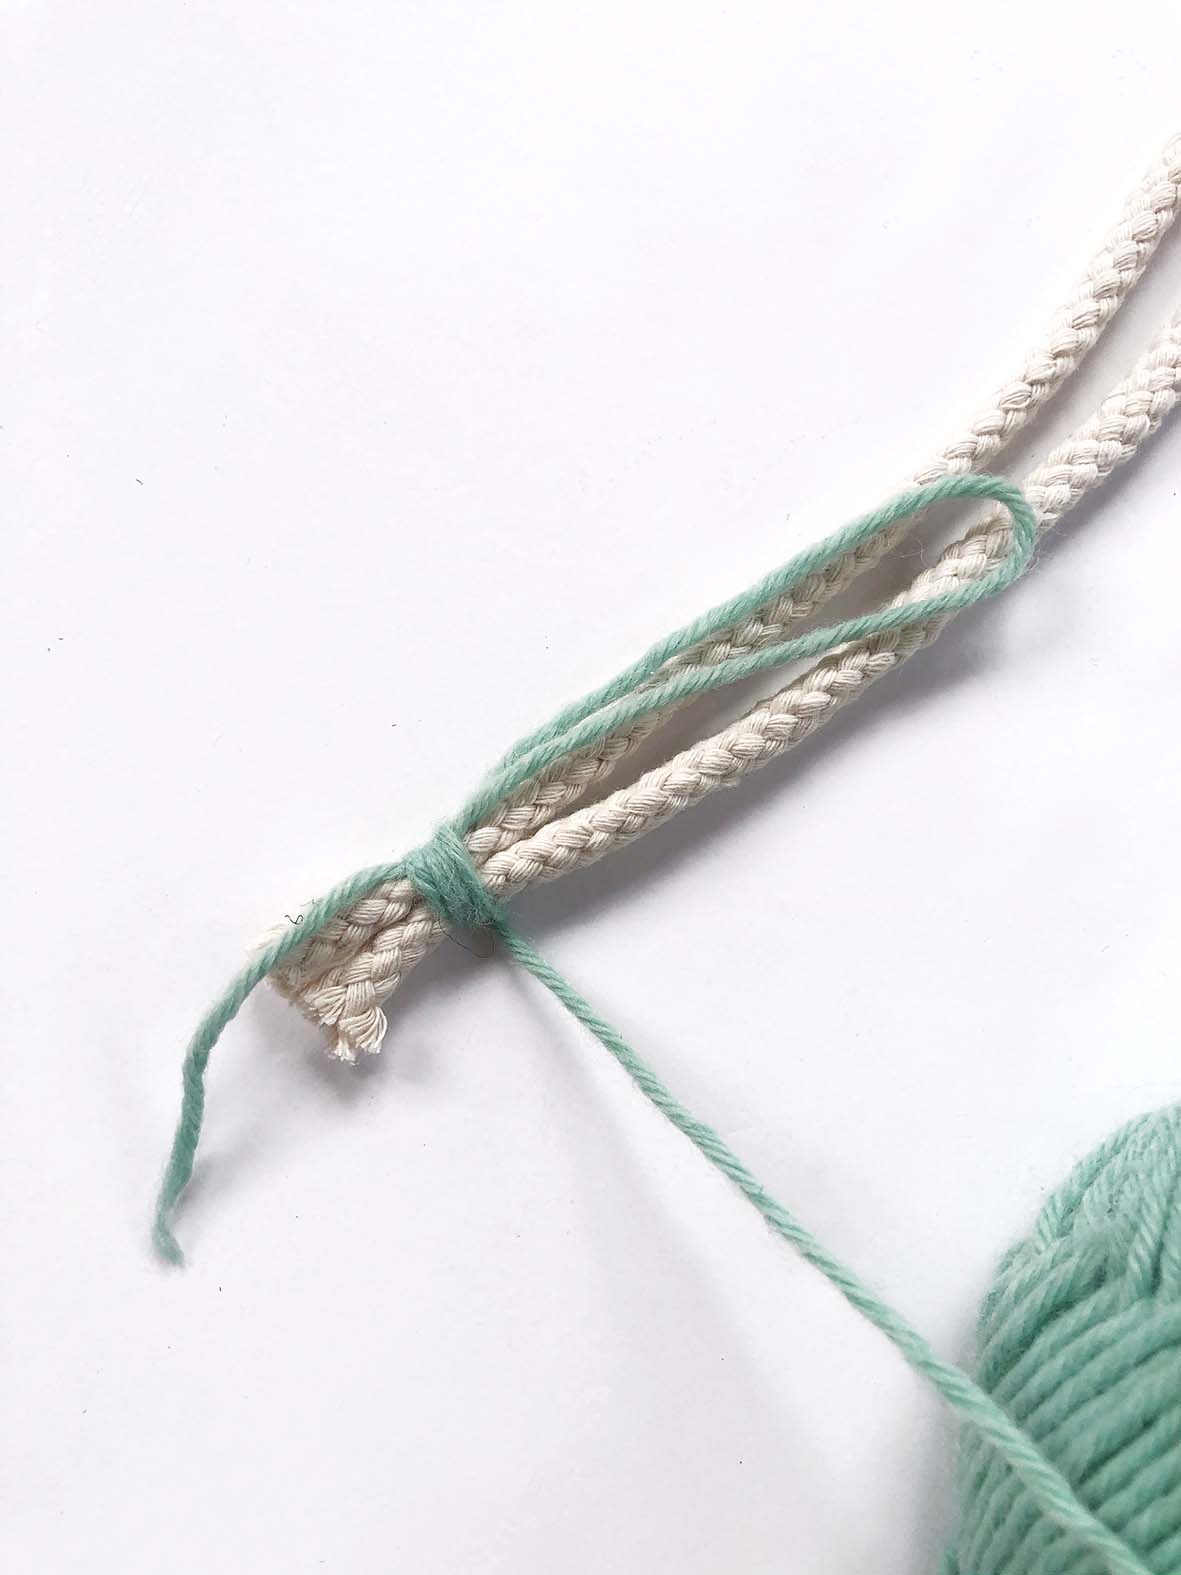
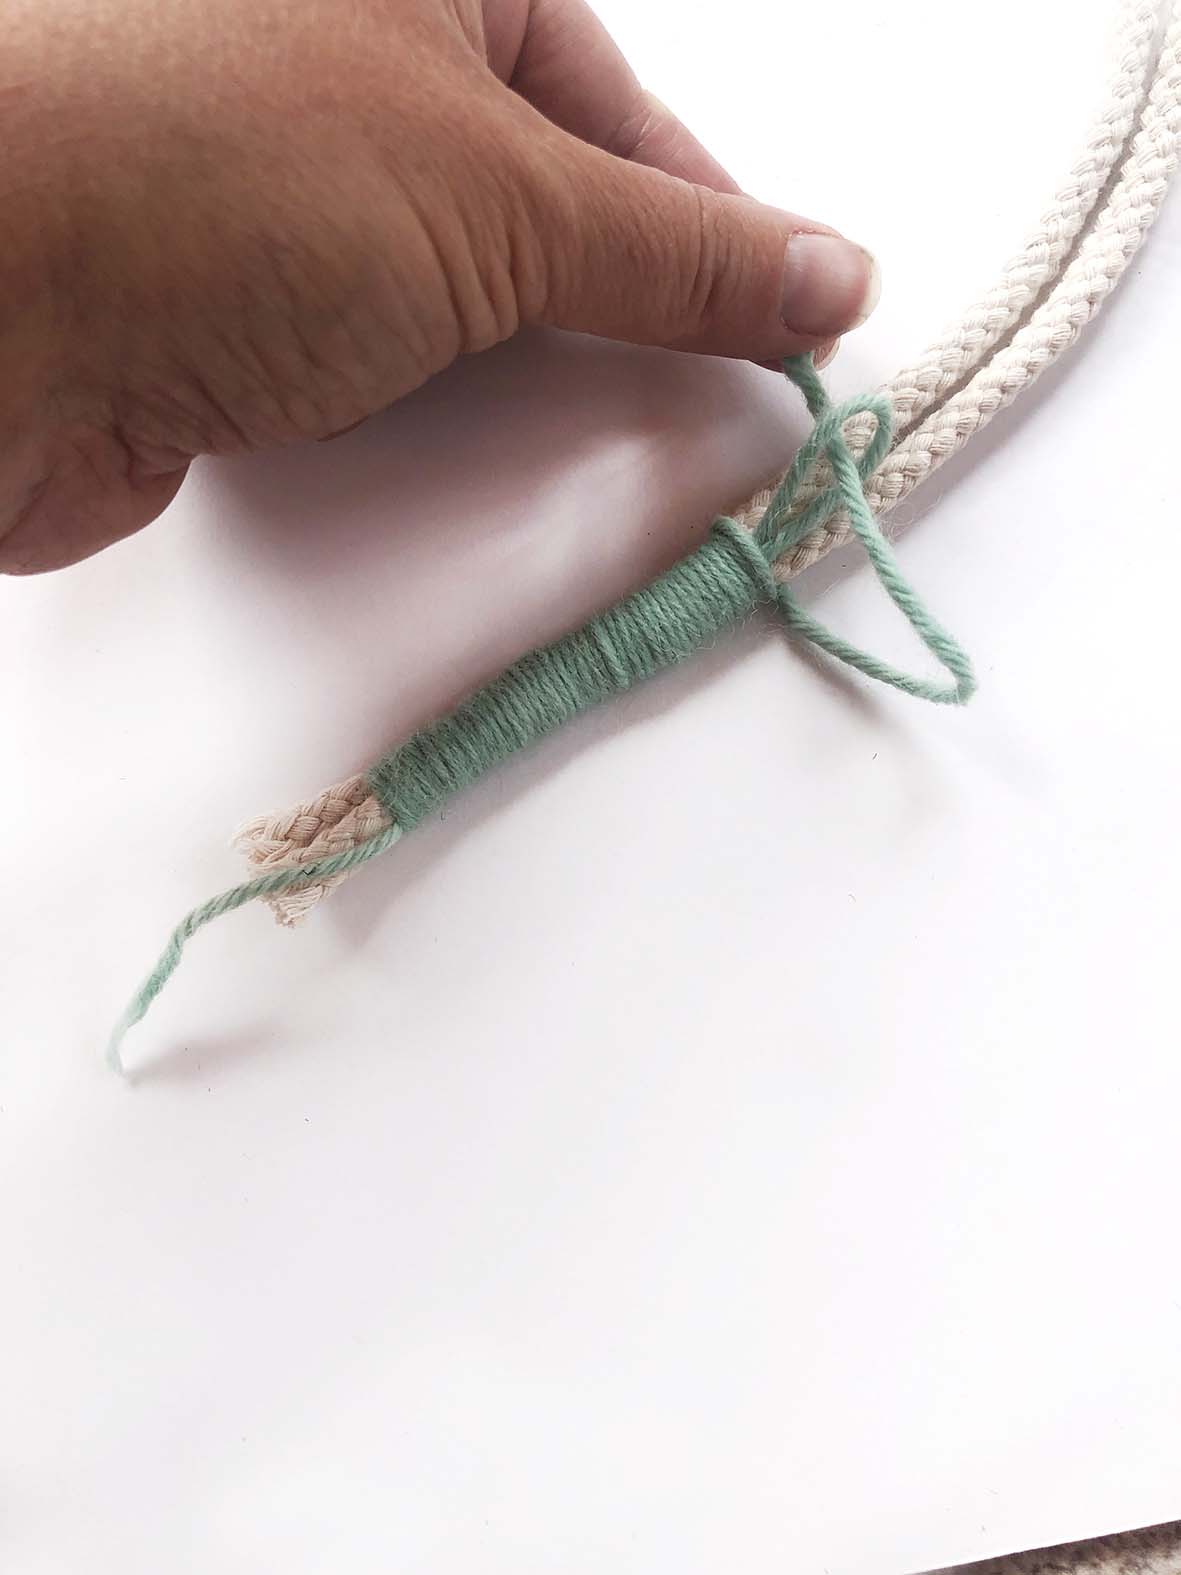
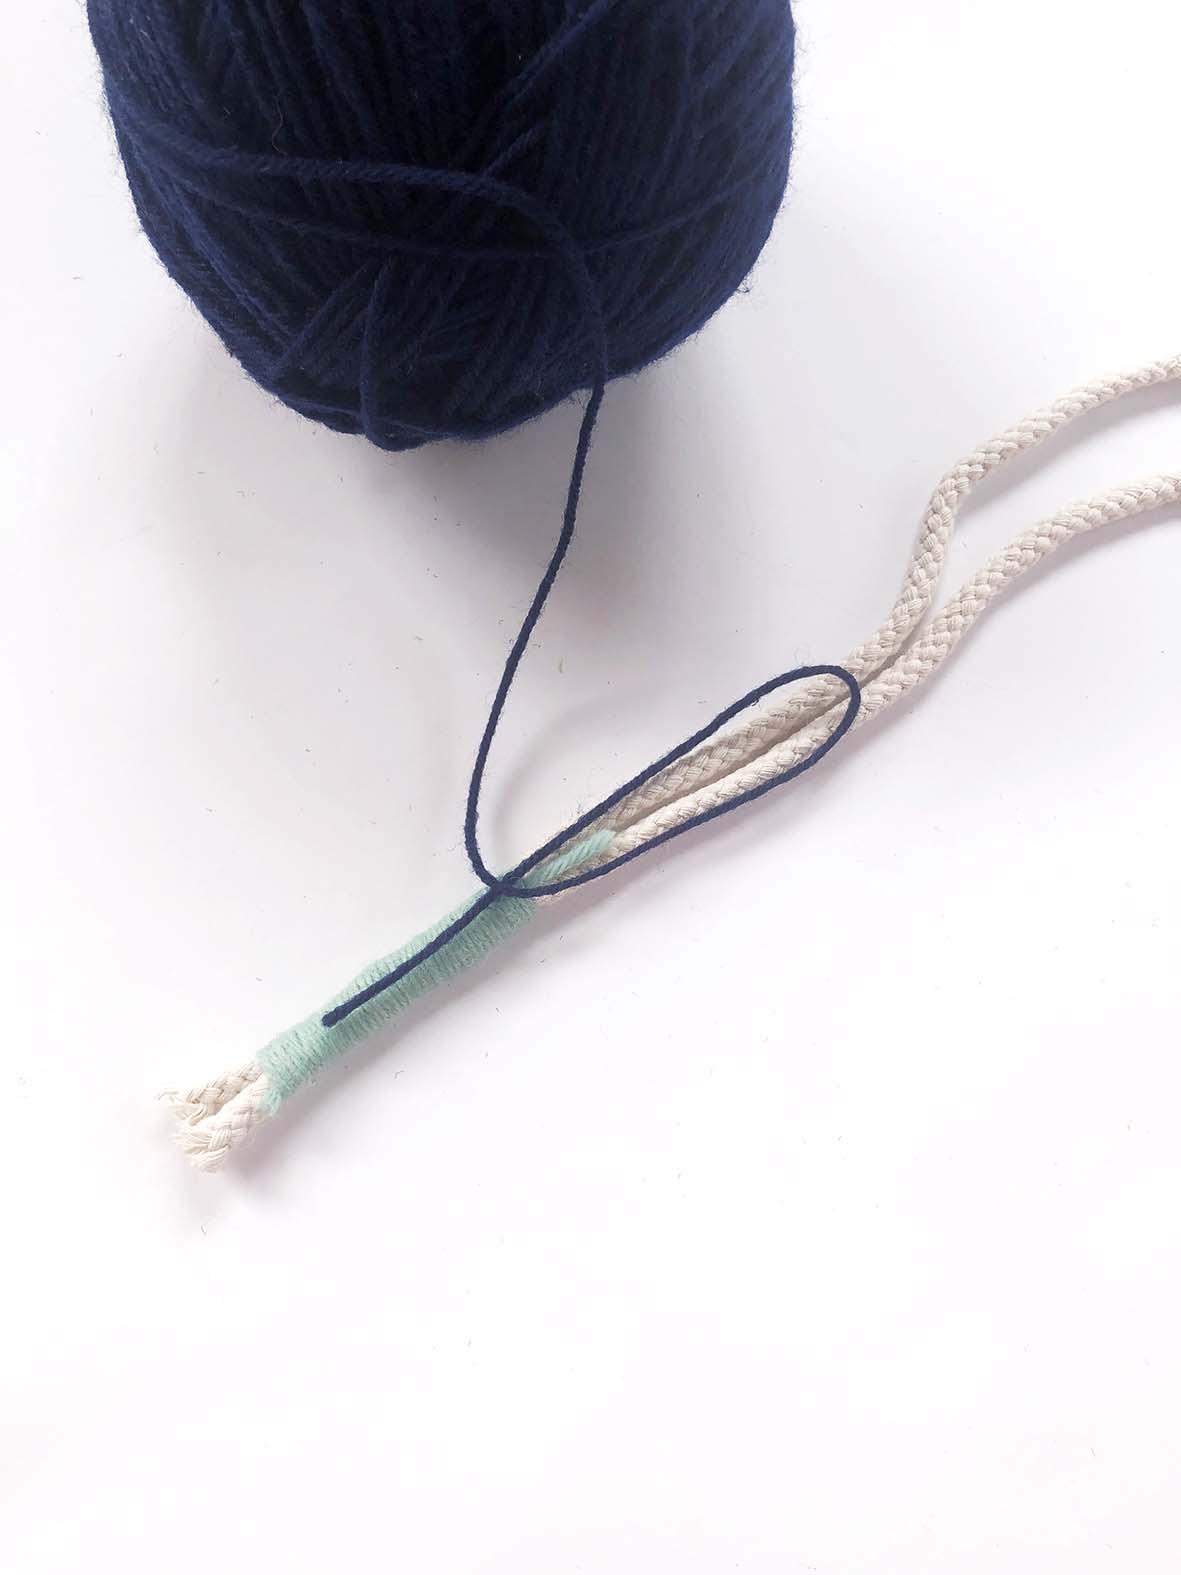
5. Do not wrap over the loop. Stop just before or when you have the desired length of colour you want. Cut the wool to detach from the ball of wool and thread this end through the loop (D).
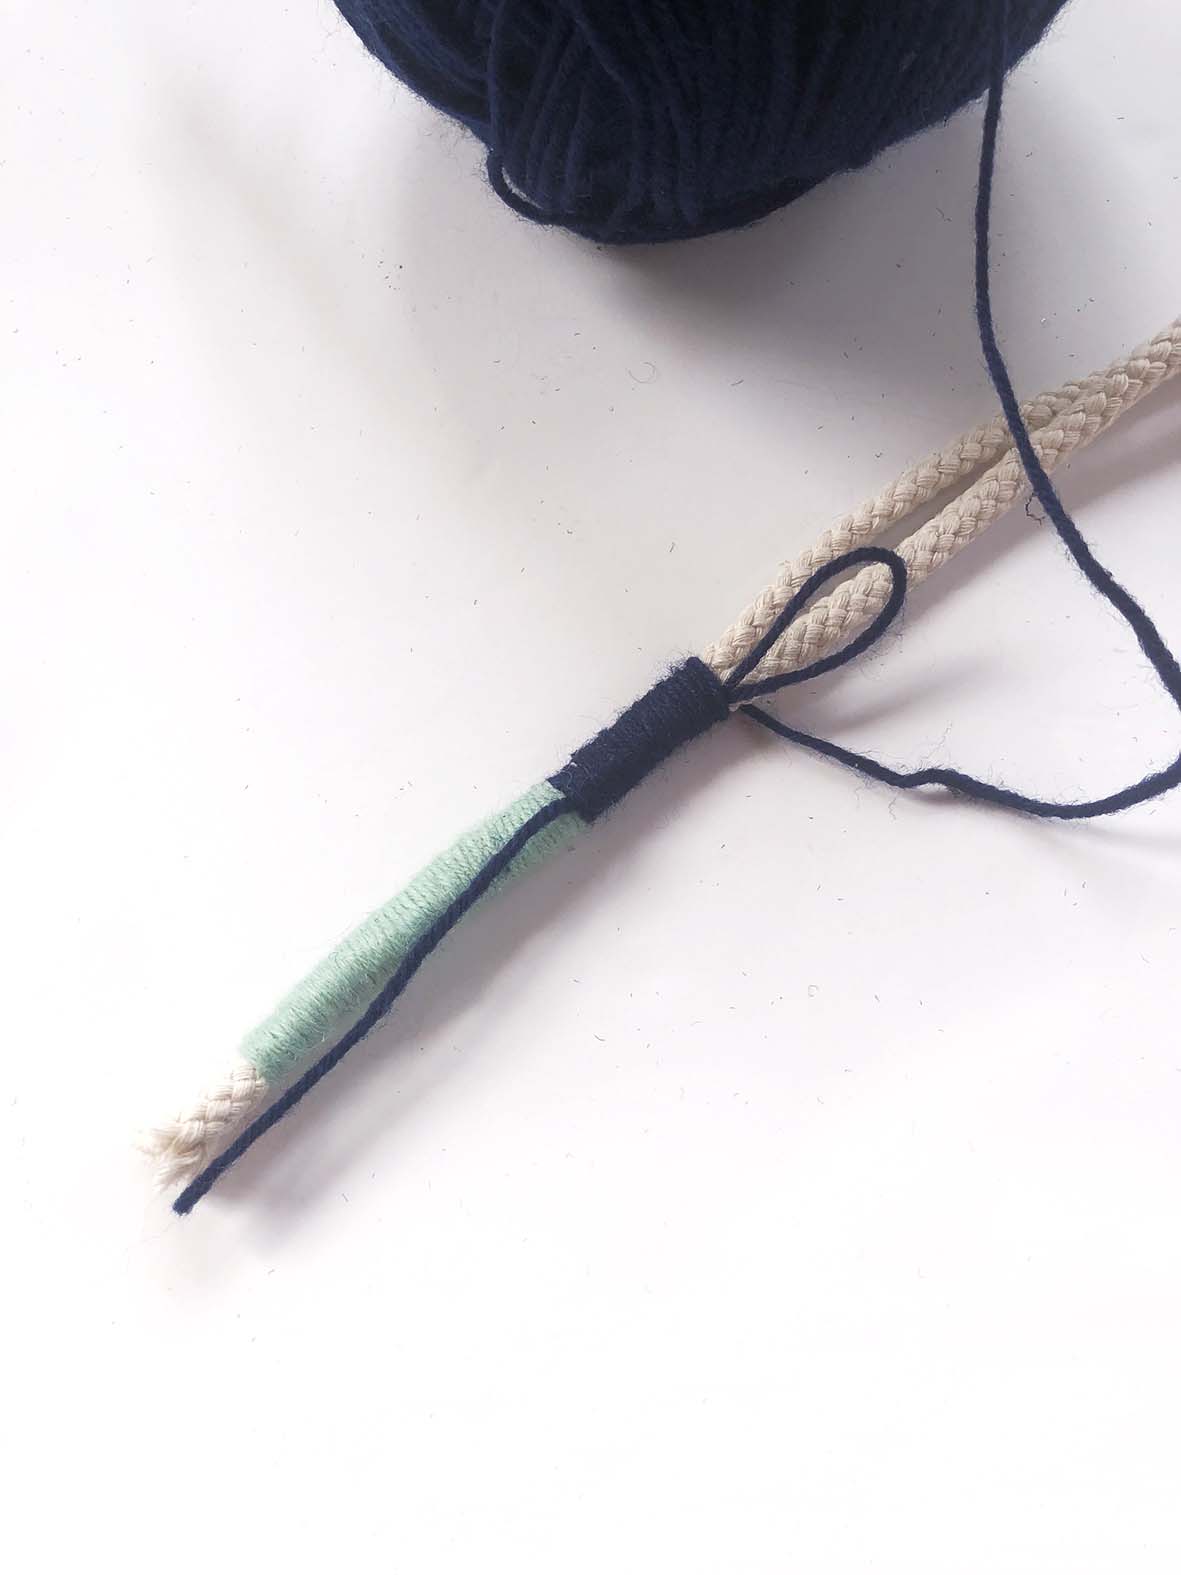
6. Use one hand to lightly hold this threaded end and use the other hand to pull the short end of wool (E) so that the loop begins to disappear underneath the wrapping.
Once it’s about half way under, pull both ends to tighten. Trim off the excess at both ends (F).

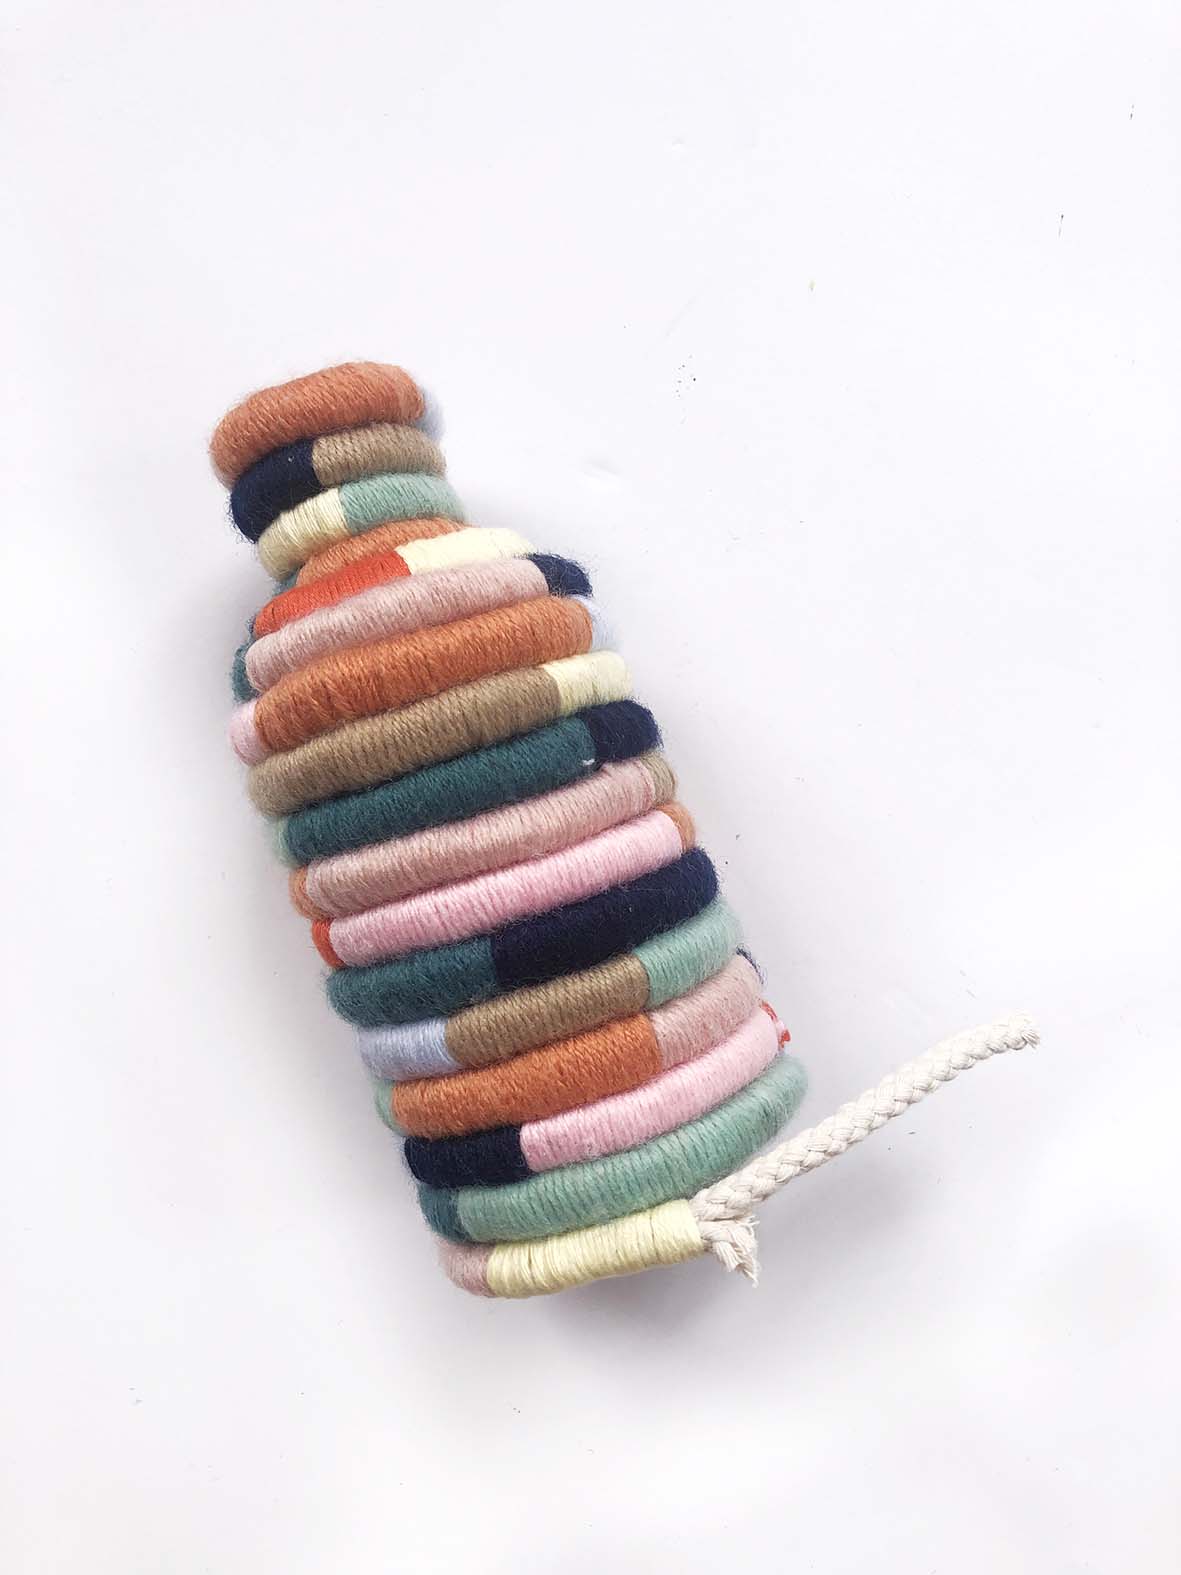
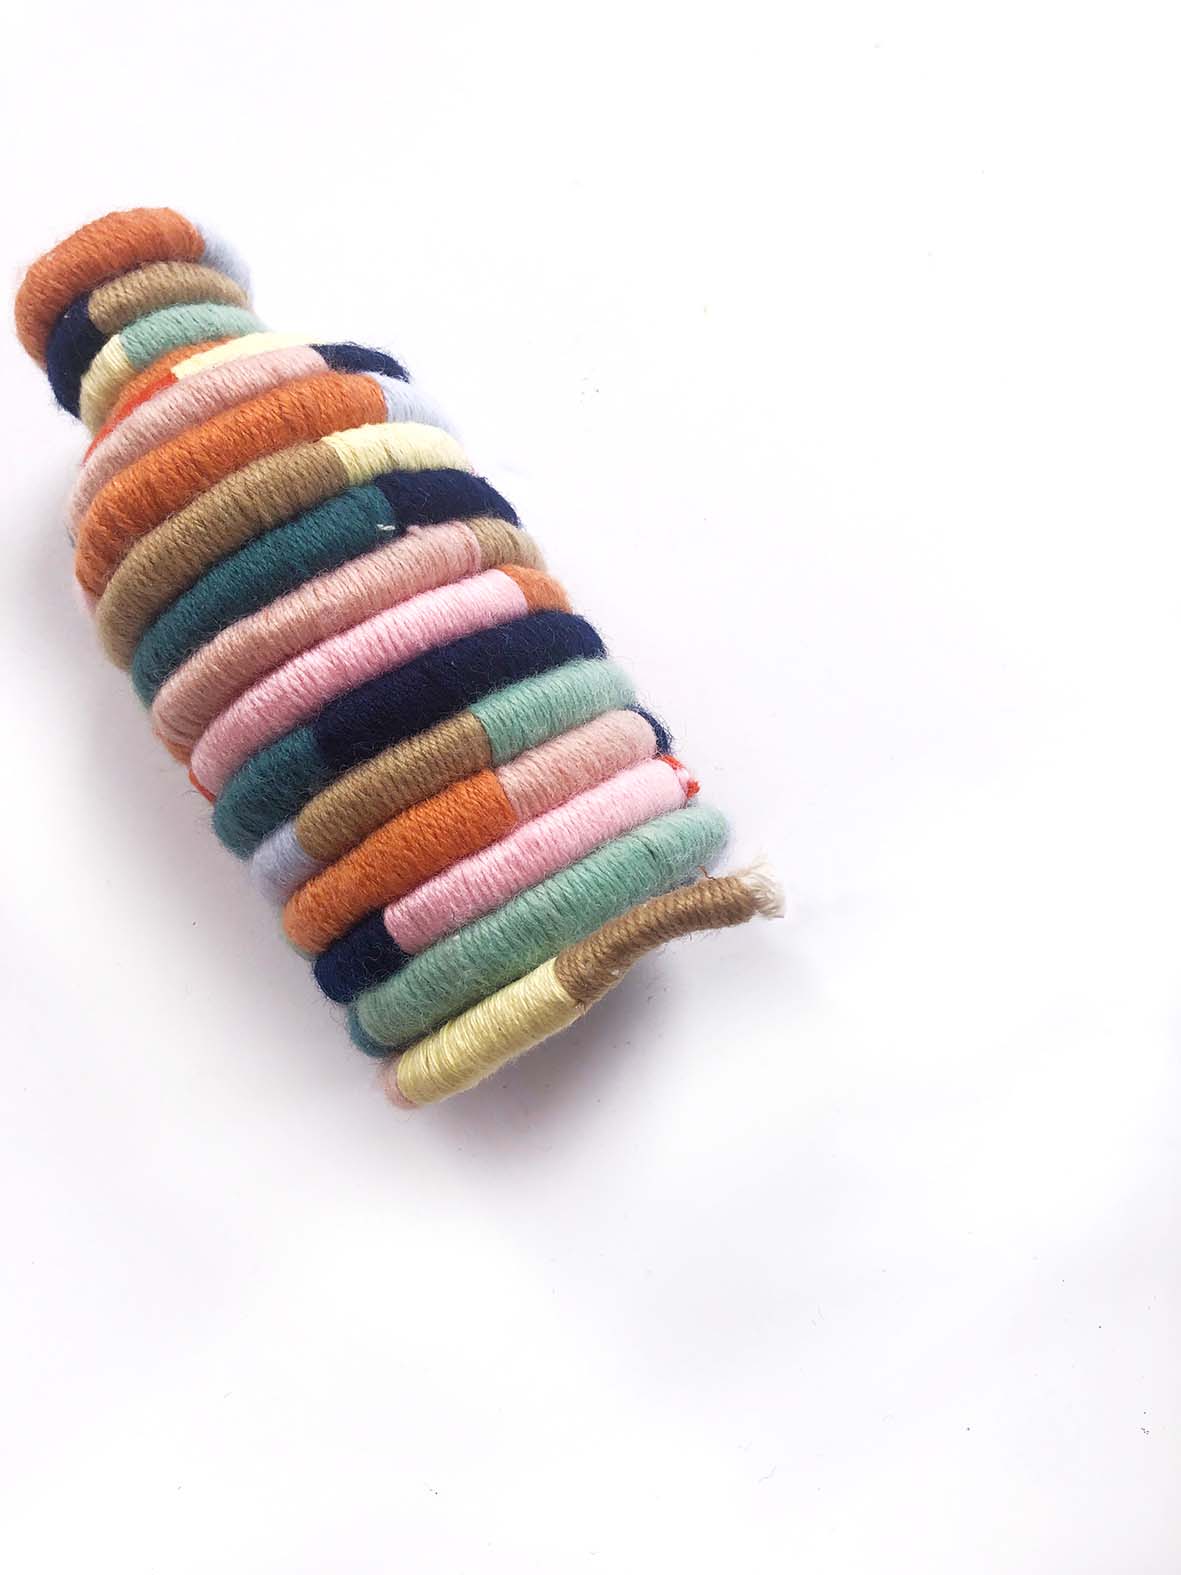
7. Repeat this process with the next colour (G-I) and so on, until you have enough to wrap the entire vessel, leaving a small piece for the final colour.

8. Cut one side of the cord so you only have a single strand, not two (J).
Cover this, using the same “gathering knot” technique, with the final colour (K).
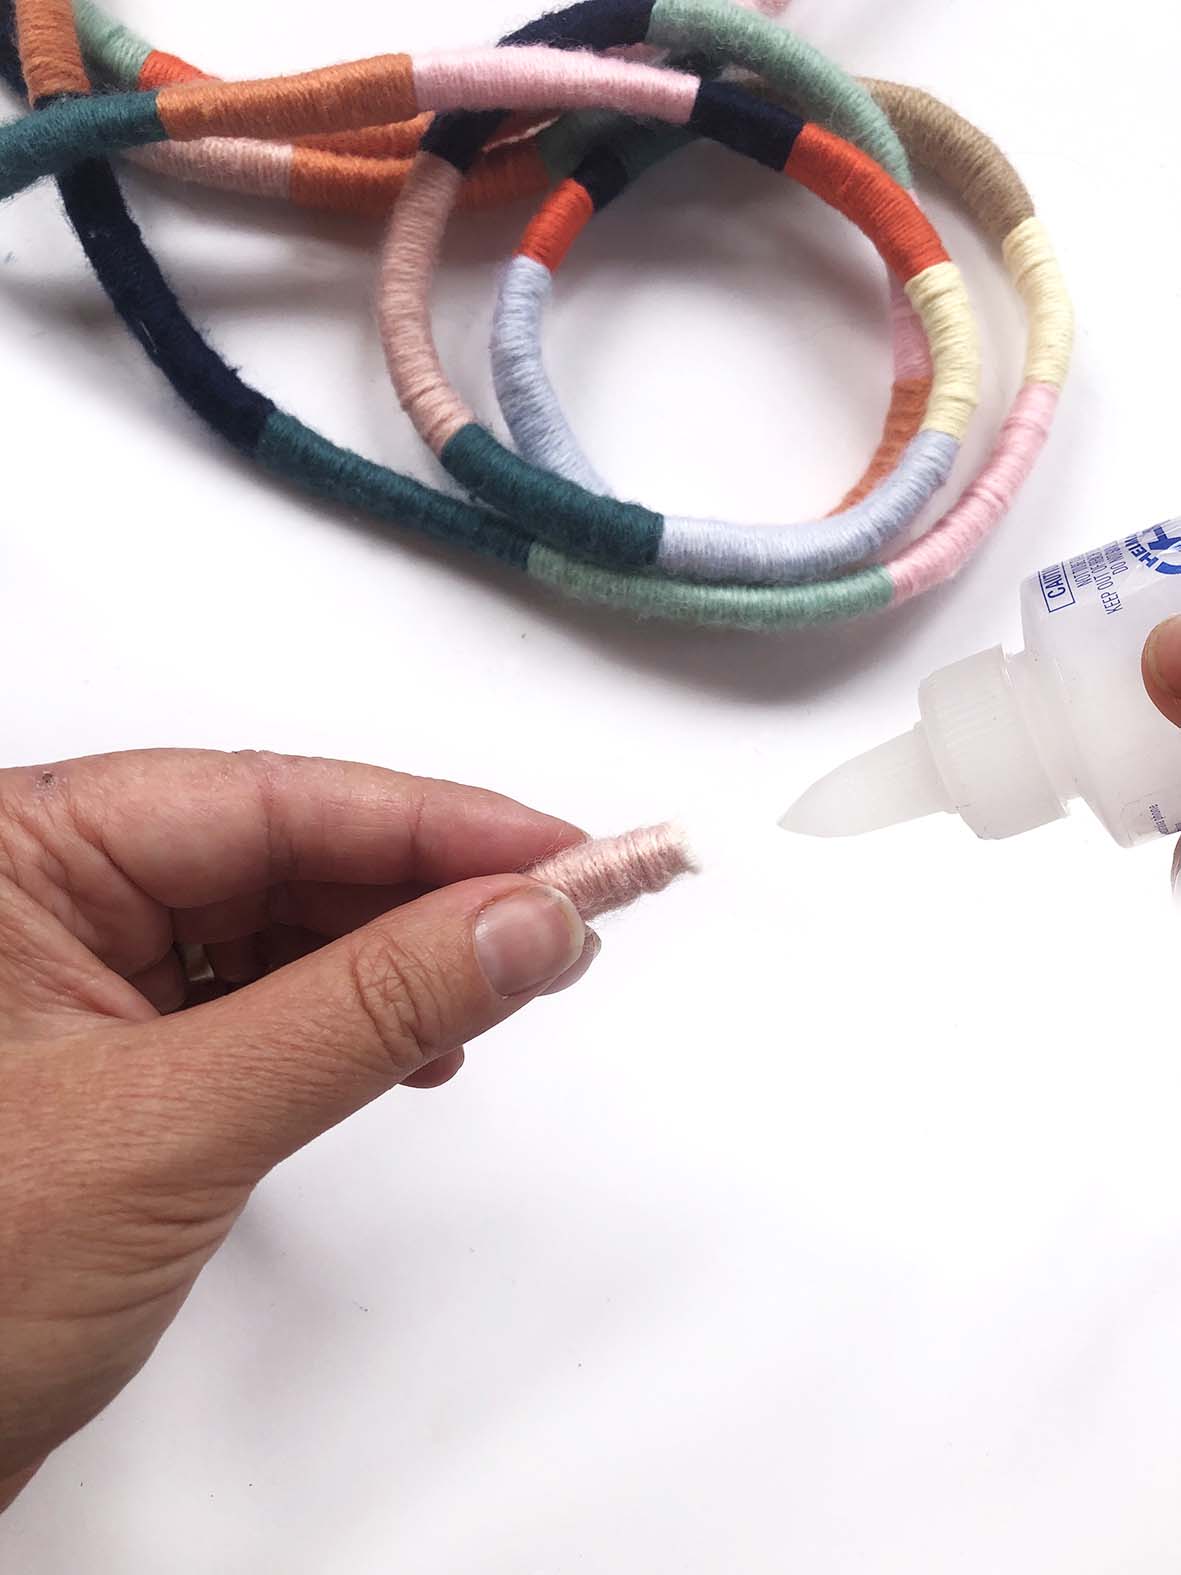
Trim both ends of the completed covered cord, then seal and secure them with glue (L).
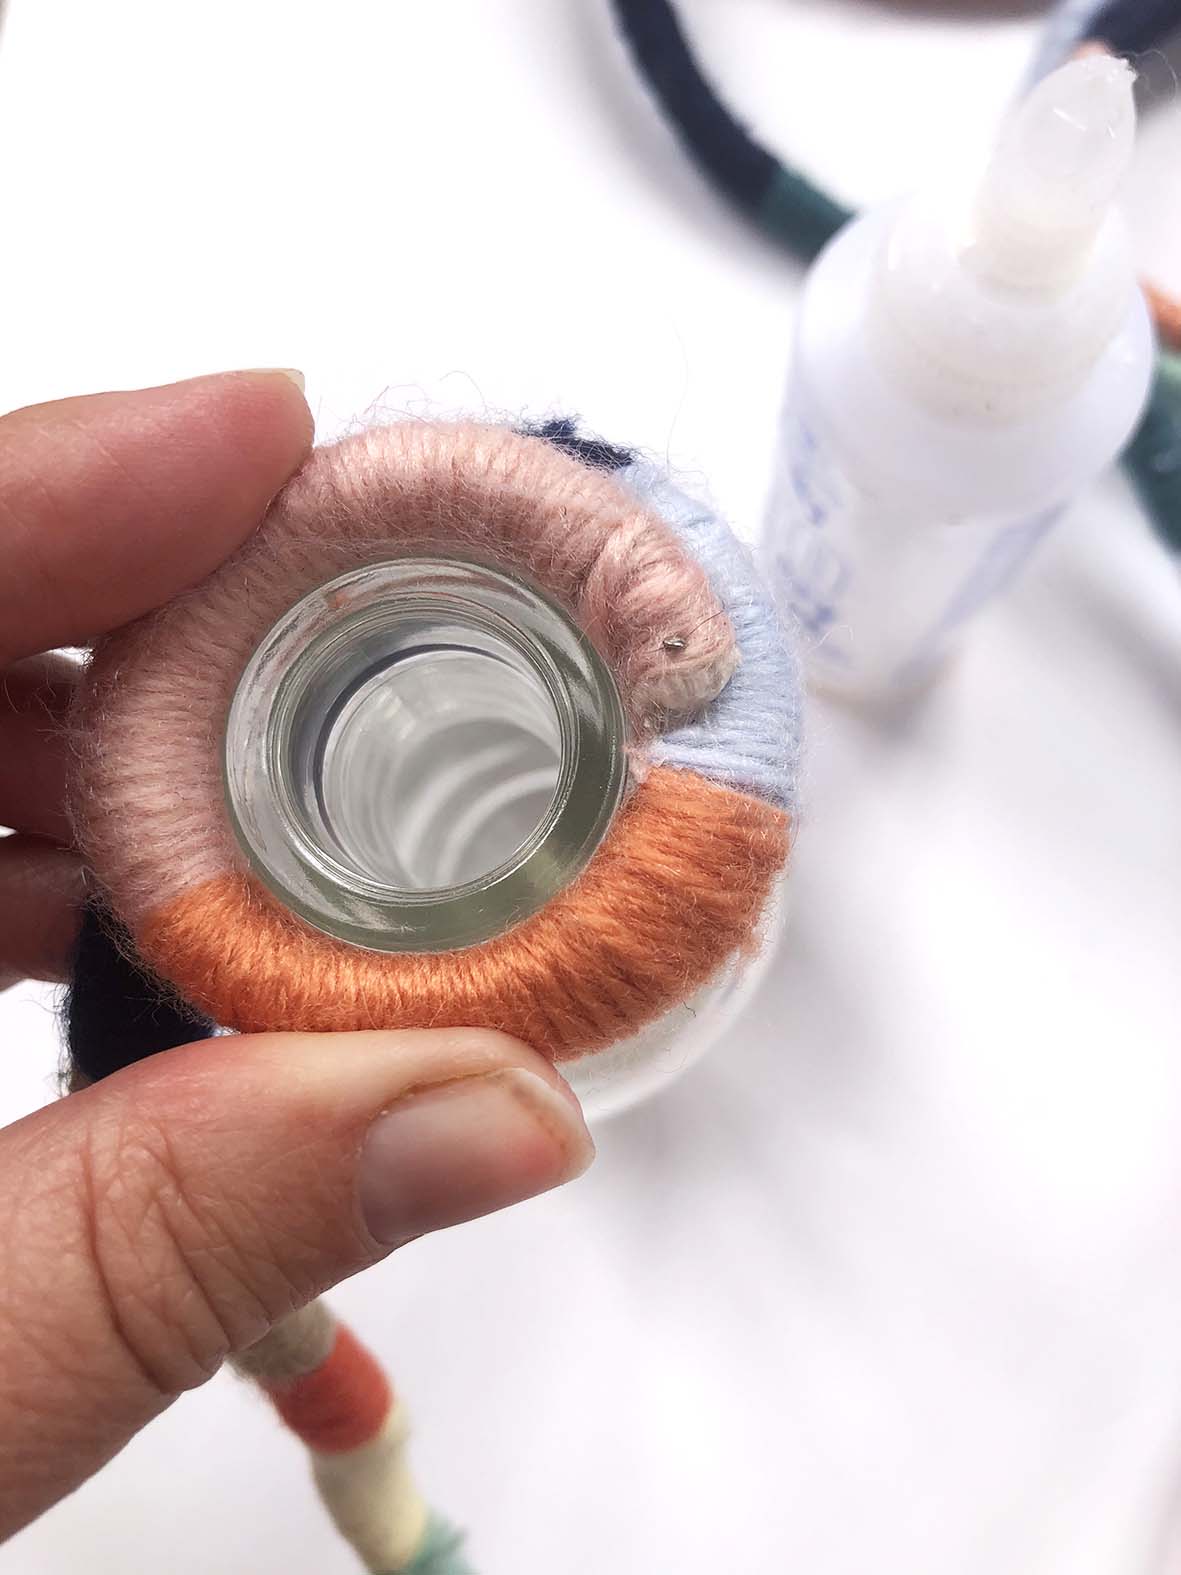
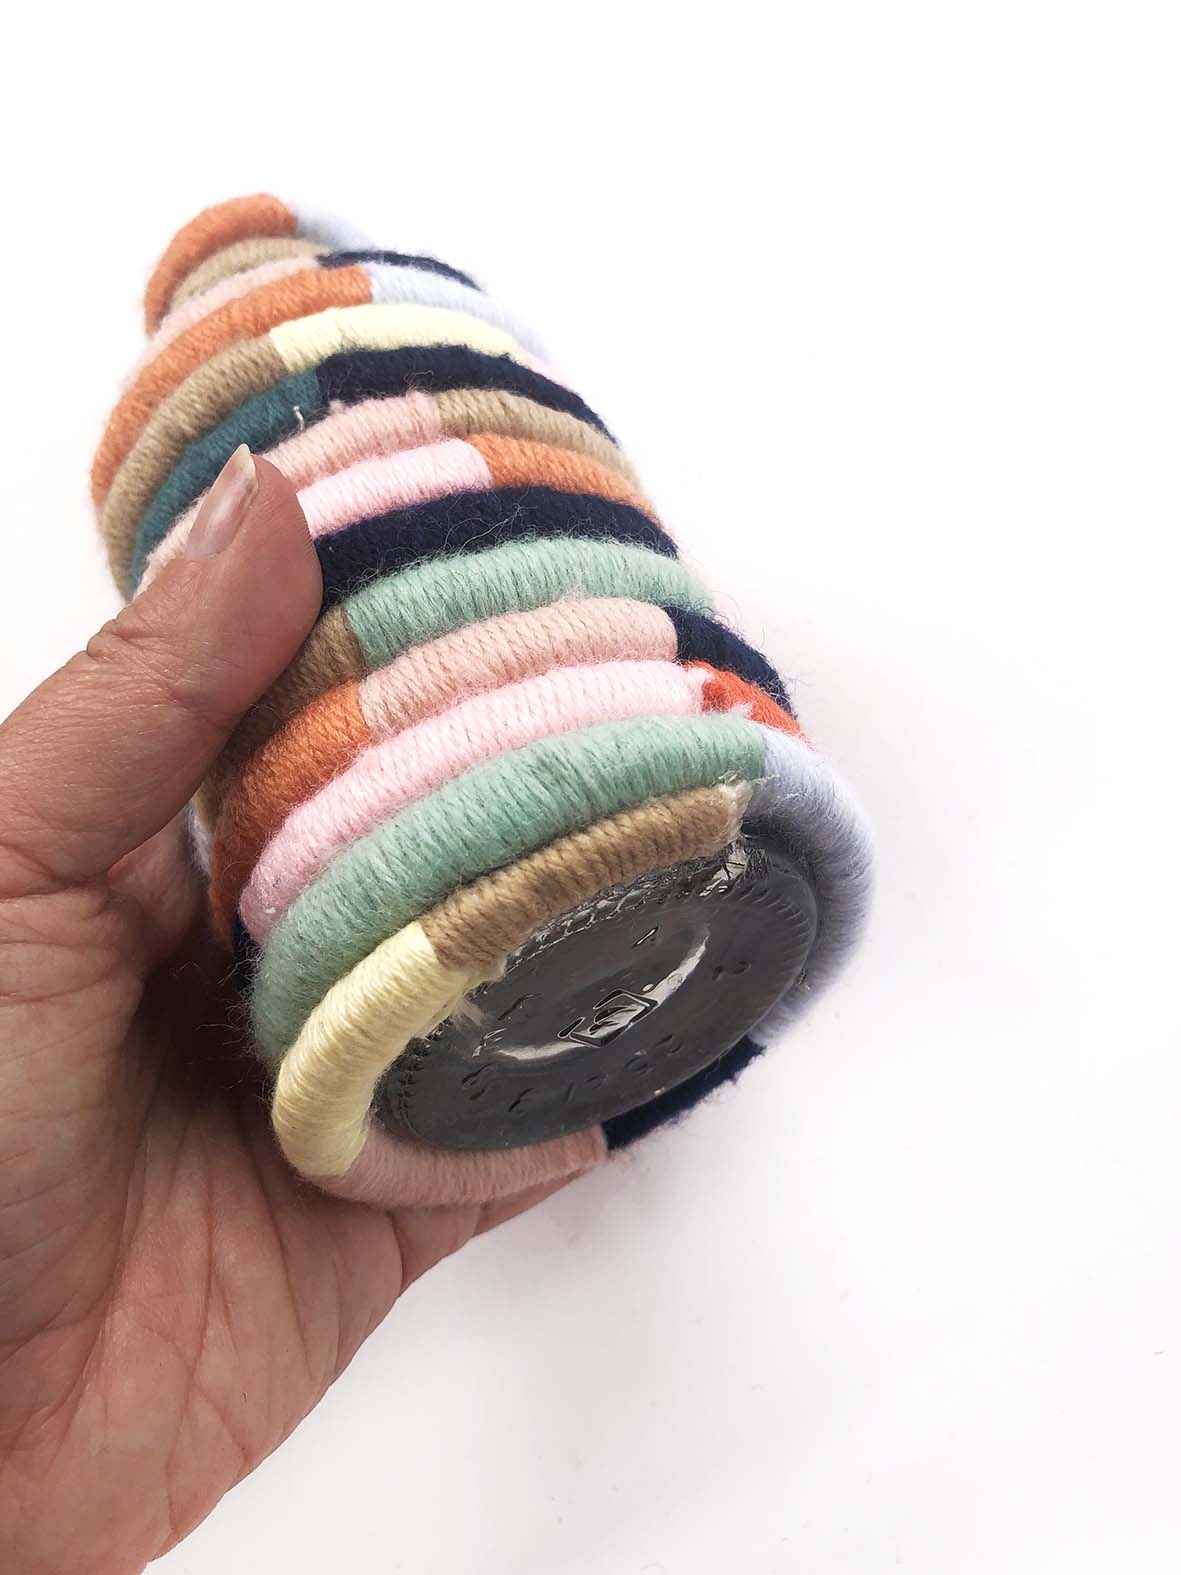
9. Cover the top part of the vessel in glue and begin wrapping it with your colourful cord. Use a pin to secure the top coils in place while the glue is setting (M).
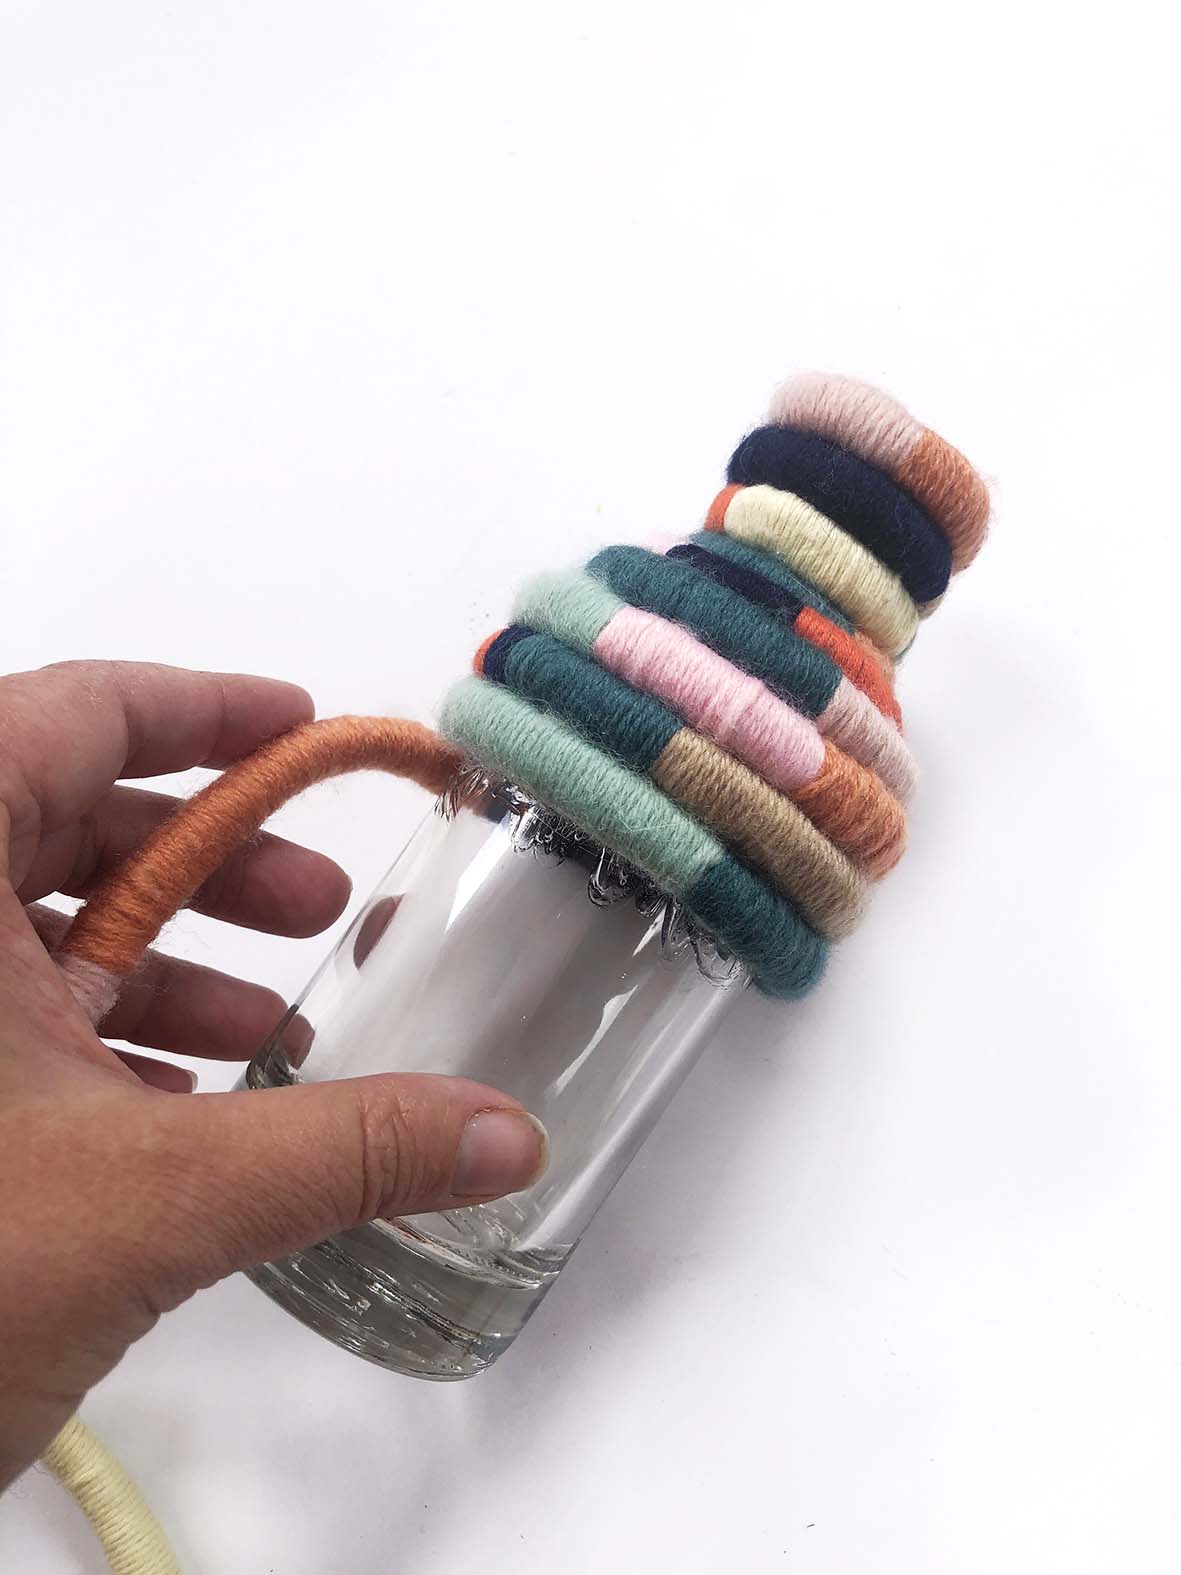
Continue glueing and wrapping (N) until you have completely covered the vessel.
The thin end of the wrapped cord tapers to form an even base (O).
Set aside to dry.
Helpful hints
For quicker wrapping, make sure the wool is in a neat ball as you wrap, to stop any tangles and so you don’t have to deal with messy, long pieces of wool. If you use smaller pieces (rather than a large ball of yarn), use a bulldog clip or peg to help hold the coloured yarn bundle together.
When wrapping the cord, it’s a good idea to keep checking where the next colour should start by wrapping the coil around the vessel from time to time. You don’t want to end up with one side of the container all the same colour.
IMAGES: LUCKO PRAWITO